
For many years the only option to model an ACF 4600cf covered hopper has been Accurail's model. This model came along between the "shake-the-box" era of well-designed but marginally detailed models from the likes of Athearn and MDC Roundhouse and the early superdetailed era of much more detailed but complex and difficult to assemble kits from Intermountain and Proto2000.
The Accurail kits are neither superdetailed nor too basic. Even the molded on details are crisply rendered and can look good with weathering. But sometimes molded on detail just isn't good enough. I'll admit to using several Accurail cars as-is where I'm modeling unit grain trains, but for those cars that will be spotted and pulled from elevators and feed mills I'd rather have something a little more detailed.
Athearn Genesis released a very nice model of the ACF 4600 in several versions, so it's easy to get cars of this type that are already detailed and painted nicely. Arrowhead Models has also announced the ACF 4600 in what promises to be the ultimate fine detail version. The Athearn models can be found between $40 to $50 and the Arrowhead model will likely be priced above the Athearn model.
Accurail's ACF 4600 kit is comparatively cheap at $19.98 and it can be found even cheaper on the secondary market, such as at train shows and on ebay. I already had several of these on hand from many years before the Athearn release or Arrowhead announcement back when they were the only game in town, so in my case the cost was irrelevant. But if you're going to upgrade the Accurail model to fit in with similar models from Athearn Genesis, ExactRail or Scale Trains, keep track of the cost and decide if it's worth it to you. By the time you've upgraded the wheels, stirrups, grabs, running boards, paint and decals, you'll end up pretty close to the cost of the already upgraded Athearn model. So it's helpful if you already have the models on hand or can get them less than retail.

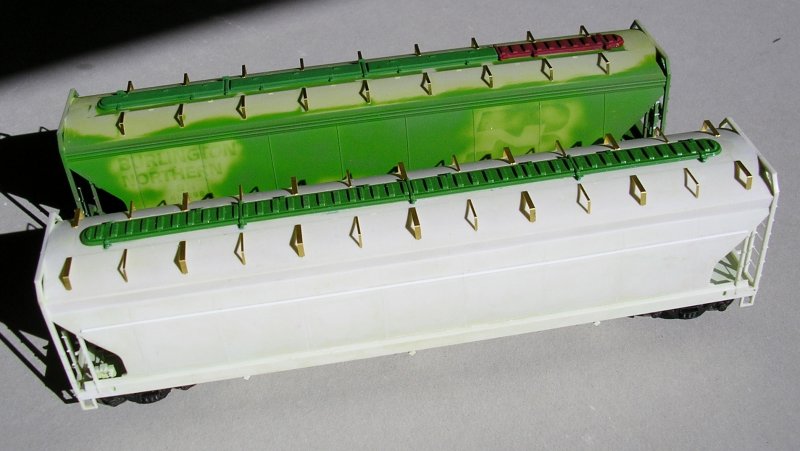
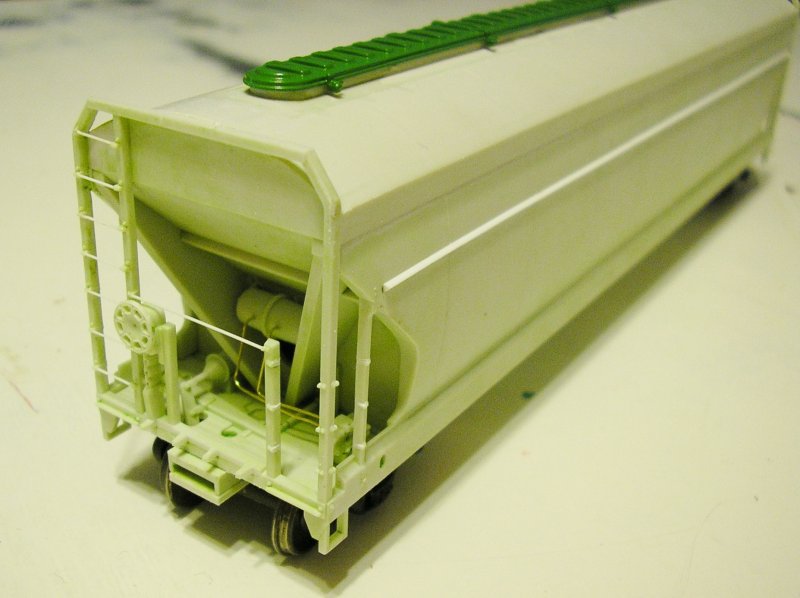
The worst part of the Accurail model is the molded on running board. It's not horrible, but it's solid plastic so no light shines through onto the roof. Fortunately, Plano Model Products has designed some products specifically for this model. And you can use Plano's part no. 119 with any of those running boards if you want to model an earlier car. I did exactly that for one of my pre-BN merger cars below. Even if you only replace the molded running boards with the etched Plano parts, you've made a huge difference to the model.
So the first step to replacing the running boards on the Accurail model is removing the molded parts. It's pretty easy to trim off the vast majority of the running boards using rail nippers. But you're still going to be left with the portion of the running boards that's in line with the trough hatch at each end. There's no easy way to remove that part except by sanding or filing or a combination of the two. I don't recommend carving this part off because you can easily gouge the roof. Instead, remove the trough hatch and set it aside, then start sanding taking care not to damage the end cage. You'll want to check periodically as you sand that you're following along with the profile of the roof as seen at the end taking care to match the contour under the trough hatch. Best practice here is to sand a little then check the model. Adjust where you're sanding and repeat. If you go too long you might find yourself having to build up the roof.


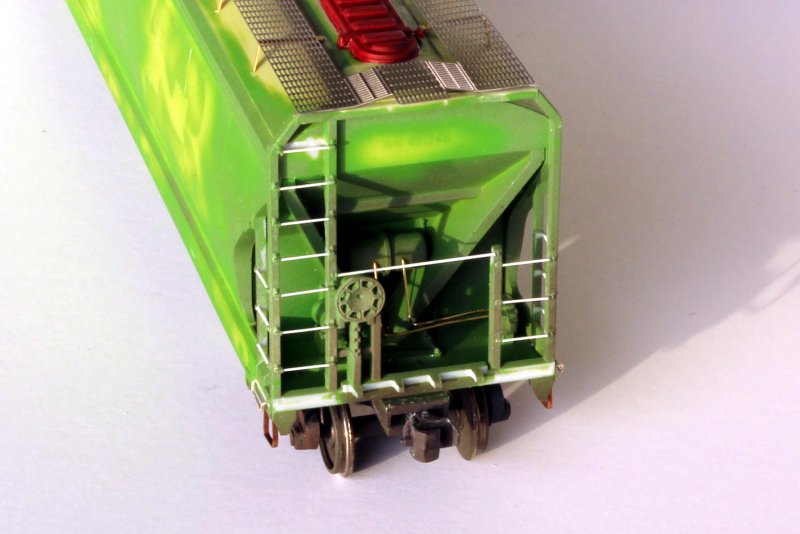
It's also a good time to replace the cast on drop grabs at the corners with wire parts (I like the drop grabs from Tangent) and the stirrups with A-line's Style A part. If you like, plumb the reservoir using some 0.012" brass wire bent to fit between the reservoir and control valve.


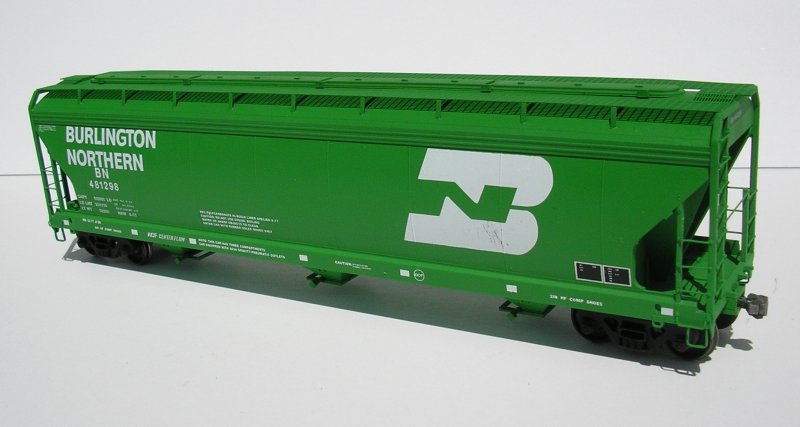
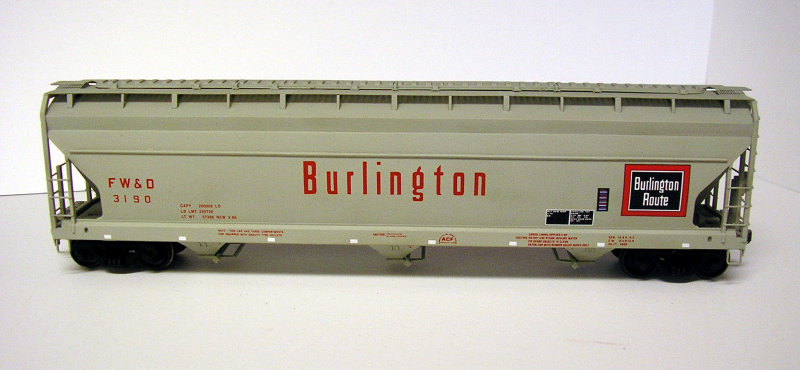
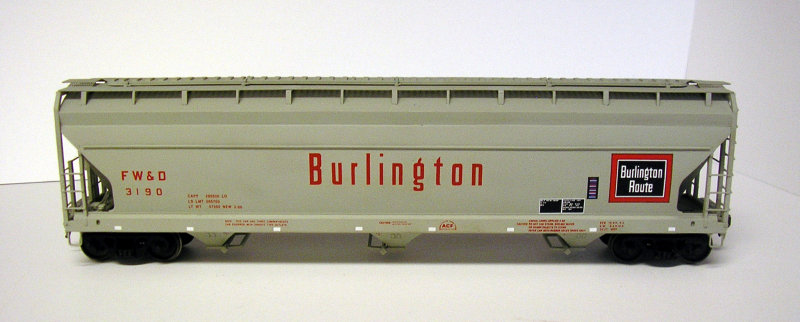
For these Burlington Northern cars the paint and decals are pretty straightforward. I damaged the BN logo on mine, but that's not really a problem since the cars I'm modeling were pretty well worn by the late 80s.
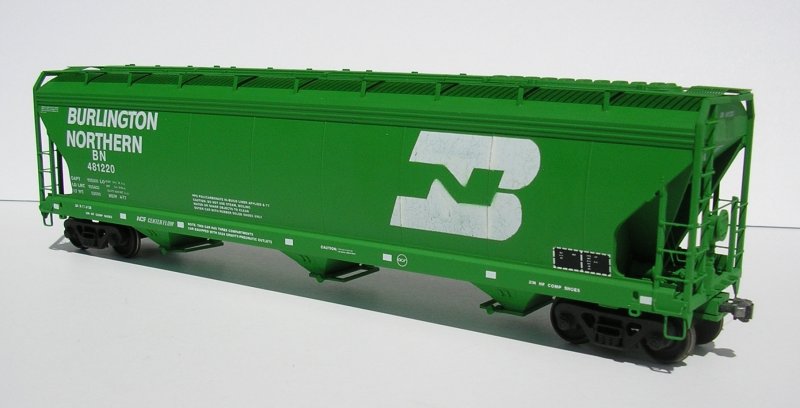


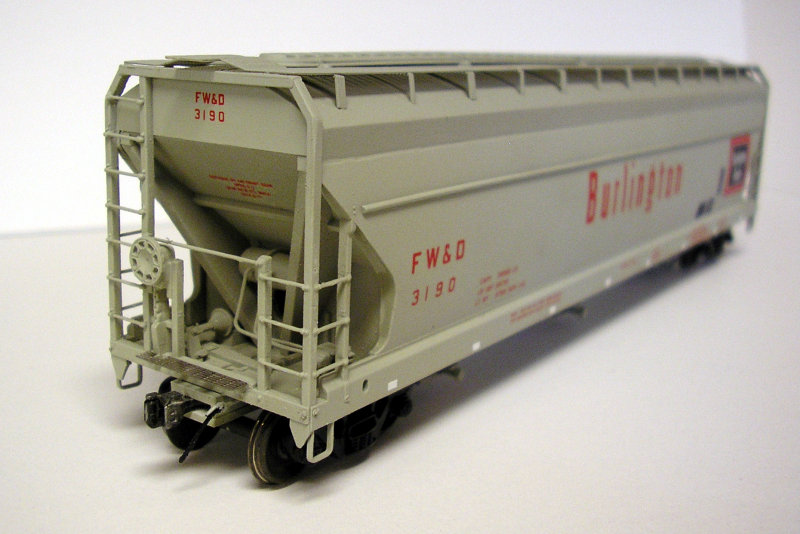
After those modifications were made, building this model was just like the others. I substituted the early style running board supports (Plano no. 119) for the supports included in the Plano kit.
It's worth mentioning that I swapped the Accurail fiberglass type trough hatch with one from an Athearn (ex-MDC Roundhouse) Gunderson 4700 covered hopper. The hatch from the Gunderson hopper represents one of the early stamped metal trough hatches these cars were originally equipped with.


The model was painted with Model Master Flat Gull Gray then lettered with Microscale decals. I haven't found a good match for the red-orange lettering and frame around the Burlington Route logo, but when I do I'll paint out the weight data and replace it per the prototype.
I have a few more of these cars that are going to need similar upgrades. Santa Fe's ACF 4600 hoppers had Gypsum expanded metal running boards, which are thankfully available from Plano. I'd like to avoid repainting those cars, so I'll have to find a good match for the paint. But if that doesn't work out the one color dip paint job certainly isn't difficult to recreate.
Next time I'll go over some of the upgrades and modifications I made to MDC Roundhouse Gunderson 4700cf covered hoppers. MDC Roundhouse was acquired by Athearn, who later released these models as upgraded RTR versions and they are quite nice. It doesn't take much more effort than shown here to upgrade the older MDC Roundhouse kits to match Athearn's RTR model.
No comments:
Post a Comment