
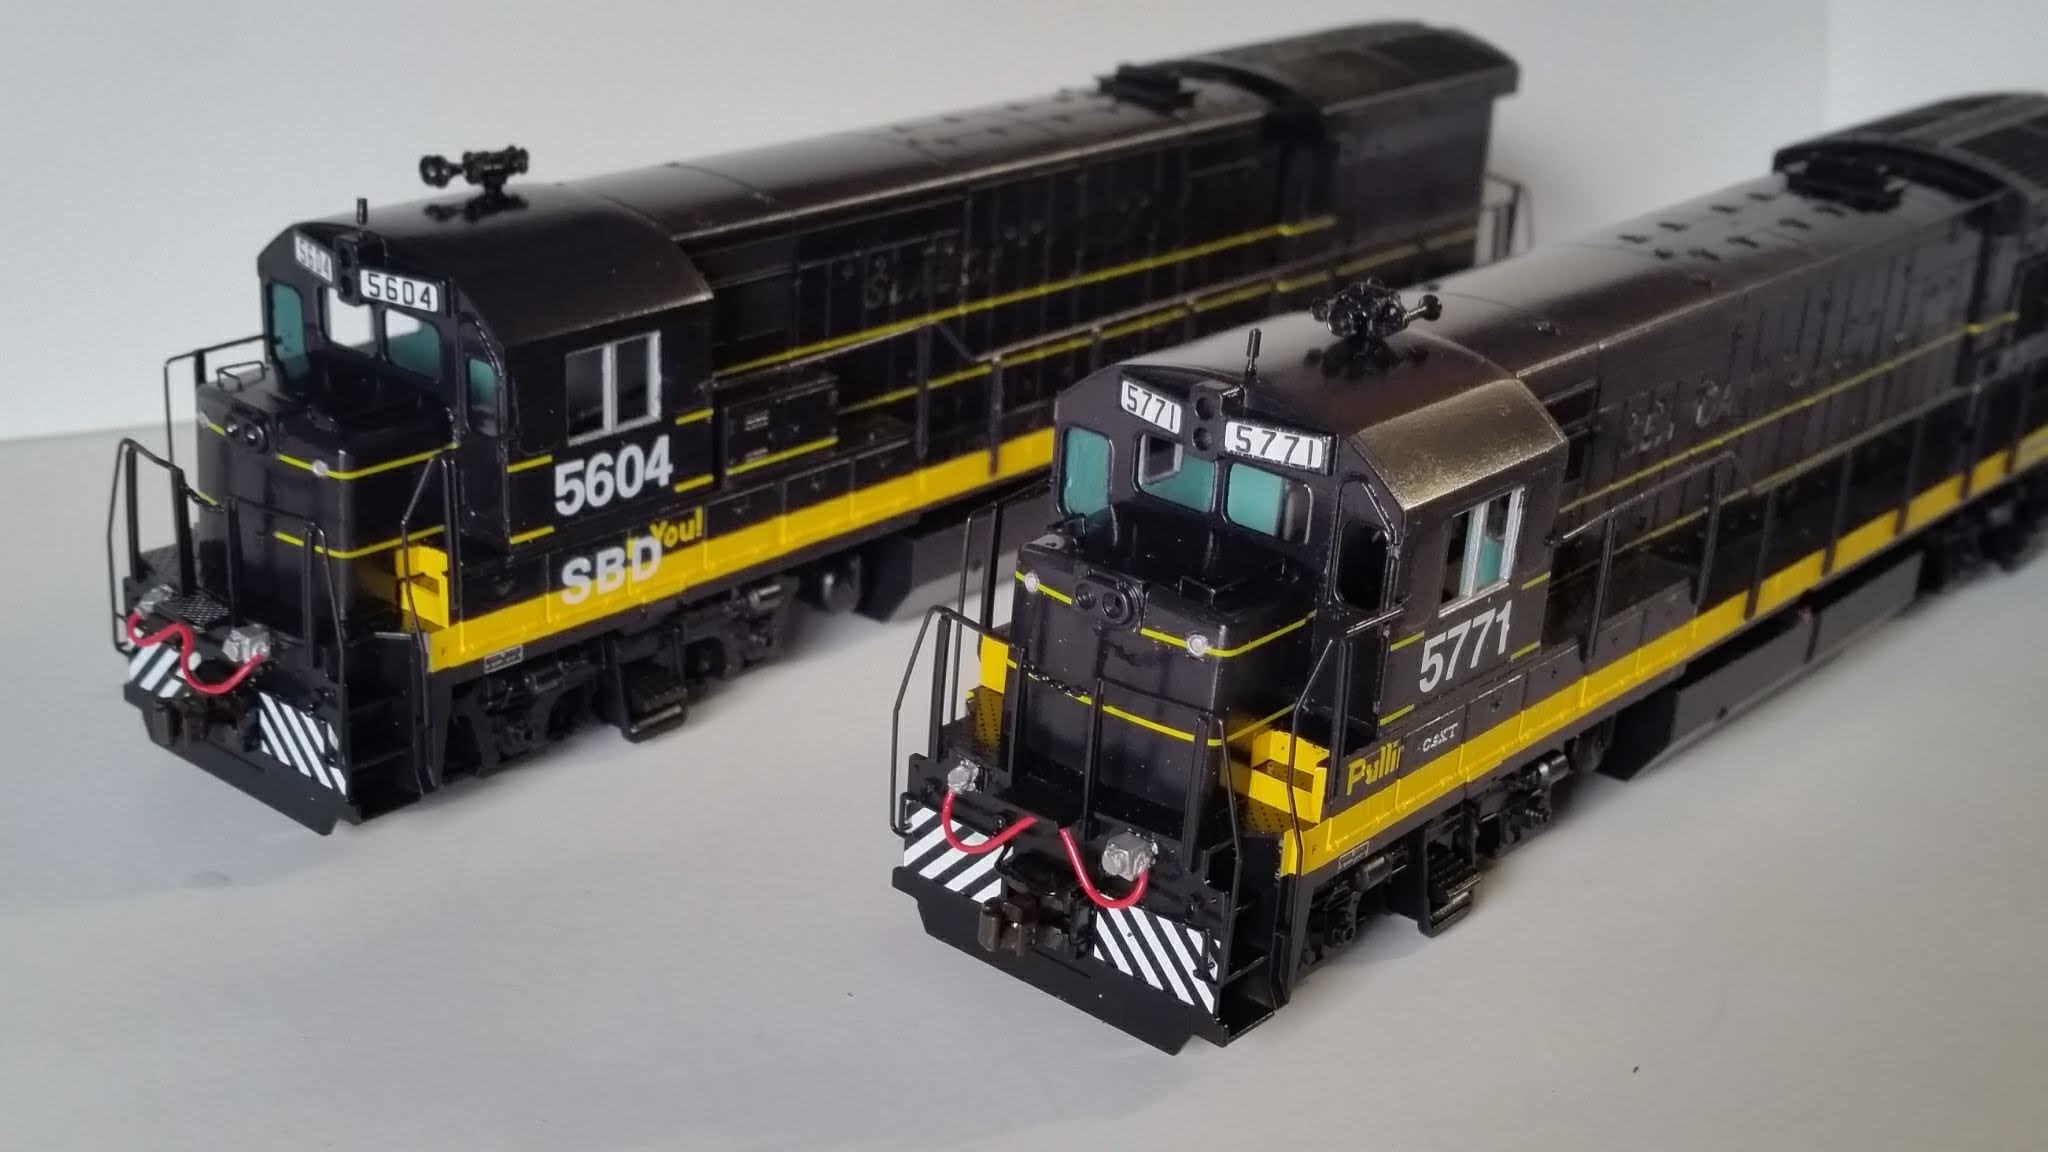
Like many of you I have both old and new locomotives in my collection. The newest of these models have (literally) all the bells and whistles, headlights and warning lights that the prototypes had. The old ones, not so much.
It would be nice to have enough money to just purge all the old models and replace them with all new models so the entire fleet would have lights and whistles and bells. But even then many of the models I have simply aren't available in a new version, and many more I've had to build, detail, paint and weather myself.
 |
| Factory-installed incandescent bulbs in Athearn RTR SW1500 (foreground) and SD40-2 (background) |
It would be nice to have enough money to just purge all the old models and replace them with all new models so the entire fleet would have lights and whistles and bells. But even then many of the models I have simply aren't available in a new version, and many more I've had to build, detail, paint and weather myself.
 |
| Custom built and painted diesels ready for headlights |
A better solution than complete replacement of the fleet is to add those lights to the older models. I won't get into the debate over sound vs. non-sound decoders, which brand is better than the other, or whether incandescent bulbs or LEDs look more like locomotive headlights.
I like the NCE decoders I have because they work well, they allow the lighting functions I want and they are inexpensive. As far as lighting is concerned suffice it to say I've chosen LEDs. There are many companies who sell prewired LED lighting kits made specifically for HO scale locomotives and many of them are quite nice.
With few exceptions they are also not cheap. So if you're like me and you put off installing lights and decoders until you had forty locomotives, the prospect of spending all this money is anxiety-inducing. At first it was looking like I was going to be on a five-year plan to get lights in all my diesels.
A fellow modeler recommended the LED lighting kits sold by a certain railroad-modeling YouTuber (YouTubing model railroader?) on ebay, so I decided to try some for myself. They were inexpensive compared to every other option I could find and were well made if very simple. I installed the LEDs in one of my models and decided the concept was solid.
For $29 you get 15 LED assemblies with resistors (you have to solder them to the wires). So for the mathematically challenged of us out there, that's $1.93 per light and your run-of-the-mill locomotive needs four.
 |
| LEDs from ebay installed in a custom built and painted Athearn SD40-2 |
For $29 you get 15 LED assemblies with resistors (you have to solder them to the wires). So for the mathematically challenged of us out there, that's $1.93 per light and your run-of-the-mill locomotive needs four.
They worked great so I figured this is how I would solve my lighting problem. But after a couple friends experienced customer service issues with the ebaying YouTuber over these lighting kits I decided to make my own rather than roll the dice and end up with product I couldn't use. I figured I could get the cost lower than two bucks per light and I was right.
The raw materials are simple:
- prewired 3500K warm white 0402 or 0603 LEDs
- small diameter heat shrink tubing
- 1.5mm / 0.06" diameter fiber optic rod
- 820ohm 1/4 watt resistors
I bought all these components on ebay and spent just over $70 for enough LEDs, shrink tubing, fiber optic rod and resistors to assemble and install 200 LEDs. $72 ÷ 200 LEDs = $0.36 each. $1.93 vs. $0.36 might not be much if you're only going to light one or two diesels, but it adds up quick, especially when you have Seaboard and Frisco or Southern Pacific diesels with multiple lights on each end.
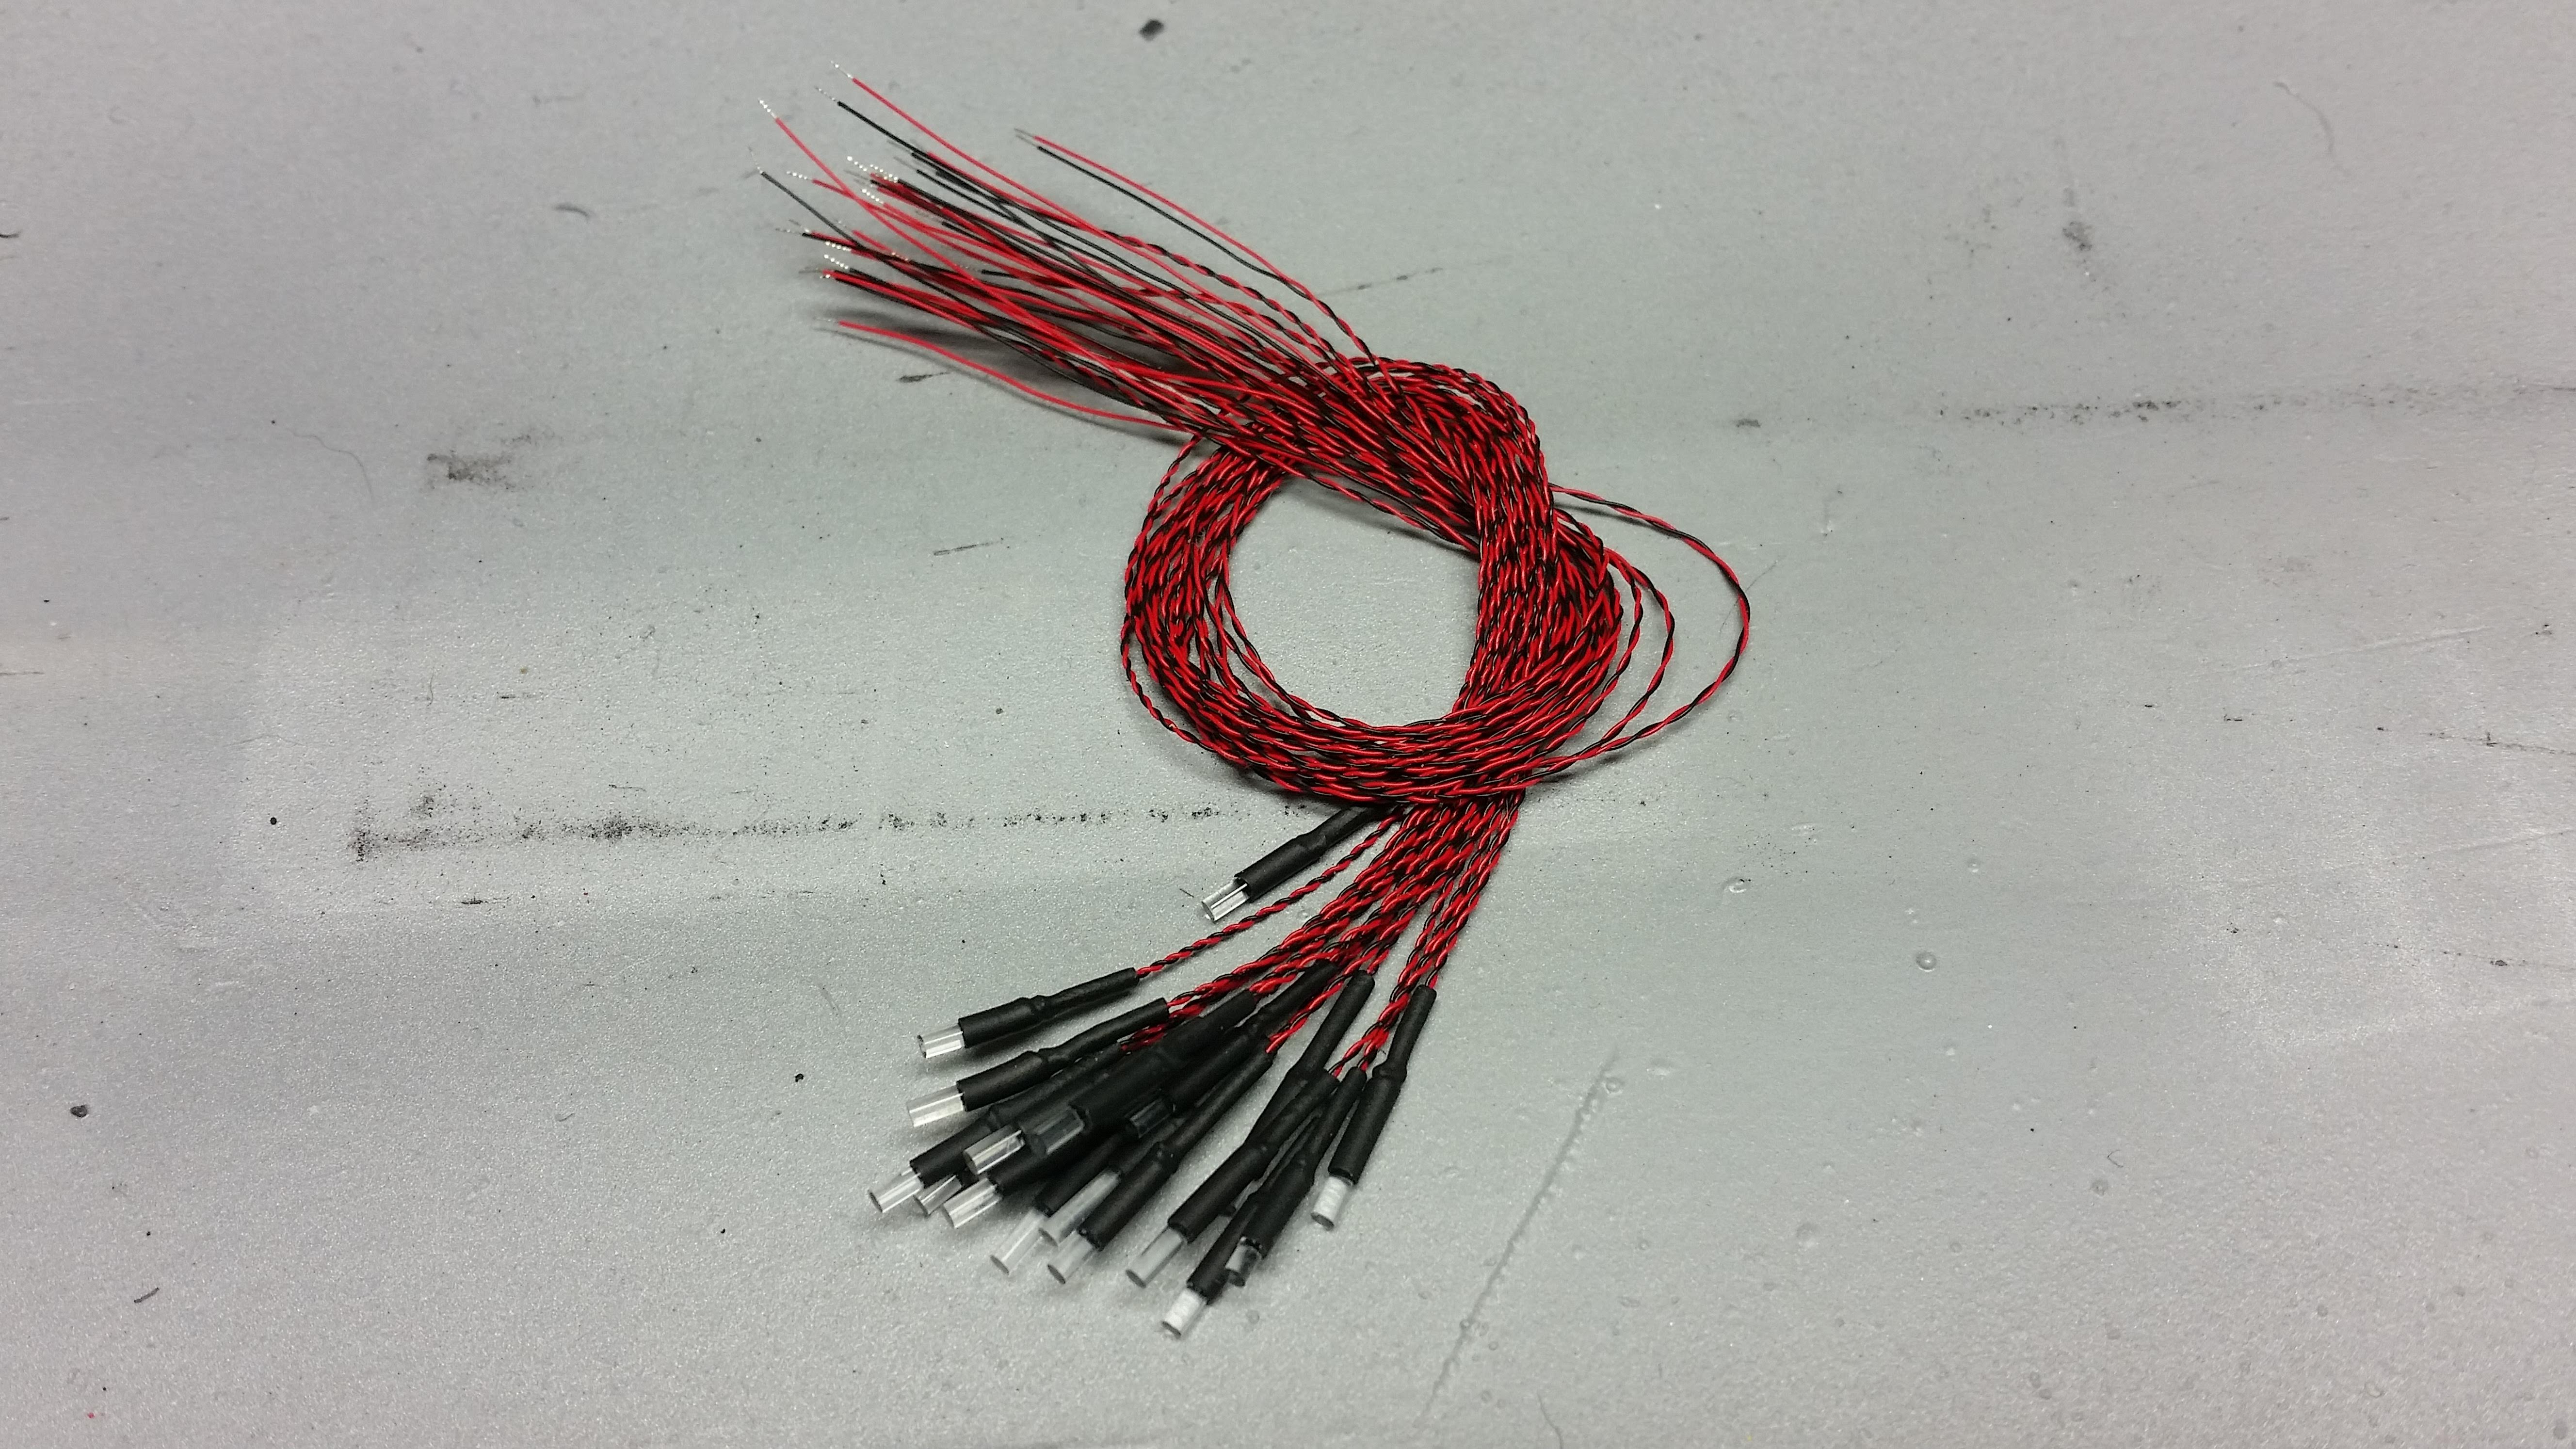
The process to make the LED lights is very simple. I bend the wires so they point "behind" the face of the LED and twist them together (it makes handling the LED easier). Next I place the LED against a 1/4" length of the fiber optic rod and slide them together inside a short length of shrink tubing. Then I hold the assembly over a candle until the tubing shrinks to hold it together. I use fingernail buffing sticks to sand and polish the end of the fiber optic into a lens shape. I tried doing it with heat from the soldering iron or candle and the results were just too inconsistent. Here's a bundle of them after putting them together:
The process to make the LED lights is very simple. I bend the wires so they point "behind" the face of the LED and twist them together (it makes handling the LED easier). Next I place the LED against a 1/4" length of the fiber optic rod and slide them together inside a short length of shrink tubing. Then I hold the assembly over a candle until the tubing shrinks to hold it together. I use fingernail buffing sticks to sand and polish the end of the fiber optic into a lens shape. I tried doing it with heat from the soldering iron or candle and the results were just too inconsistent. Here's a bundle of them after putting them together:
 |
| Completed fiber optic LEDs ready for installation |
Before installing the lights in a model I solder a resistor to one of the leads of the LED. This is not required if the decoder is set up for LEDs and is equipped with resistors, but the majority of my decoders are NCE DA-SR or D13SRJ/D13J.
Installation is simple: from the inside of the body shell insert the fiber optic rod into the headlight opening. I use a no. 53 drill bit to create or resize the headlight opening so the fiber optic rod is a press fit. I secure the headlight with a tiny drop of CA. If you're not comfortable using CA other less permanent adhesives will work fine.
Once all the LED assemblies are fitted to the shell, solder the leads to the appropriate pads on the decoder or locomotive's circuit board if you're using a plug-in decoder. Before I attach the shell I test the lights to make sure everything works. If I am satisfied I reattach the shell and program the lighting effects appropriate to the locomotive.
One thing I like about these lights is the ability to customize the installation. The bundle I showed above works well for 90% of the installations I encounter. But sometimes the light opening is in a tight spot. The GP60 demonstrator below is one example of this. The cab headlight is mounted in the roofline, so the fiber optic has to be bent to fit up inside the housing. I accomplished this by using the candle to achieve the desired bend, then shaped the lens and cut the rod to length. Then I assembled the rod and LED inside the shrink tubing and heated the assembly together. Once I had two identical LED assemblies I installed them in the headlight housing.
 |
| SP B36-7 shell showing LEDs with resistors installed and soldered to NCE DA-SR decoder |
Once all the LED assemblies are fitted to the shell, solder the leads to the appropriate pads on the decoder or locomotive's circuit board if you're using a plug-in decoder. Before I attach the shell I test the lights to make sure everything works. If I am satisfied I reattach the shell and program the lighting effects appropriate to the locomotive.
 |
| Upgraded Atlas B40-8 with new headlights installed in nose |
One thing I like about these lights is the ability to customize the installation. The bundle I showed above works well for 90% of the installations I encounter. But sometimes the light opening is in a tight spot. The GP60 demonstrator below is one example of this. The cab headlight is mounted in the roofline, so the fiber optic has to be bent to fit up inside the housing. I accomplished this by using the candle to achieve the desired bend, then shaped the lens and cut the rod to length. Then I assembled the rod and LED inside the shrink tubing and heated the assembly together. Once I had two identical LED assemblies I installed them in the headlight housing.
 |
| Headlights installed in 3D printed cab and nose housings |