Sunday, May 22, 2016

Santa Fe EV Caboose 999700

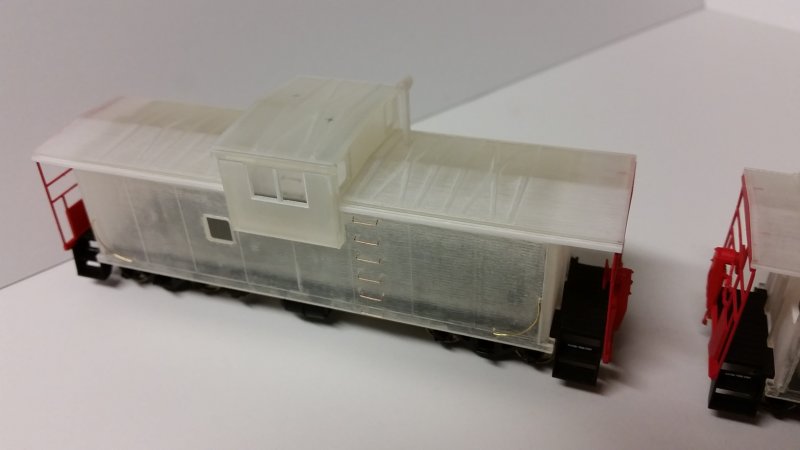
This caboose was built using an Atlas HO scale extended vision caboose as a starting point and with 3D printed sides, ends, roof, cupola, underbody and roof details. I painted it with Model Master enamel paints and lettered it with Microscale decals. The prototype was distinctive for being the only extended vision caboose to wear the color scheme of the proposed Southern Pacific Santa Fe Railroad known as Kodachrome or Shouldn't Paint So Fast.

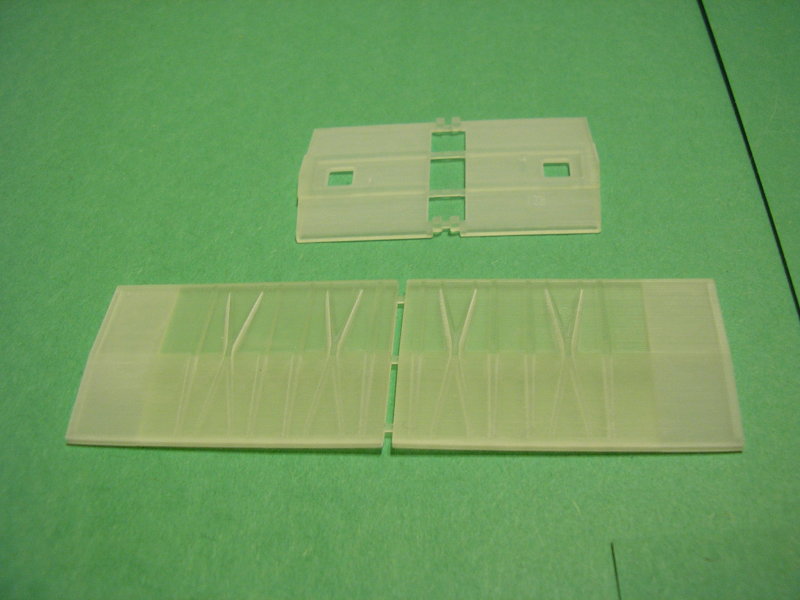
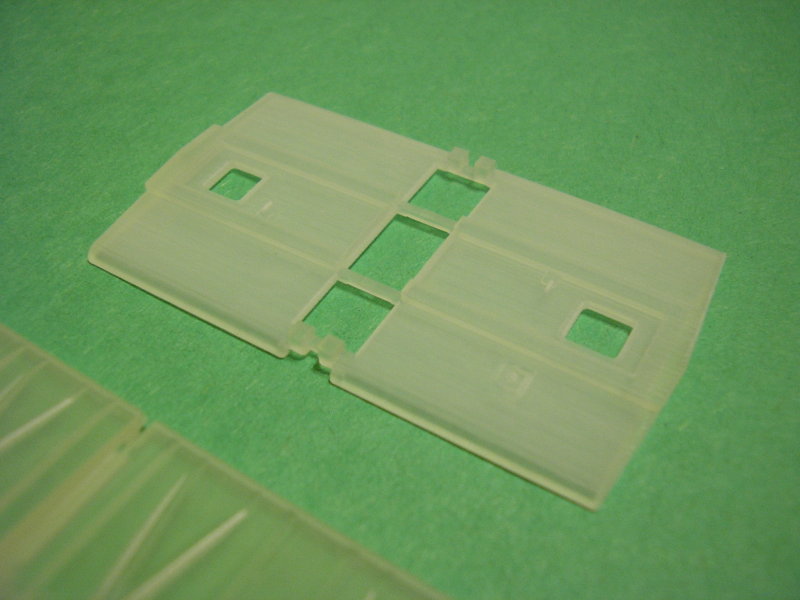
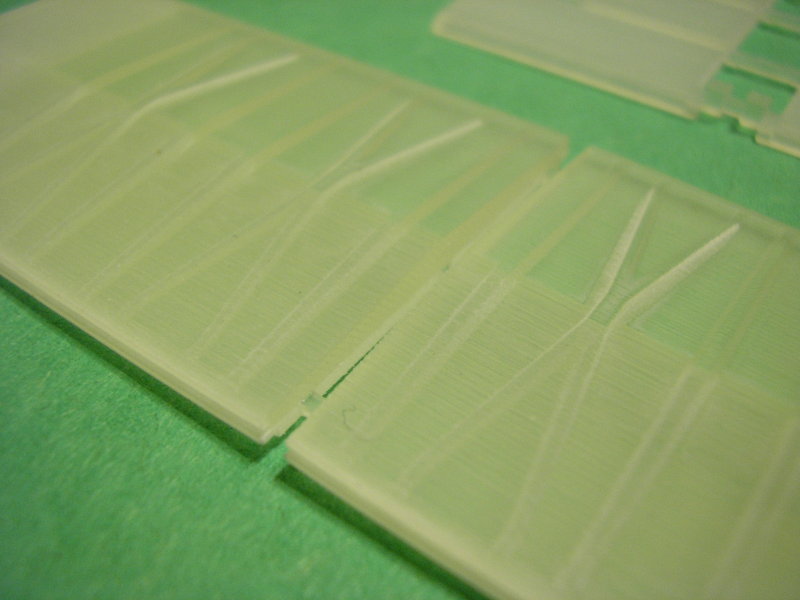
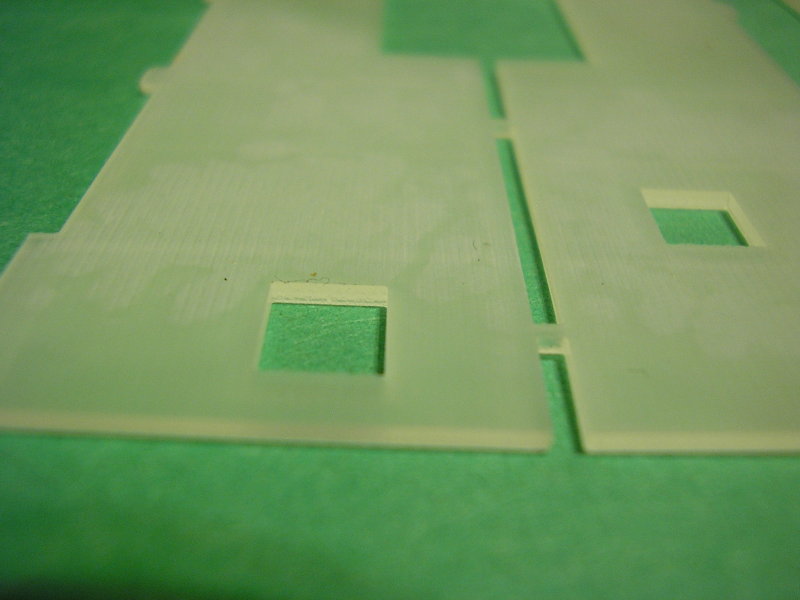
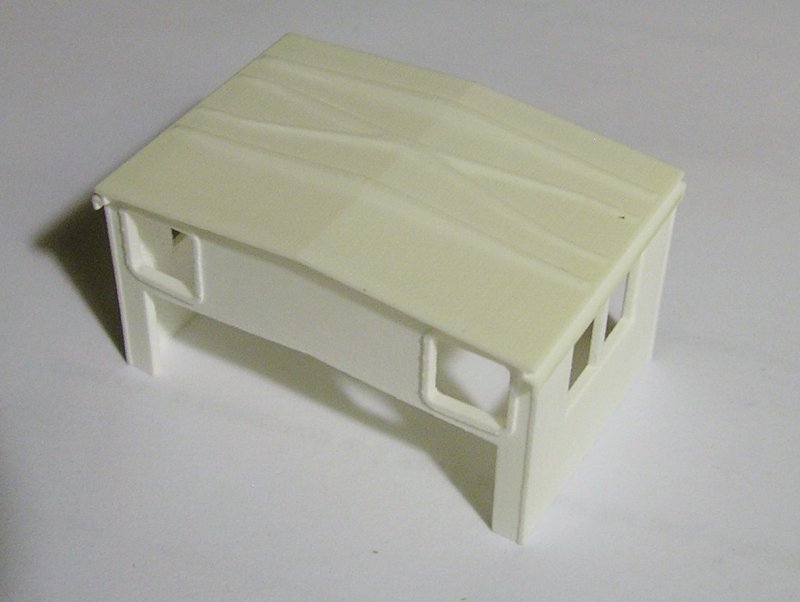
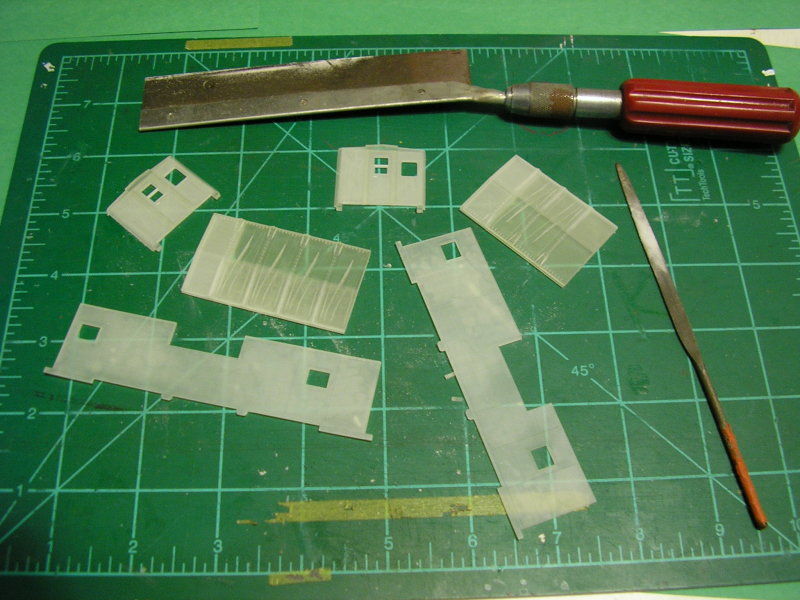
Here are the 3D printed parts:
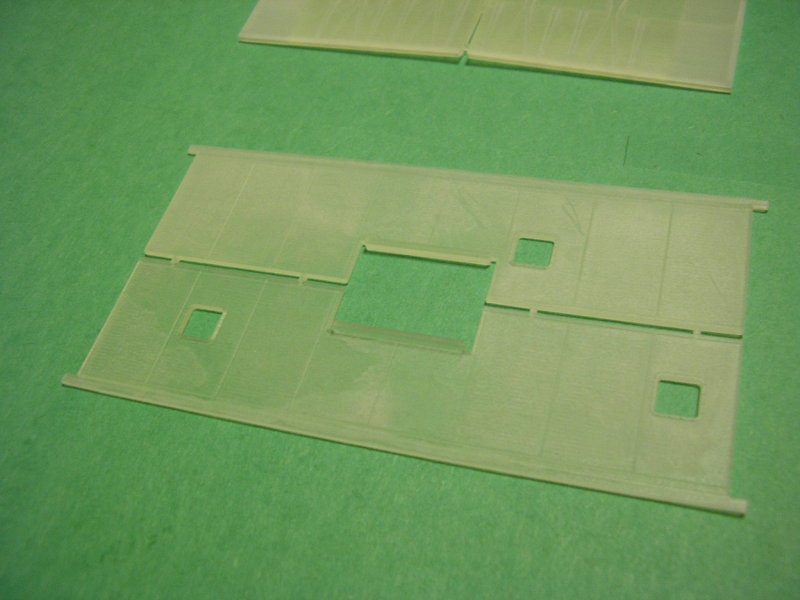


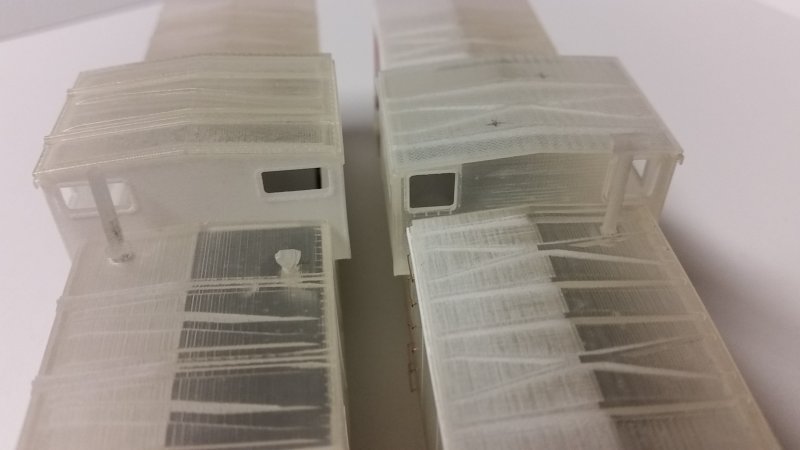
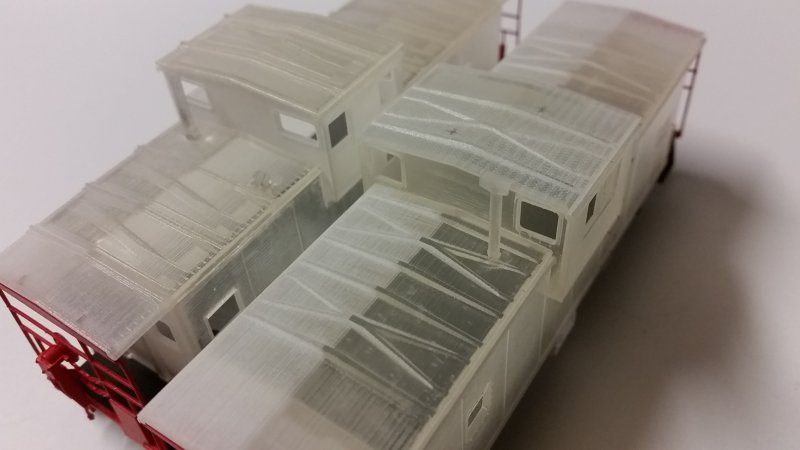
These photos show the body assembled, a process which is pretty simple. I began by aligning the correct end to the correct side applying "tack weld" dots of CA adhesive (super glue) from the inside of the body, then running a bead of glue along the inside of the joint once the fit is satisfactory. I repeated the process with the remaining end and side, then assembled the two L-shaped assemblies into a four-sided box. Finally, I aligned the roof parts to the opening for the cupola and secured them in place.

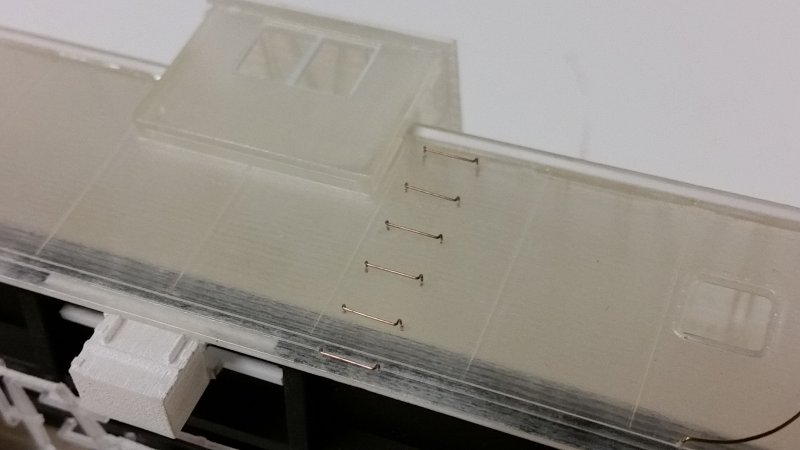
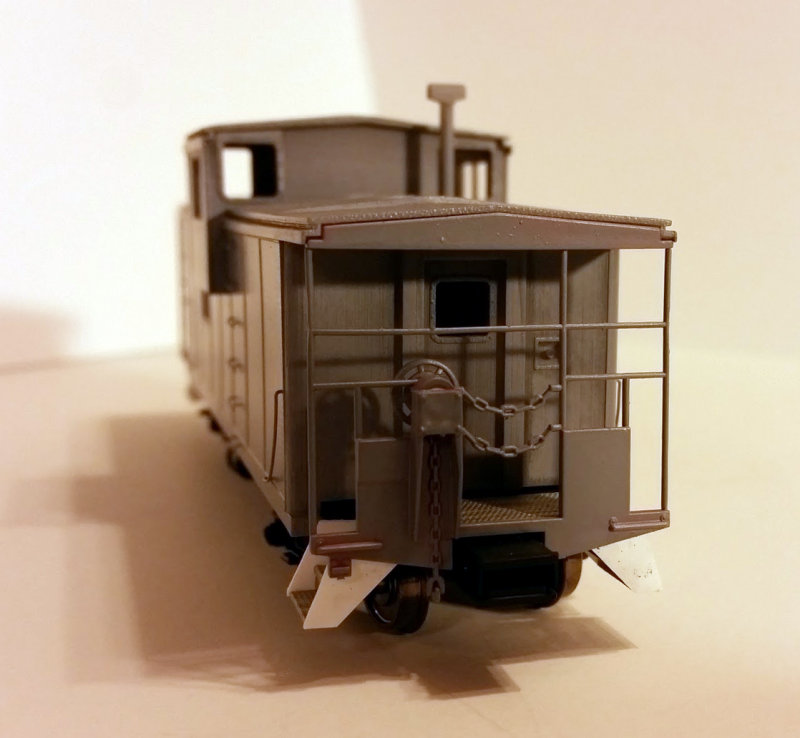
On this model and the Cotton Belt model no starter holes or grab iron ends are present, so all the wire parts were added using makeshift paper templates. I'm sorry to say it looks like it. But the good news is I revised all the models after assembling the two basic bodies so that each one is equipped with starter holes and grab iron ends appropriate to each prototype. In fact, I would say I learned a lot with these two models so that no others using this design would be so primitive. 
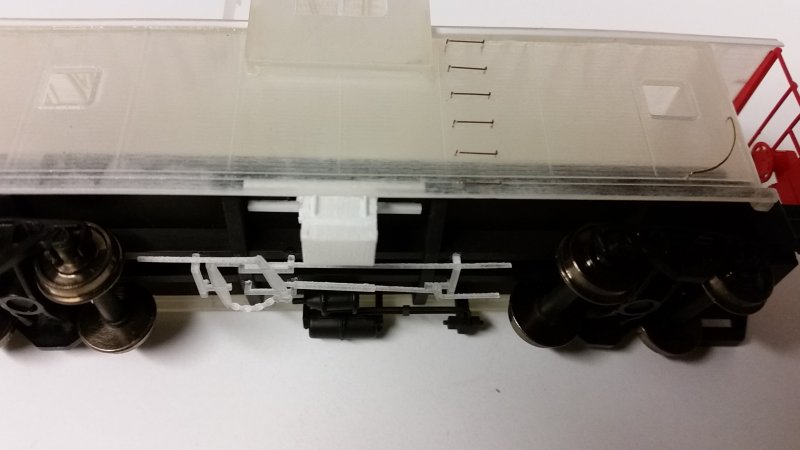


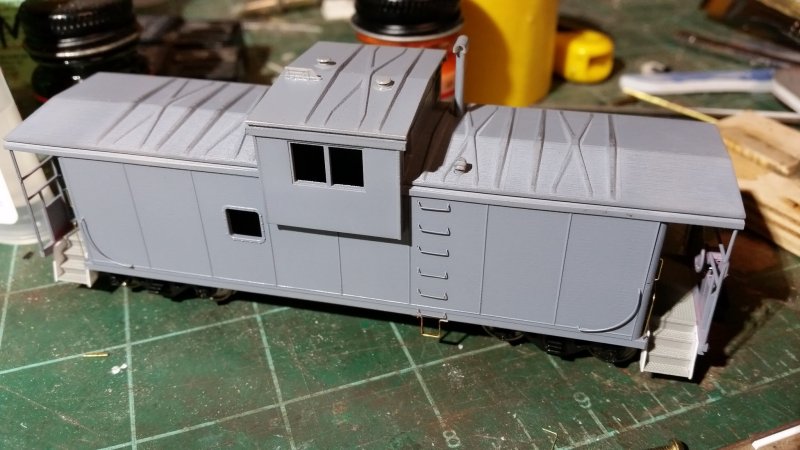
At this point I decided to replace the Atlas steps and crossover platform with Moloco parts and styrene sheet. Although the Atlas steps are pretty close to the Santa Fe prototype other than the number of steps, there is a clear difference between the Atlas part and earlier cabooses such as the Cotton Belt prototype that is the subject of the other build I was working on in tandem with this one. Since I would have to do the work anyway I decided to do it for both models. At this time I had primed the model with Model Master primer, which makes it much easier to work with and photograph than the unpainted translucent model.
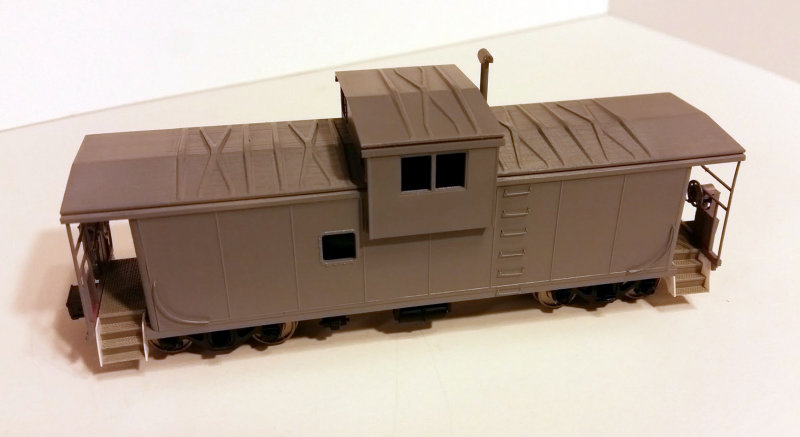
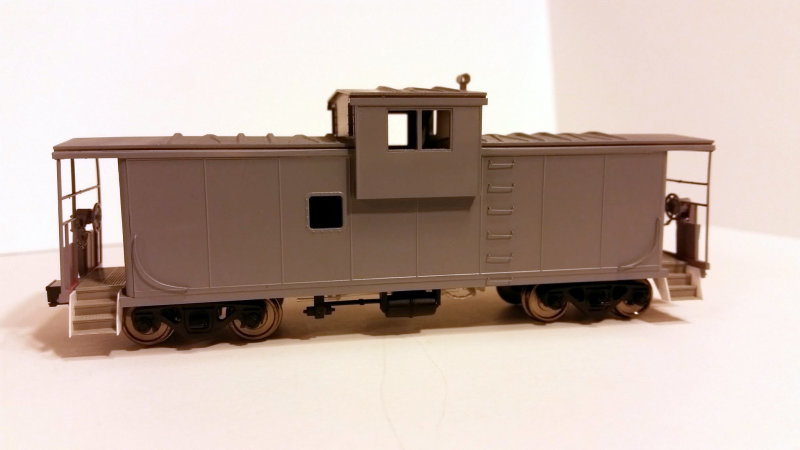
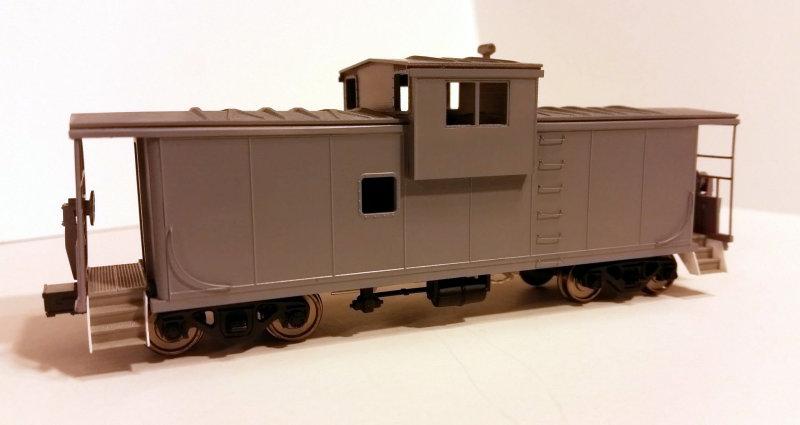
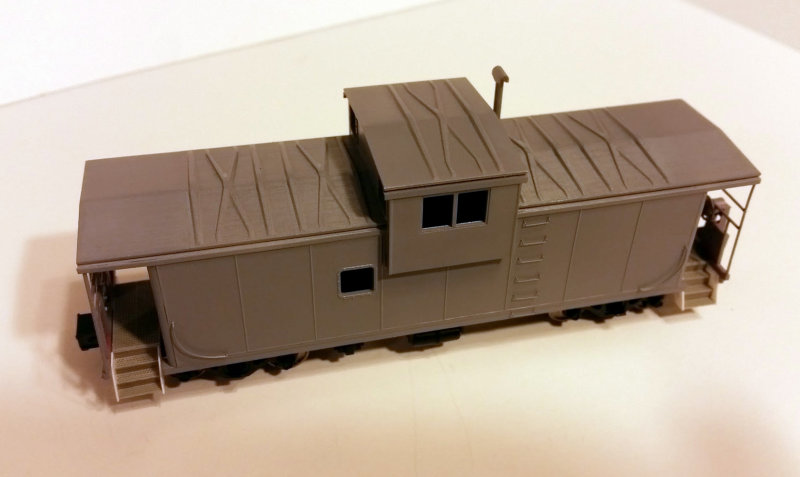
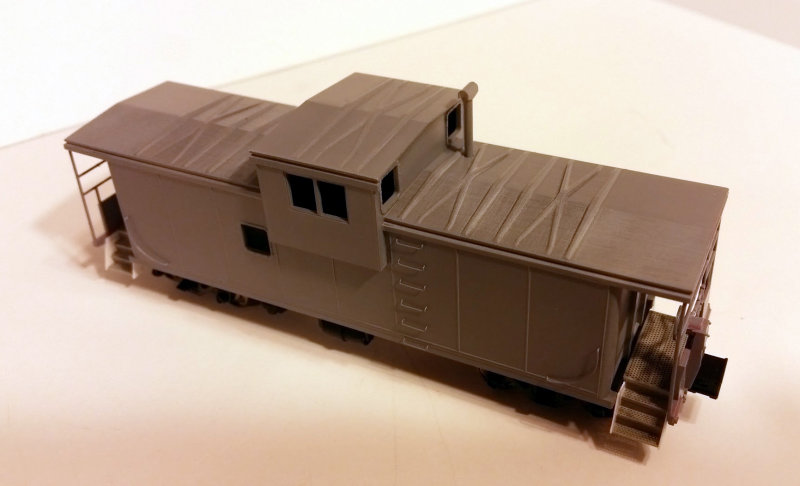
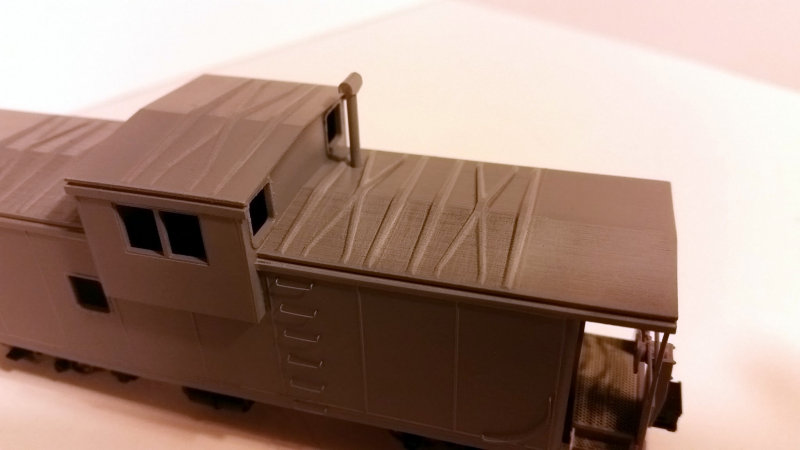
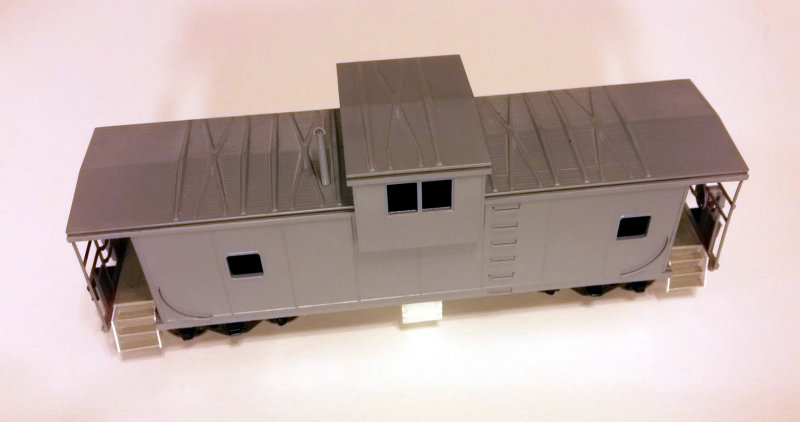
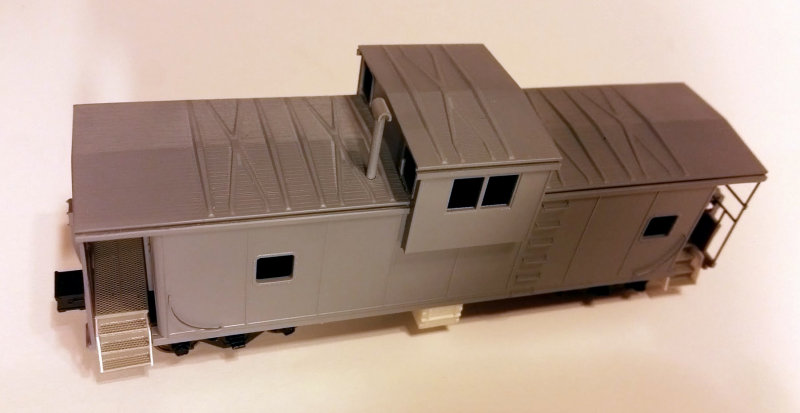
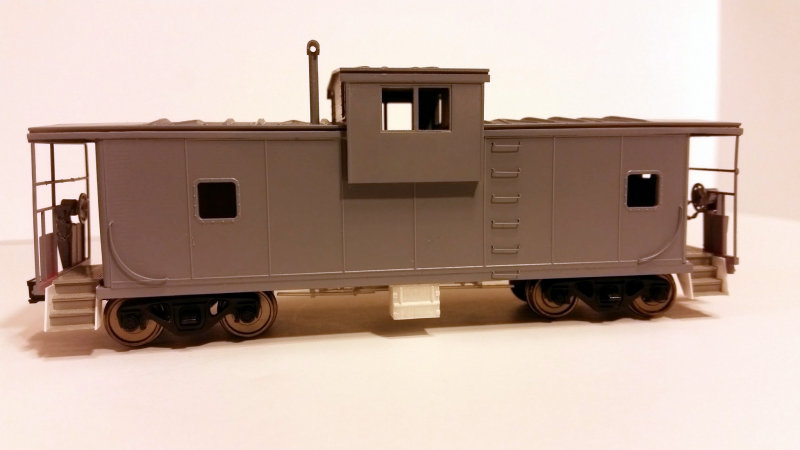
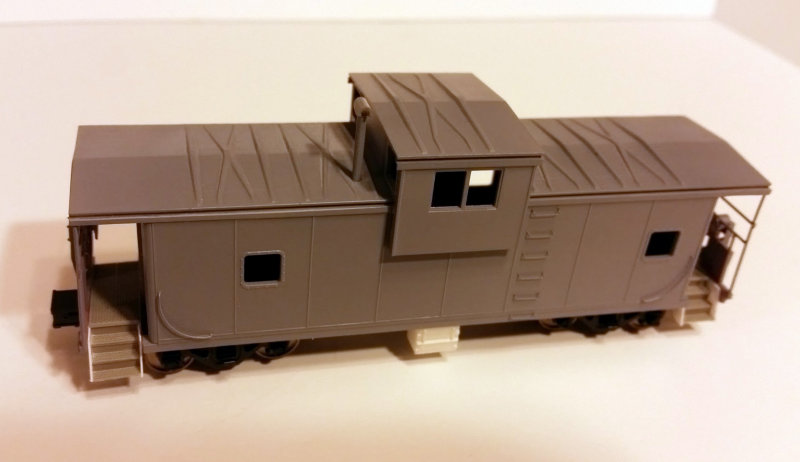


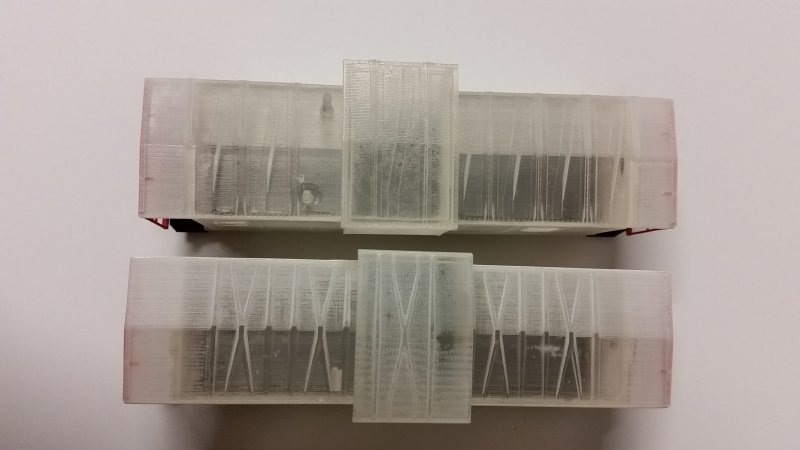
The average end user of 3D printing services such as Shapeways is able to produce some really nice parts at this time, but to purposely leave out any mention of the weaknesses of this process as it is today would be dishonest. In the interest of full disclosure, take a look at the "ridges" in the roof running lengthwise in the photo below. Although I think I have a pretty good idea what causes this effect and how to avoid it, it sometimes still shows up. I was able to sand the ends of the roof and the tops of the embossed areas to try to minimize the appearance of the ridges but it's not completely effective. 


Finally, here is the model painted and decaled. I used Model Master Chrysler Engine Red, Insignia Yellow for the body and Light Ghost Gray for the aluminum window frames, followed by a drybrush of aluminium over the gray and black for the window gaskets. The trucks are painted with a mixture of black, burnt umber and gray.
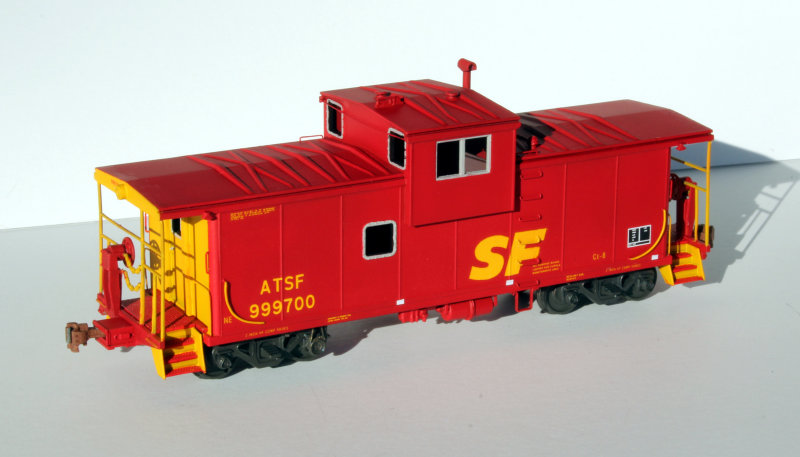

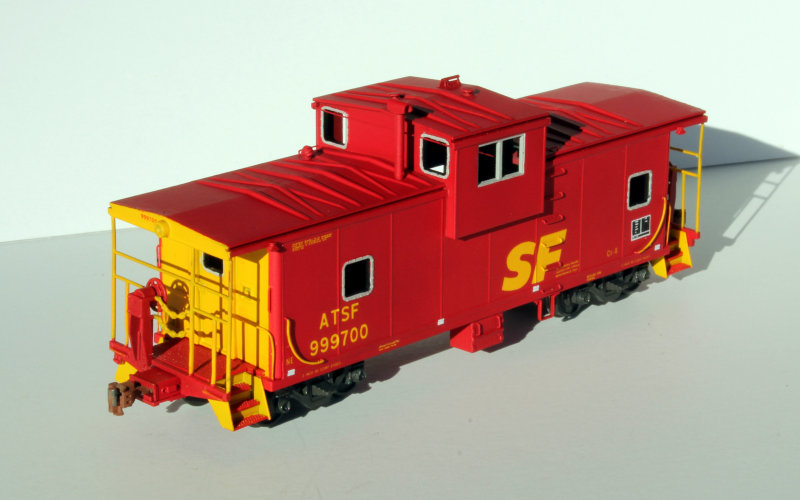
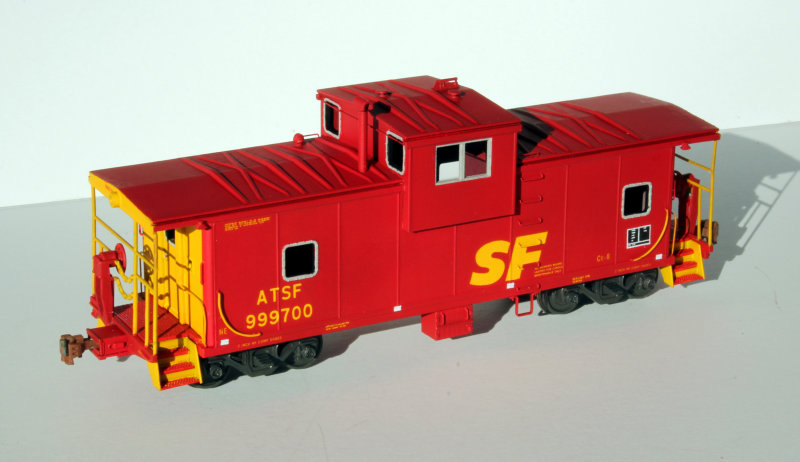
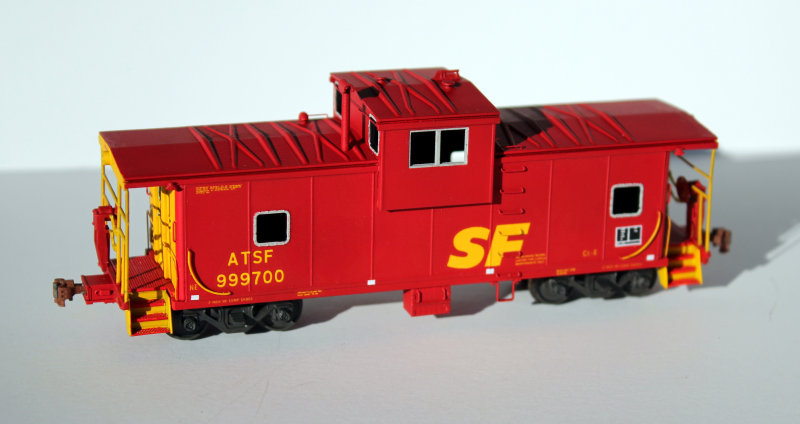
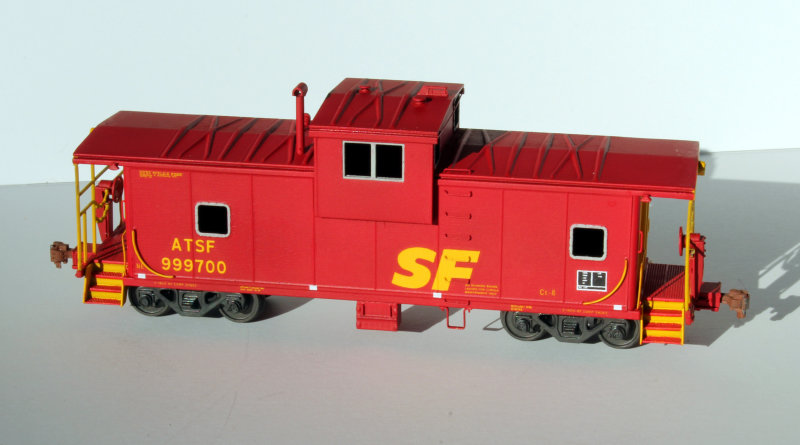
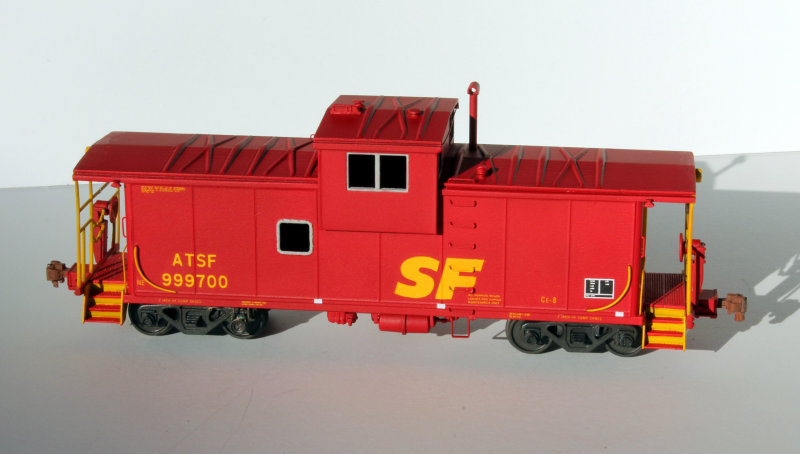


It still needs light weathering and final details but that will have to come a little later. I have too many more of these projects to finish, not to mention the CAD for additional projects. It's not a perfect model by any means, nor was it an inexpensive one, but I think it is a good representation of the prototype, one that's not easy to obtain in HO scale.

Highball!

Tuesday, November 17, 2015

Thrall 5750cf Carbon Black Covered Hoppers

3D models rendered in Bryce 7

Thrall 5750 cubic foot* carbon black covered hoppers manufactured between September 1968 and 1989 (and beyond) feature a boxy ribbed carbody with numerous roof hatches, three hoppers and sampling spigots on the carbody sides for each compartment. The cars can be broken down into seven variants with certain distinguishing characteristics.

September and December 1968
No carlines (roof ribs) over the partitions


March through June 1970
Carlines added to partitions


July 1970 through late 1973
Side stakes at bolster changed from 3" column to 6" channel


Late 1973
Sampling spigots changed to round style and running board width increased to 24 inches


April through July 1975
End stakes changed from zee to column


June through November 1977
Carlines are fewer and a lower profile (internal?); 6-1/4" wide side stakes 


December 1979 through May 1989 and beyond
Roof design returns to earlier version, side stakes over partitions


*Some 4727 cubic foot cars were converted to 5750 cubic foot models, but they are not covered here.

Wednesday, November 4, 2015

Adventures in 3D Printing

I’ve been playing around with 3D printing through Shapeways for almost a year now. It started out as a way to make something another engineer and I had joked about at work: a reverser with a threaded rod end made for attaching your favorite beer tap handle. I started an account with Shapeways and printed one for myself and one for my friend. It was pretty neat to be able to go from idea to product in such a short period of time.


Since then I’ve made several parts, from structures to semaphore blades to freight car parts. About six weeks ago I turned my attention to the idea of 3D printing new cupolas for the Atlas Extended Vision caboose. My thinking was the basic body is easy enough to modify, to blank a window here or add one there, that there was no need to bother doing anything beyond the cupola variations I’d seen as I looked at BN’s mostly inherited caboose fleet. And then I decided I could really use a Santa Fe EV caboose, one with the centered cupola:


The centered cupola didn’t strike me as a big deal, since I’d already had pretty good success doing the major surgery on a Mopac caboose with the offset cupola using Sam Lloyd’s method of cutting the body into three parts and reversing the cupola section. But the roof of those Santa Fe cabooses is the later X panel style instead of the diagonal panel found on the Atlas model. In fact, other than the Walthers bay window caboose and the Athearn Genesis SP/SSW bay window caboose, I couldn’t find a source for an X panel roof for a caboose. Not that it would matter, since the bay window roof is narrower than the EV caboose roof, so I’d be up against some heavy repetitive scratchbuilding if I wanted one of these Santa Fe cabooses.

And that’s where it all spiraled out of control. My plan was to create parts that could be used to replace certain parts of the Atlas caboose – the roof, cupola, ends and sides – but that quickly turned into parts designed to be used together to make an entire body to replace the stock Atlas body. Today a package came in the mail with the parts (other than the cupola shown above) needed to build a Santa Fe CE-8/CE-11 body:


I also printed the parts needed to build a Cotton Belt C-40-9:


Here are the parts assembled into the basic body:


As of today I’m up to twenty different bodies made from different combinations of variations on those four basic parts – roof, cupola, ends and sides – and there are still more to come as I collect the data necessary to create the drawings. I’m not sure how much farther I’ll take this EV caboose project since I’m running out of prototypes that I’m interested in modeling, but I know there’s some unfinished business with Soo Line cabooses in particular.

There are other types of cabooses I’d like to draw, especially the bay window cabooses of Rock Island, Frisco and Chicago Northwestern. Good data on those prototypes isn’t easy to come by. Field measurements might be the only way to get those done. Until I make some progress in getting the data, I’ve had to move on to other things.

So one area I’ve been focusing on lately is caboose detail parts. It’s not difficult to detail the underframe of a caboose, but it sure is easier to print it! To that end I’ve drawn some battery boxes, brake rod/lever/slack adjuster assemblies, and roof details like smokejacks and toilet vents. Like other small detail parts I’ve drawn, sometimes these things don’t work on the first try. Then it’s back to the drawing board to make the necessary revisions. I just started working on these detail parts, so I don’t have any printed samples yet. Maybe in a couple weeks.
If you'd like to check out the caboose parts, take a look at the Caboose Section of my Shapeways store.