
This caboose was built using an Atlas HO scale extended vision caboose as a starting point and with 3D printed sides, ends, roof, cupola, underbody and roof details. I painted it with Model Master enamel paints and lettered it with Microscale decals. The prototype was distinctive for being the only extended vision caboose to wear the color scheme of the proposed Southern Pacific Santa Fe Railroad known as Kodachrome or Shouldn't Paint So Fast.
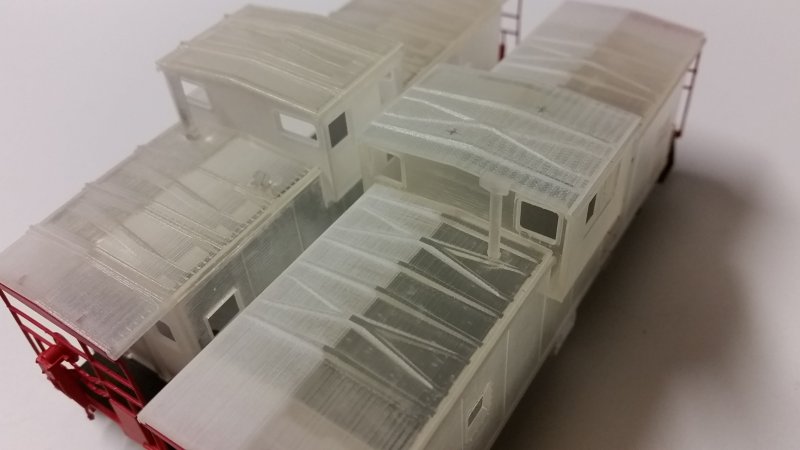
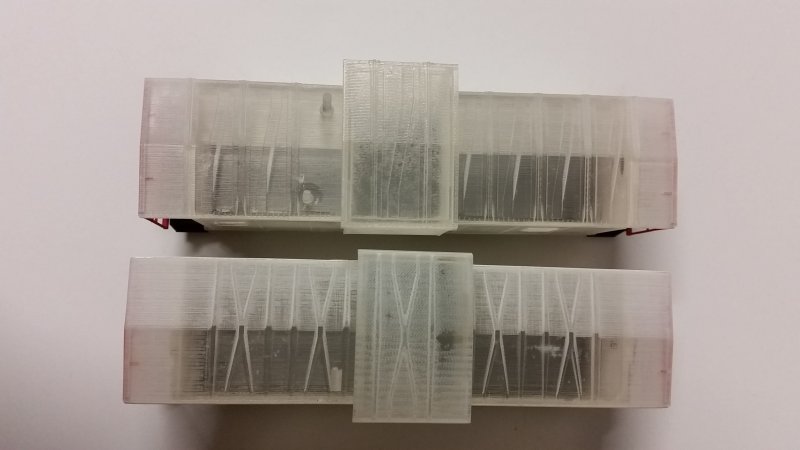
Here are the 3D printed parts:
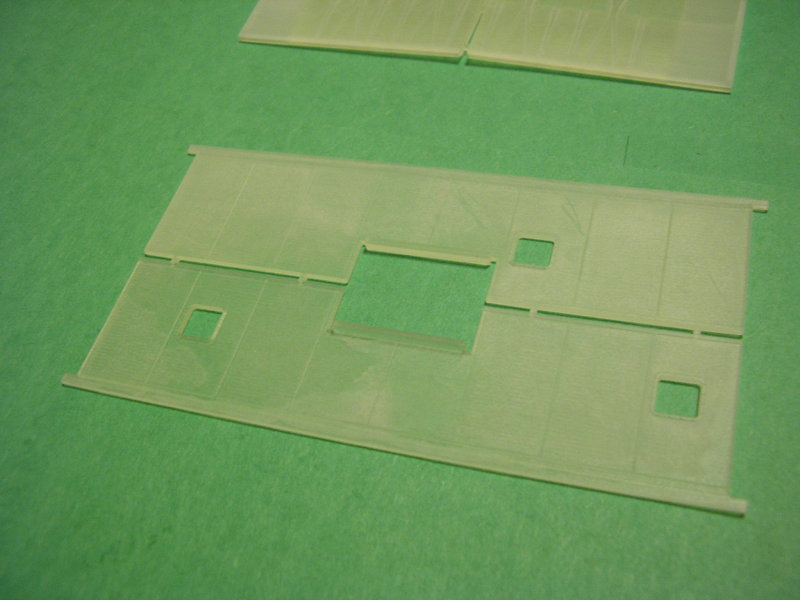
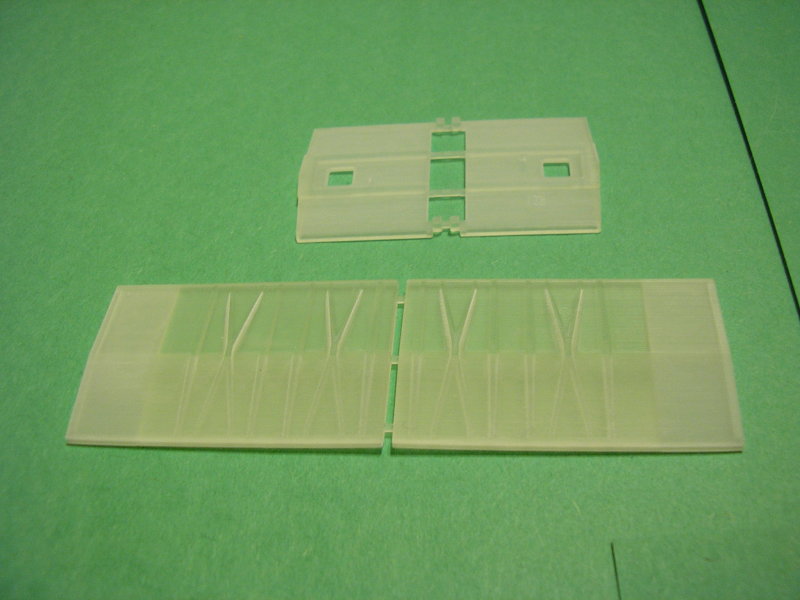
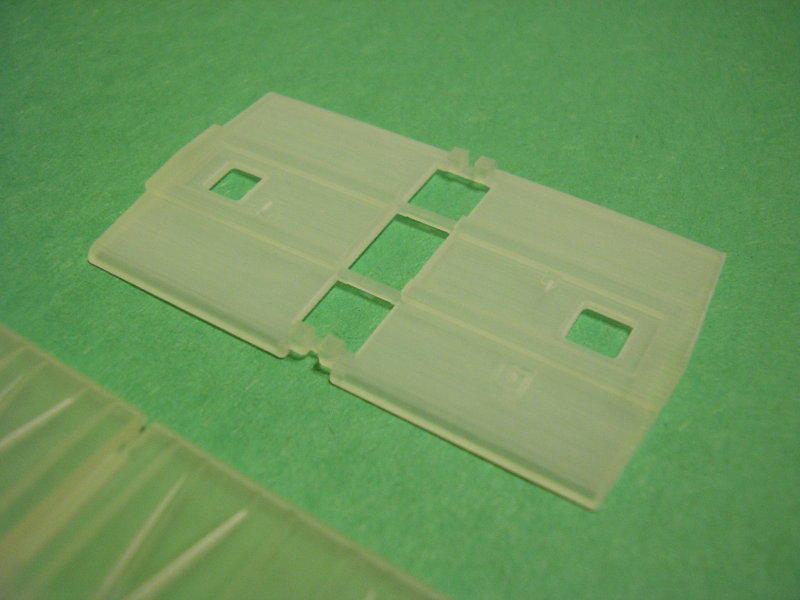
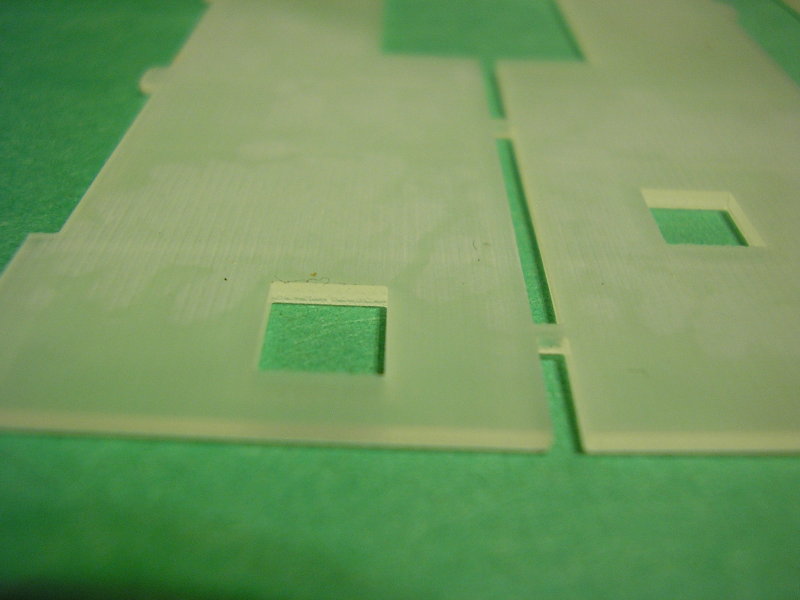
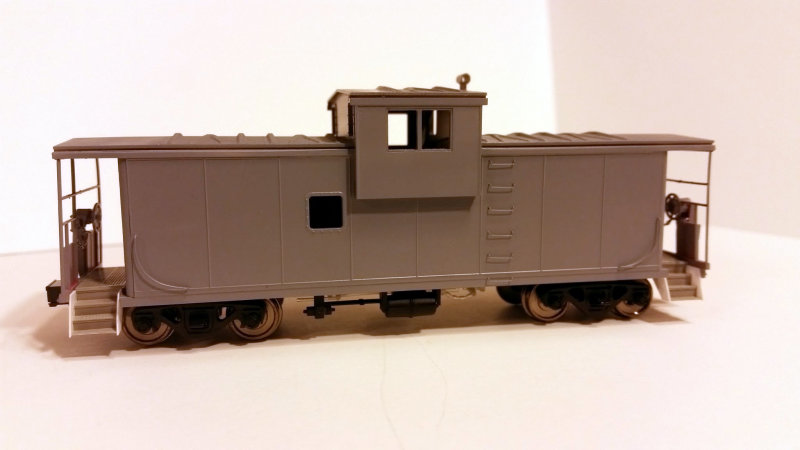
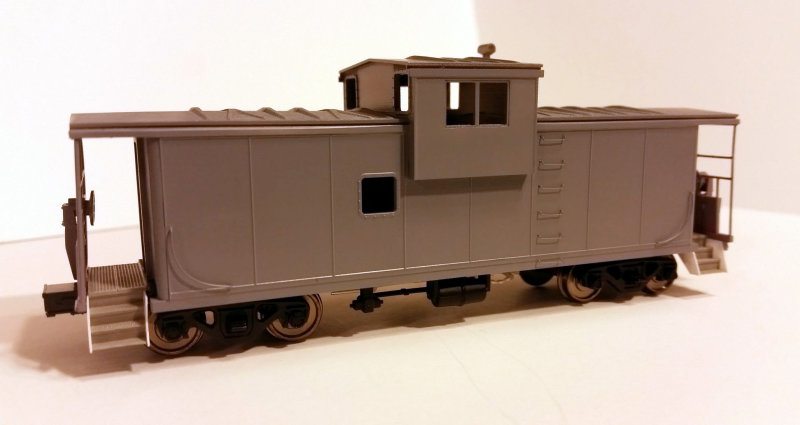
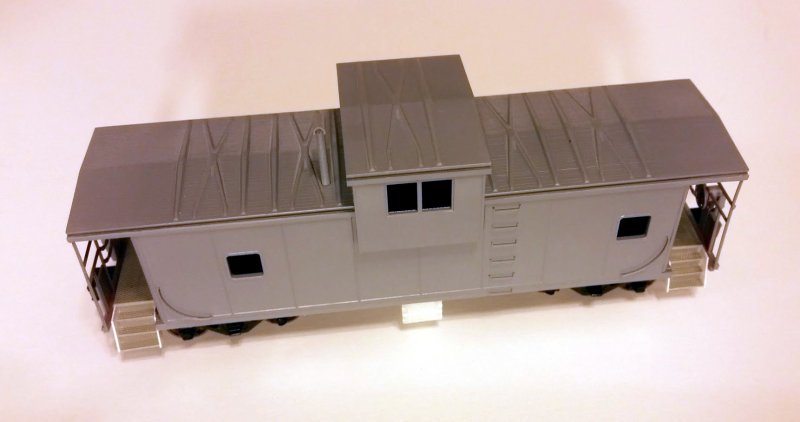
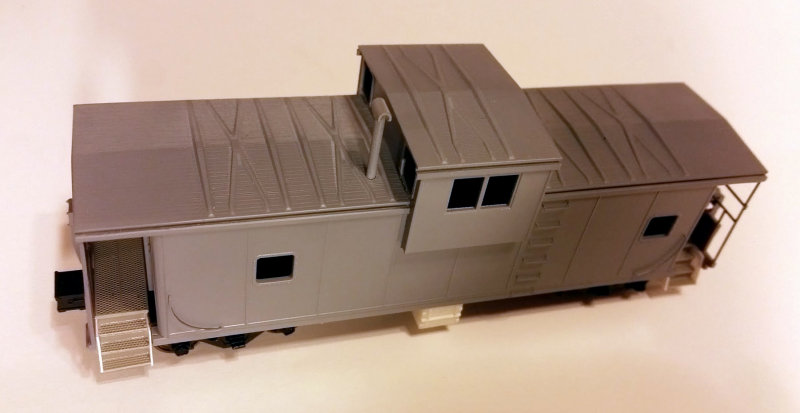
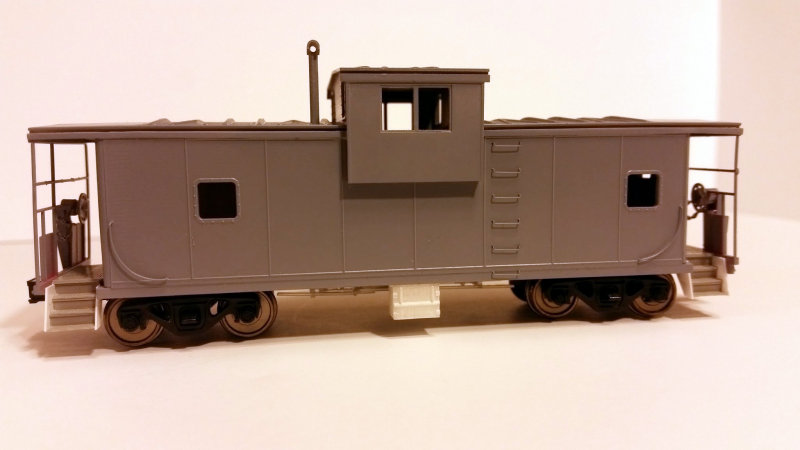
These photos show the body assembled, a process which is pretty simple. I began by aligning the correct end to the correct side applying "tack weld" dots of CA adhesive (super glue) from the inside of the body, then running a bead of glue along the inside of the joint once the fit is satisfactory. I repeated the process with the remaining end and side, then assembled the two L-shaped assemblies into a four-sided box. Finally, I aligned the roof parts to the opening for the cupola and secured them in place.
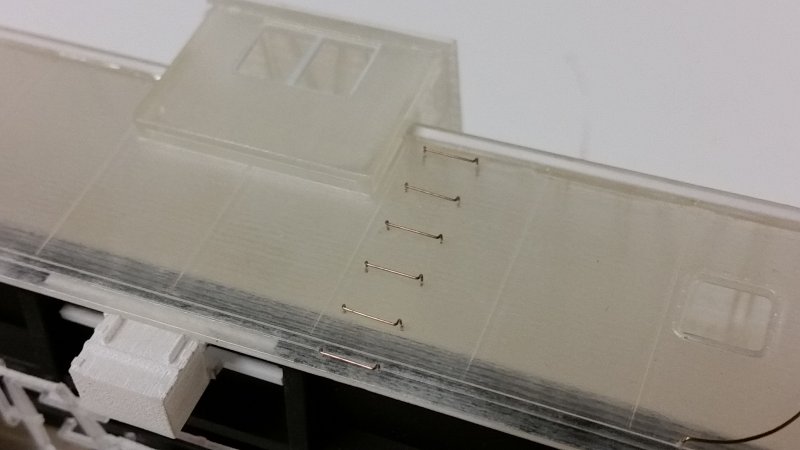
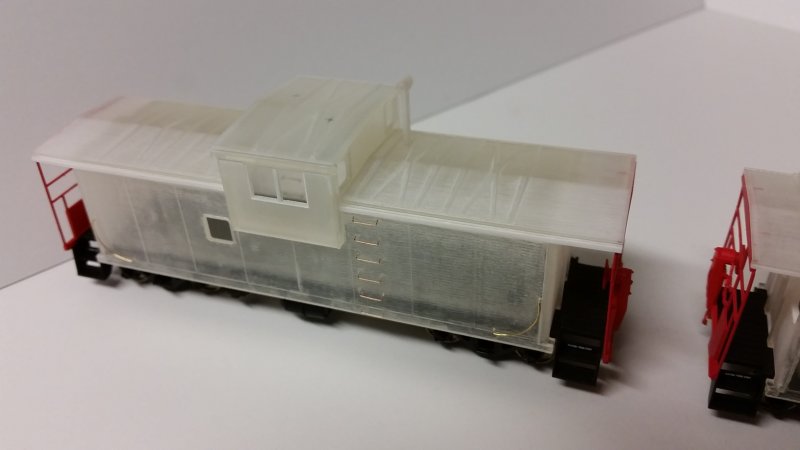
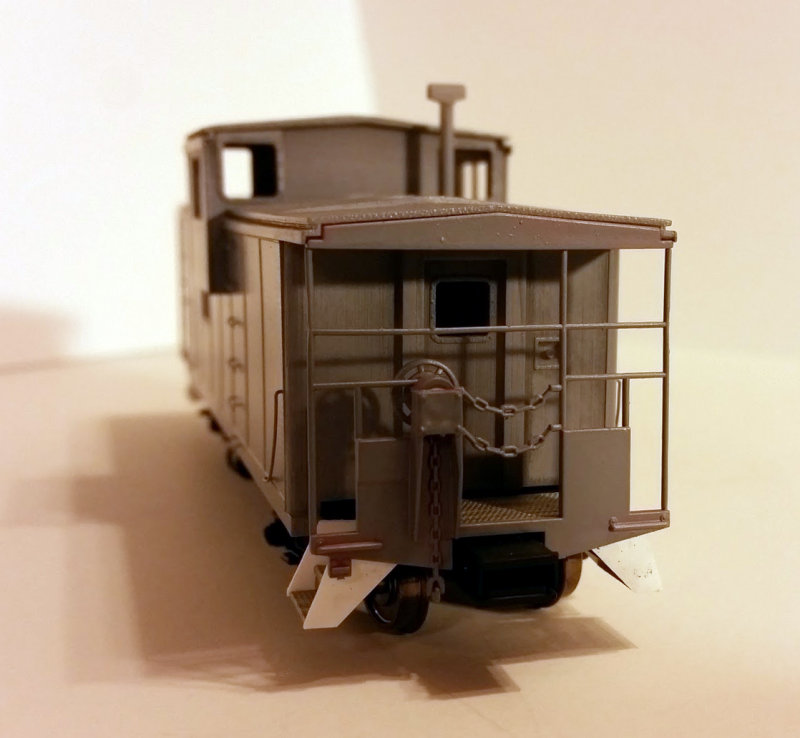
On this model and the Cotton Belt model no starter holes or grab iron ends are present, so all the wire parts were added using makeshift paper templates. I'm sorry to say it looks like it. But the good news is I revised all the models after assembling the two basic bodies so that each one is equipped with starter holes and grab iron ends appropriate to each prototype. In fact, I would say I learned a lot with these two models so that no others using this design would be so primitive.
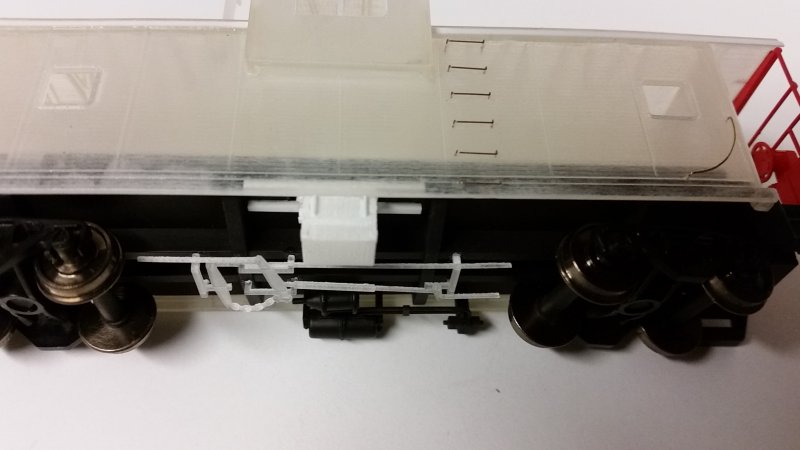
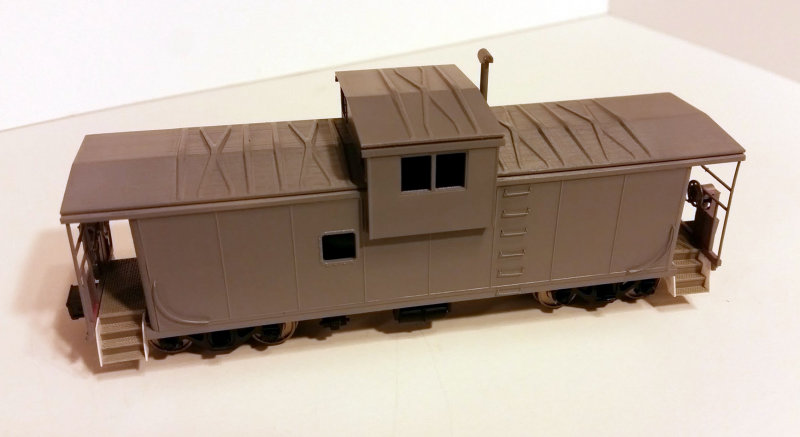
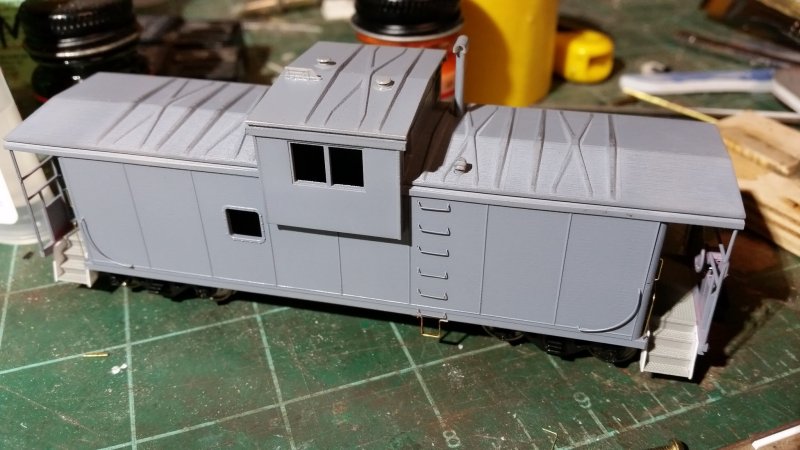
At this point I decided to replace the Atlas steps and crossover platform with Moloco parts and styrene sheet. Although the Atlas steps are pretty close to the Santa Fe prototype other than the number of steps, there is a clear difference between the Atlas part and earlier cabooses such as the Cotton Belt prototype that is the subject of the other build I was working on in tandem with this one. Since I would have to do the work anyway I decided to do it for both models. At this time I had primed the model with Model Master primer, which makes it much easier to work with and photograph than the unpainted translucent model.
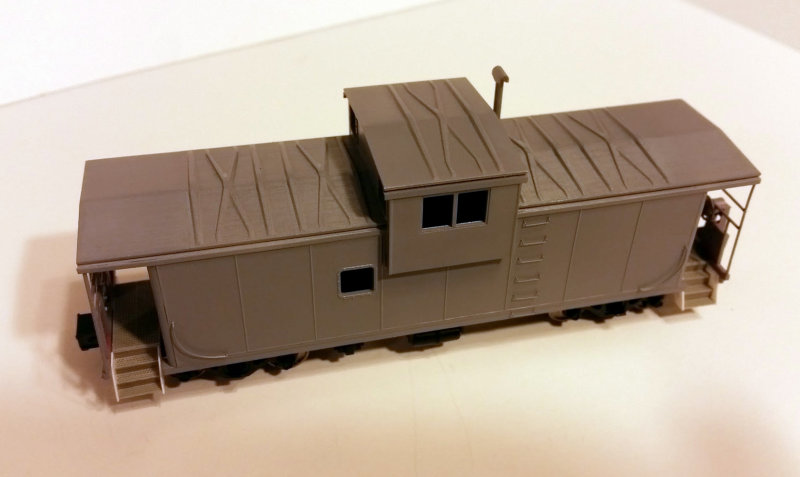
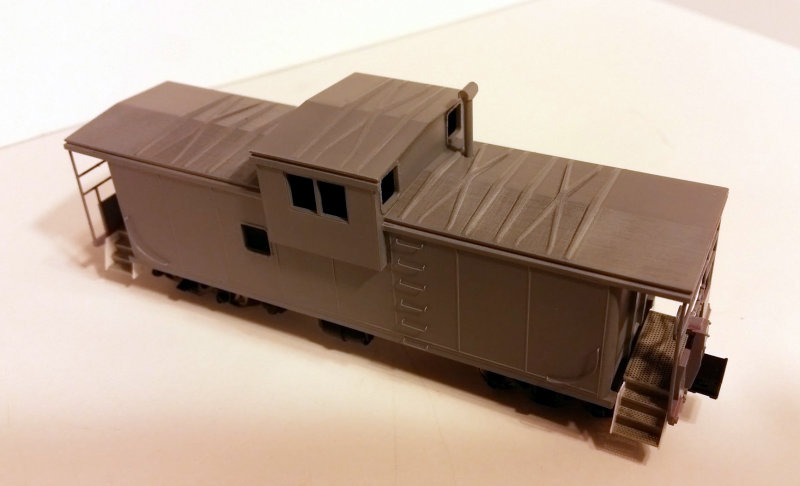
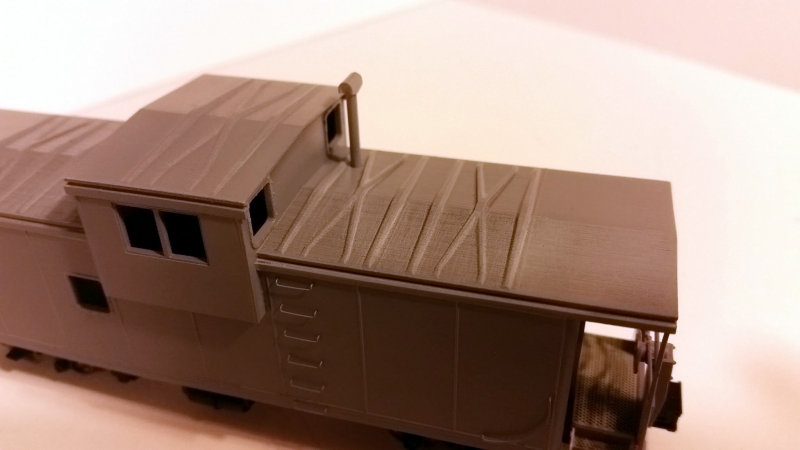
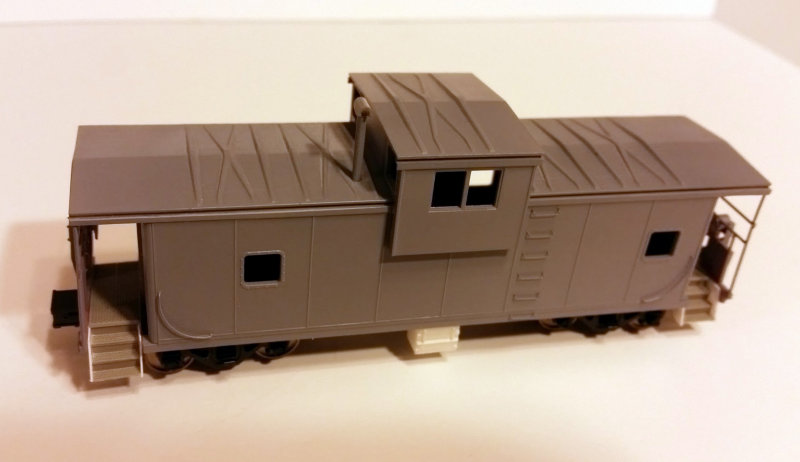
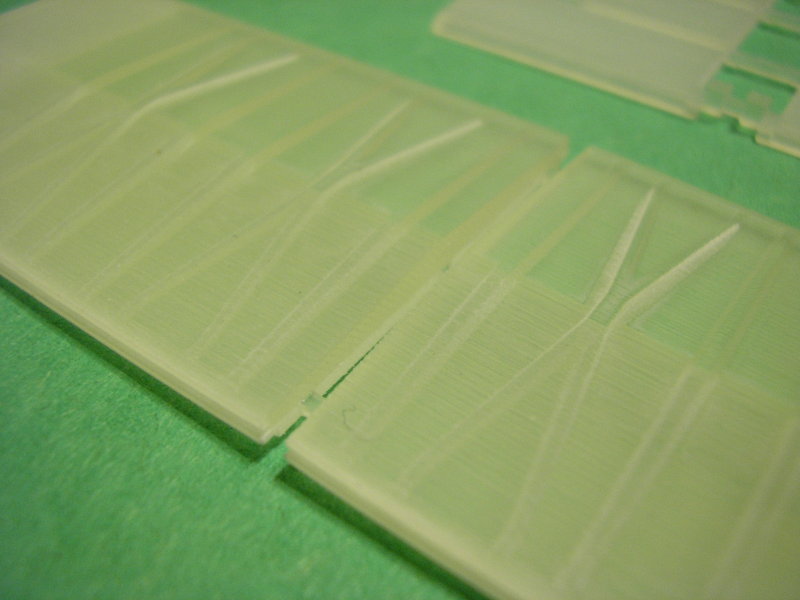
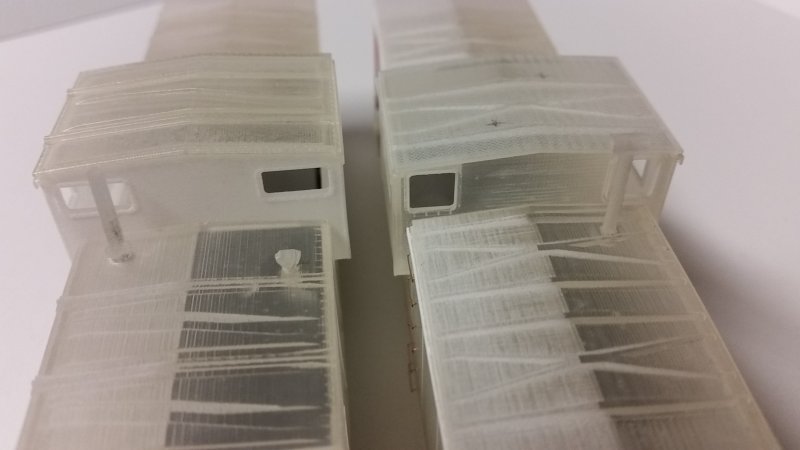
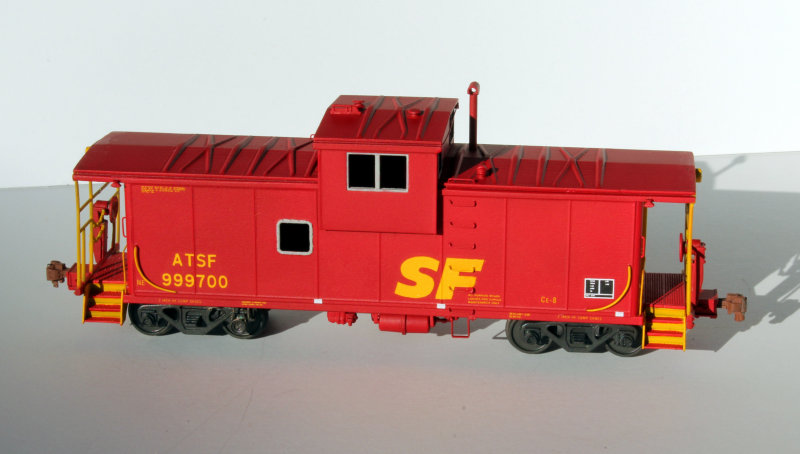
The average end user of 3D printing services such as Shapeways is able to produce some really nice parts at this time, but to purposely leave out any mention of the weaknesses of this process as it is today would be dishonest. In the interest of full disclosure, take a look at the "ridges" in the roof running lengthwise in the photo below. Although I think I have a pretty good idea what causes this effect and how to avoid it, it sometimes still shows up. I was able to sand the ends of the roof and the tops of the embossed areas to try to minimize the appearance of the ridges but it's not completely effective.

Finally, here is the model painted and decaled. I used Model Master Chrysler Engine Red, Insignia Yellow for the body and Light Ghost Gray for the aluminum window frames, followed by a drybrush of aluminium over the gray and black for the window gaskets. The trucks are painted with a mixture of black, burnt umber and gray.
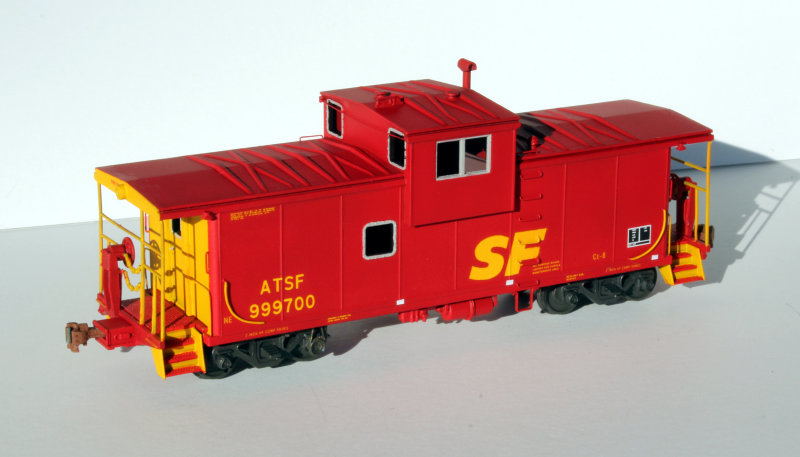

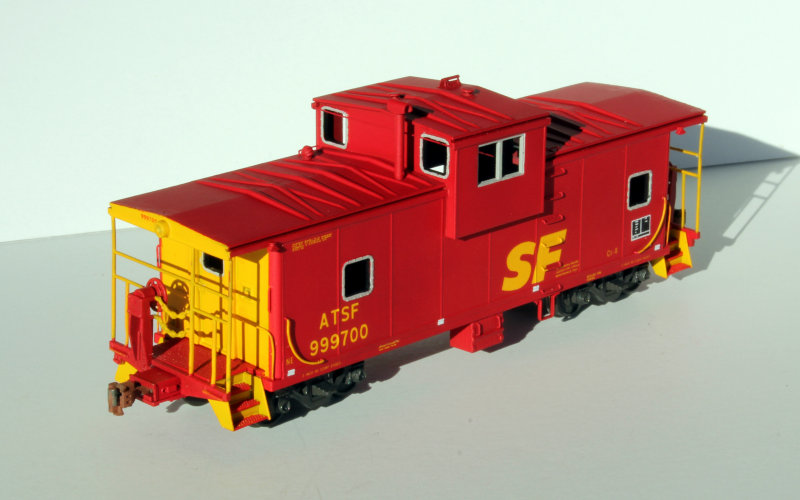
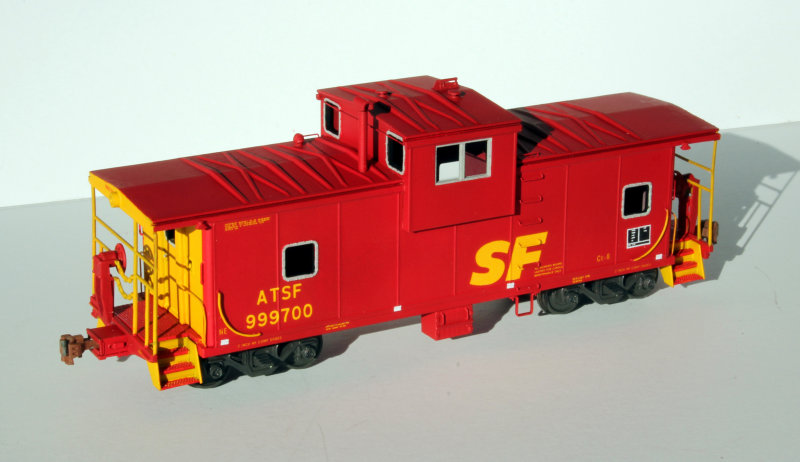
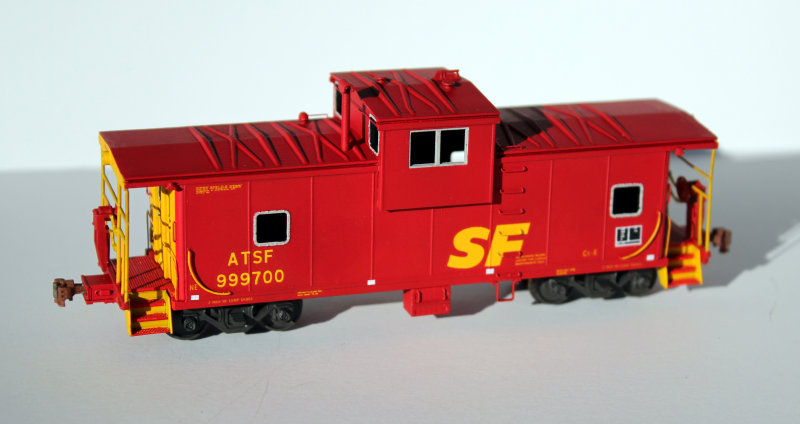

It still needs light weathering and final details but that will have to come a little later. I have too many more of these projects to finish, not to mention the CAD for additional projects. It's not a perfect model by any means, nor was it an inexpensive one, but I think it is a good representation of the prototype, one that's not easy to obtain in HO scale.
Highball!
I'm really impressed by the color matches on this and the Cotton Belt caboose. Are going going for a daylight representation, or a match to layout lighting. Reds and yellows are tough to blend.
ReplyDelete