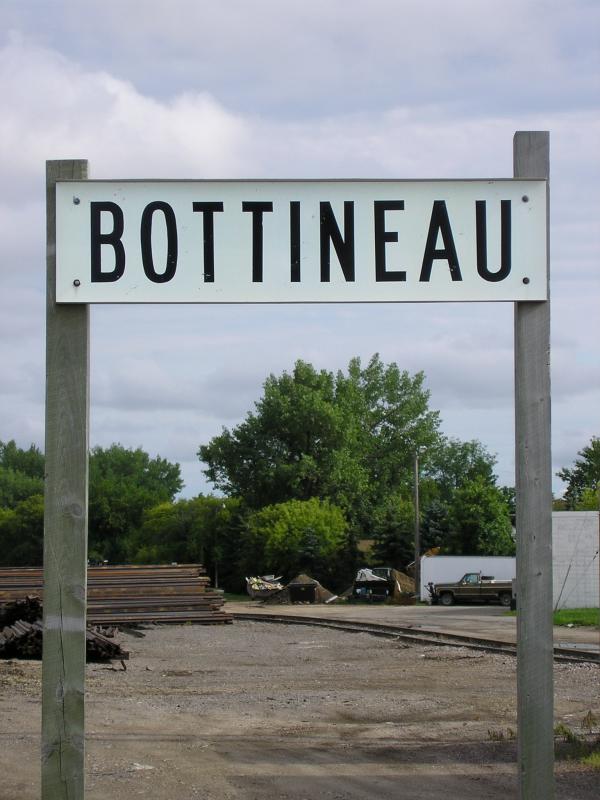
In the summer of 1991 I took a trip to North Dakota with my brother, sister, mom and stepfather to visit my grandparents at their home in the quiet town of Bottineau. We caught the county fair, played at the lake, visited the family farm and played lots of card and dice games. Even thinking back to the pre-internet world that probably sounds boring, but my grandparents were a fun couple who loved to laugh and dote on their grandkids.
After our vacation concluded and we were about to leave, I chose to stick around and hang out with my grandparents for another week. I had graduated high school and didn't have anything pressing to do that next week, so why not? I'm really glad I was able to spend that time with my grandparents and get to know them as a young adult about to start college.
Anyway, there wasn't a whole lot going on during the lazy days so I chose to grab my sketch book and draw. I was going to be starting on a degree in fine arts in a few weeks so I was determined to draw what I could around town.
Like many small towns in North Dakota, Bottineau is home to a grain elevator complex situated alongside a railroad branchline. It wasn't long before I was drawn to the facility and began to study it. I took in the cylindrical and prismatic structures, the piping and wires connecting the various buildings, the contrast of the older sheet metal clad wooden elevator and the modern slipformed concrete silos and head house. Some things I can still remember clearly: the coolness of the shadows against the radiant concrete in the high sun and the ripples and waves in the slipformed walls when the evening sun set the buildings afire with red light.
And then one morning a train arrived.

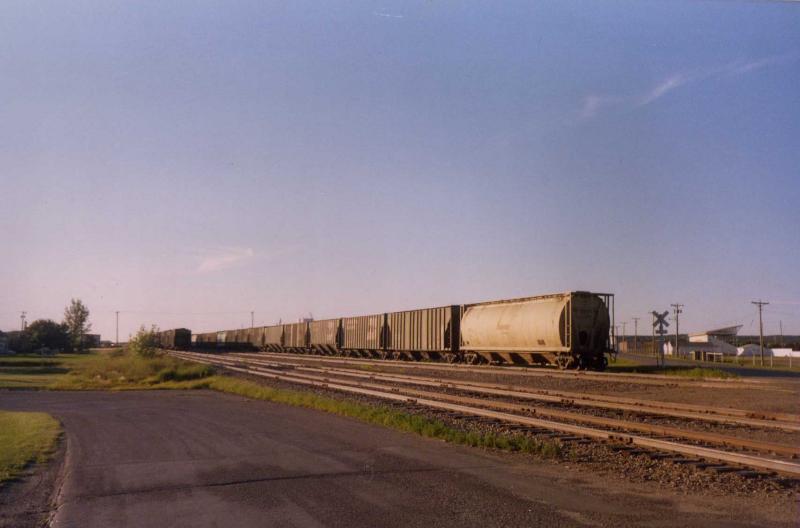
Two geep thirty-eight types pulled fifty-two empties into town followed by a caboose. The train rolled into town quickly, then paused and started off again. The crew cut the crossings and tied the train down in four cuts, then stashed the power behind the depot. Before I knew what was going on the crew hopped in a taxi for a ride back to Minot.
In Texas I was used to the trains near my house flying by on the main, or coal trains struggling up the hill, or when things would get congested holding off crossings waiting for a light to get into town. The trains I'd see in Saginaw seemed static as we'd fly over the yards on the freeway. Even the jobs working the elevators and mills seemed to always be at lunch. I certainly hadn't seen anything like this.
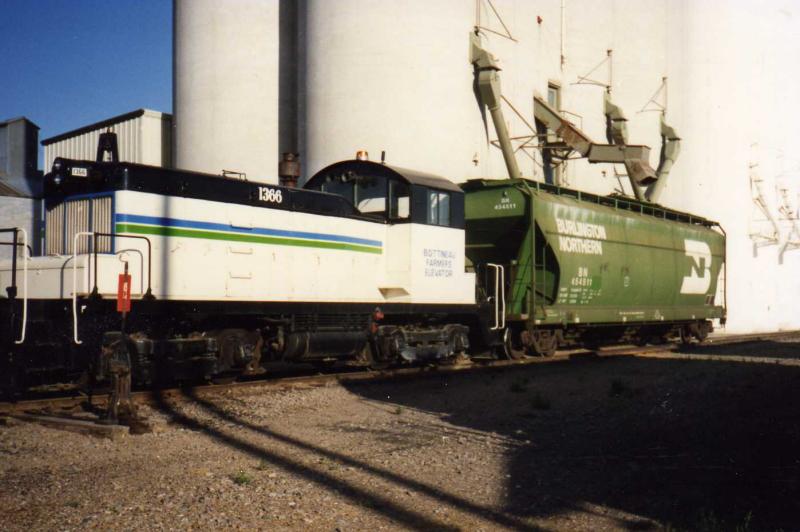
There wasn't much down time before the elevator crew fired up the old SW1 and started spotting cars in cuts of three at the barley house and at the durum house. As each car was loaded the switcher shoved them down the storage track, filling it up and eventually having to cut the crossings. Throughout the day and into the next the process repeated until the loaded train was set up in four cuts ready to be put back together and air tested.
I missed the train getting put back together, but I did see the caboose roll away behind the train and disappear into the twilight as the crew dragged it through the fields of grain down to Rugby to rejoin the main line.
It occurred to me that this process repeated itself over and over again. There was no time to rest, not for the rail crews that brought the empties in or took the loads out, not for the drivers bringing tractors, pickups, wagons and semi-trailers full of grain to the elevators, and certainly not for the switch crew at the elevator, who now had given up their switch engine duties to join in the effort to refill those silos.
Trucks lined the streets waiting for their turn through the head house. Fans and motors and machines made a constant droning sound around the complex. Clouds of grain dust floated in the air tinging everything with gold. The town was filled with that warm scent of cut summer grass.
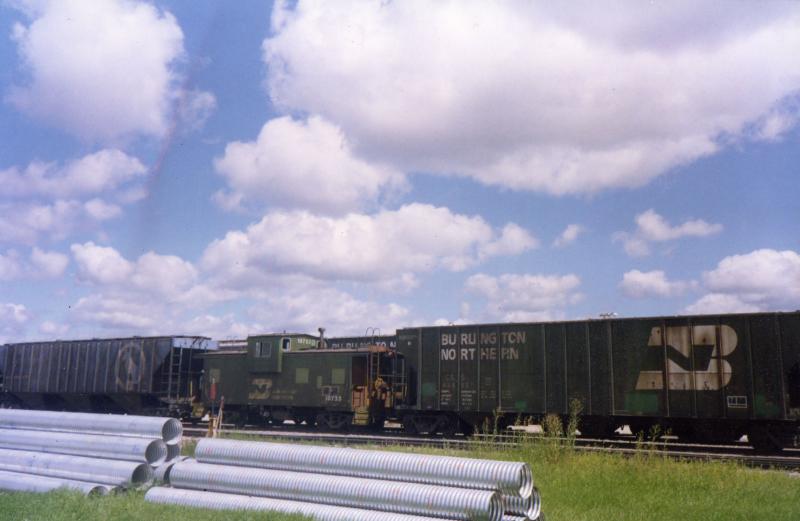
I had sketched and I had photographed and I had taken notes. I had a record of the locomotives, the railcars and the caboose that came to town and left. As many times as this process must have happened in towns across the midwest every day it seemed really insignificant. But those are the things nobody ever seems to take down, and soon they fade away as if they never happened. Two small town elevators combine into one complex. One town thrives and one fades away. Whatever would happen I wanted a record of that week.
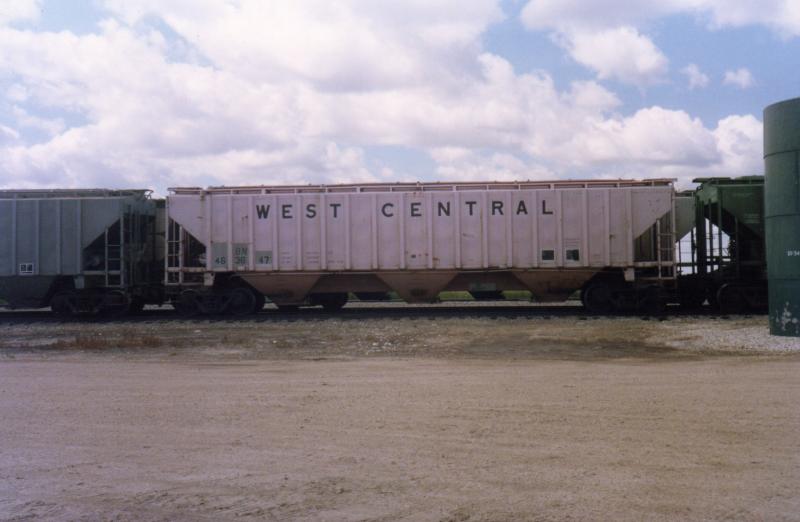
It wasn't long before I began to make models based on those photos and notes and sketches. I soon became aware that exact models simply weren't available for most of the cars. And by exact, I mean as far as I knew there were rib side three bay hoppers and there were cylindrical shaped three bay hoppers. I could tell there were differences between many of them - some "missing" ribs in key places, some with high or low sides, some with a barrel shaped body and others almost completely cylindrical like a tank - but I didn't know how the differences broke down into capacity or manufacturer. But over time two things happened: I learned who made which car and manufacturers like Accurail, Intermountain and Model Die Casting brought out models to supplement the Athearn Pullman Standard and ACF hoppers that made up my first attempts at this train.
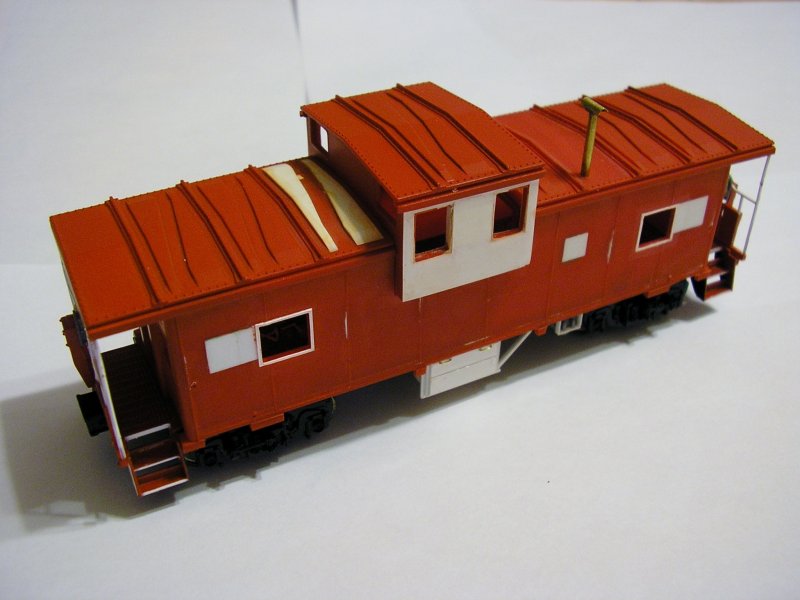
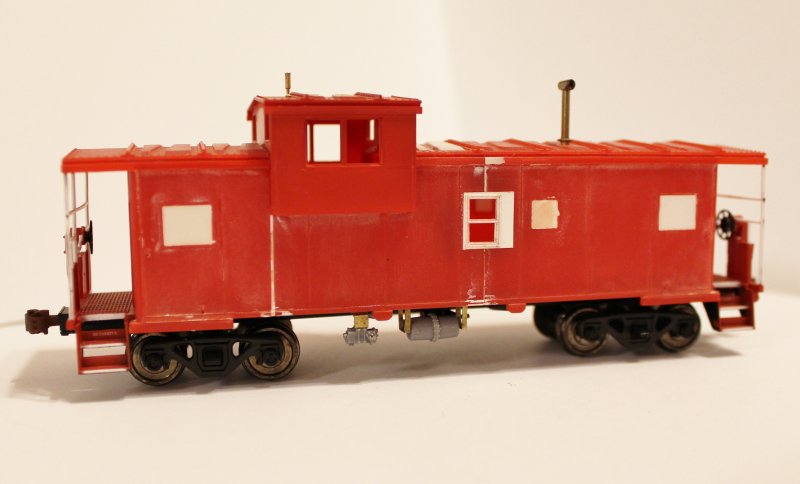
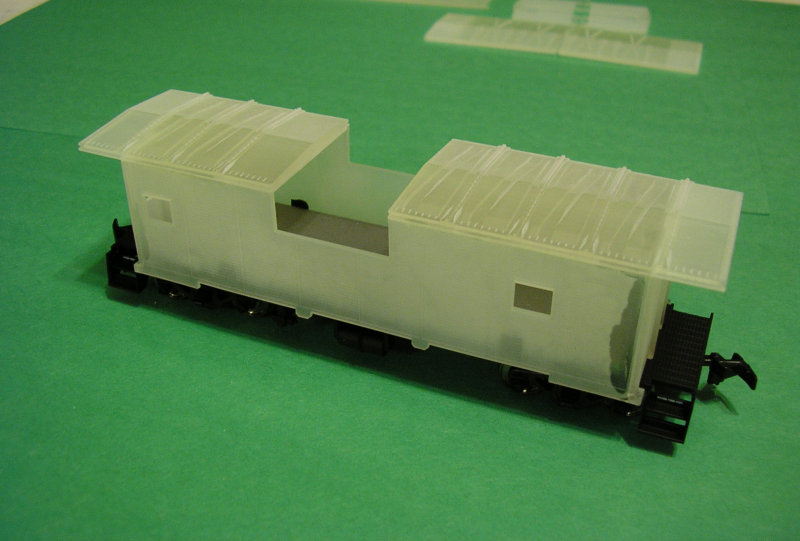
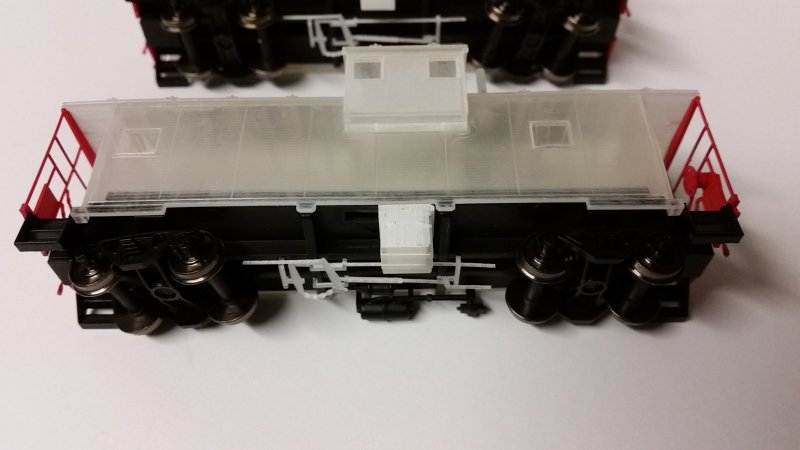
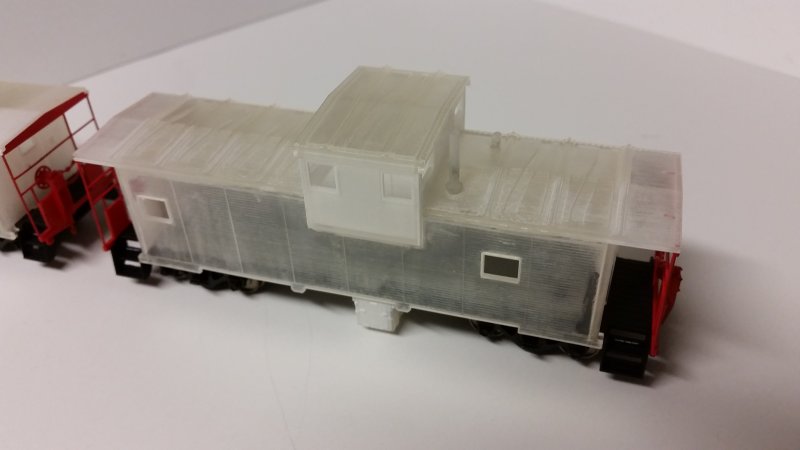
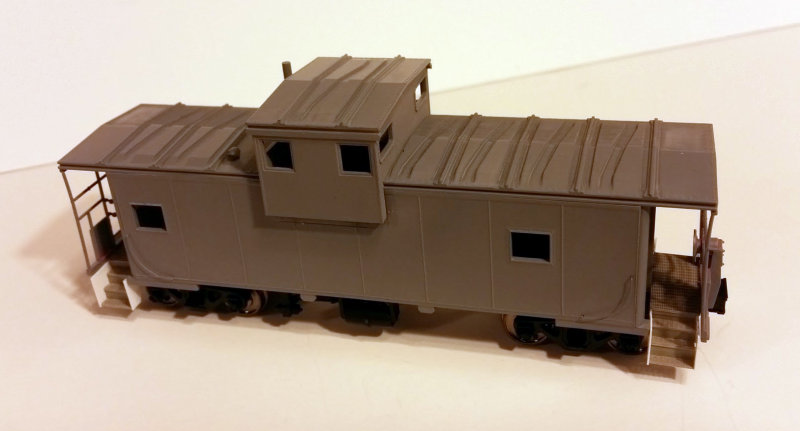
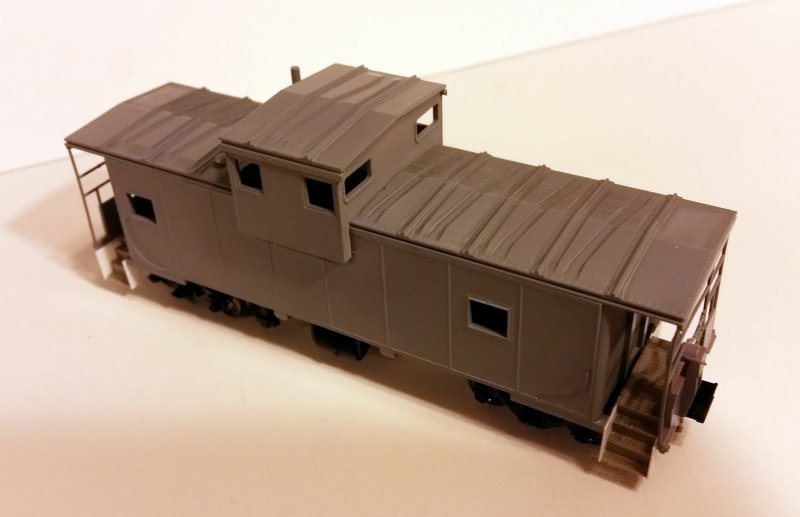
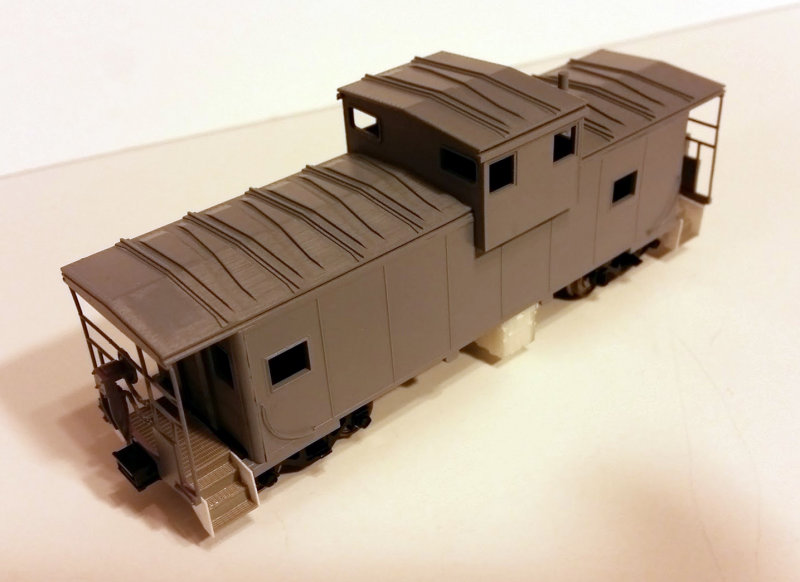
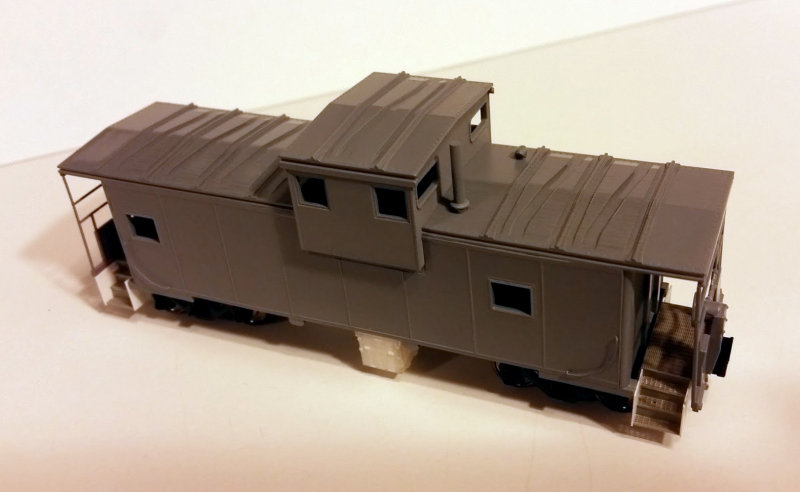
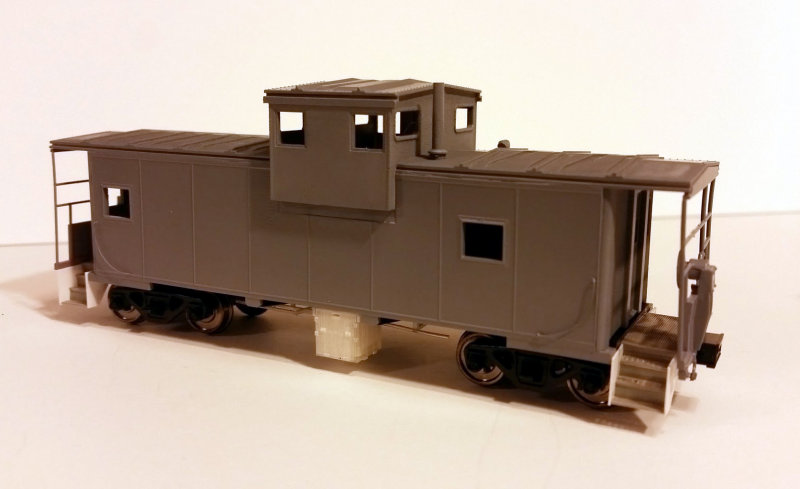
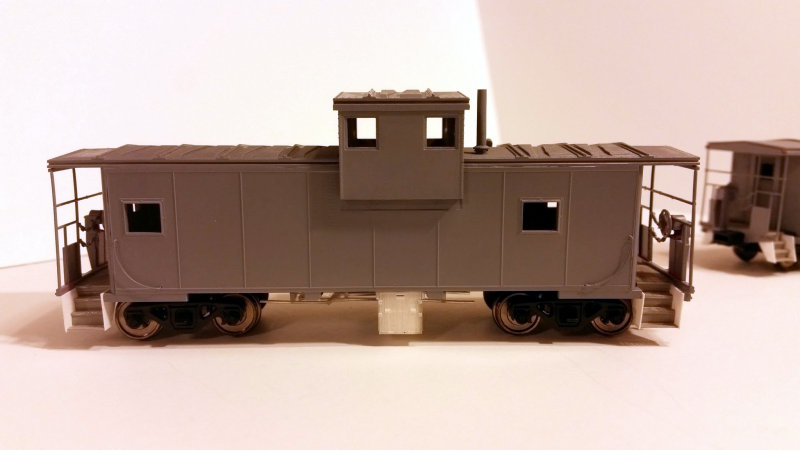
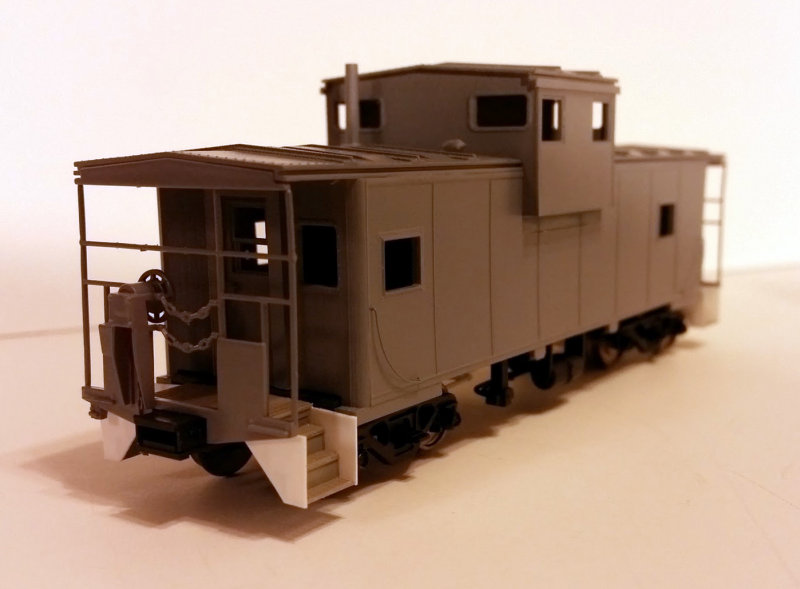
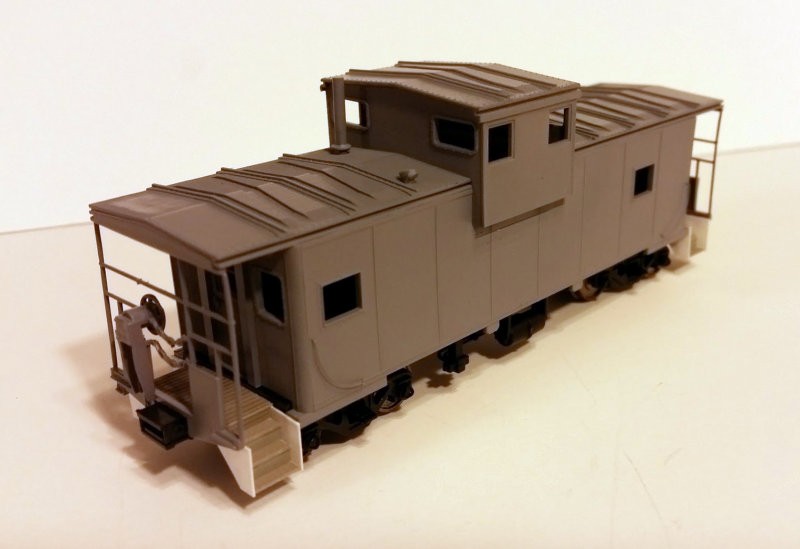
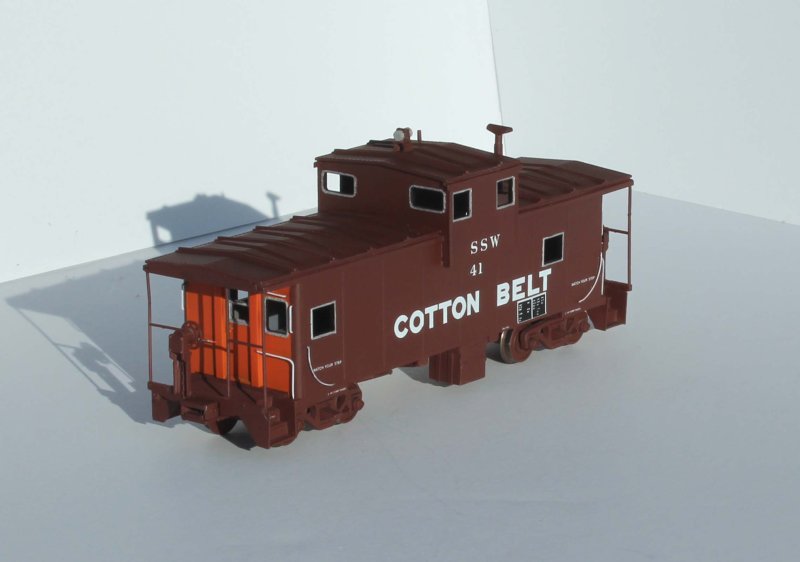
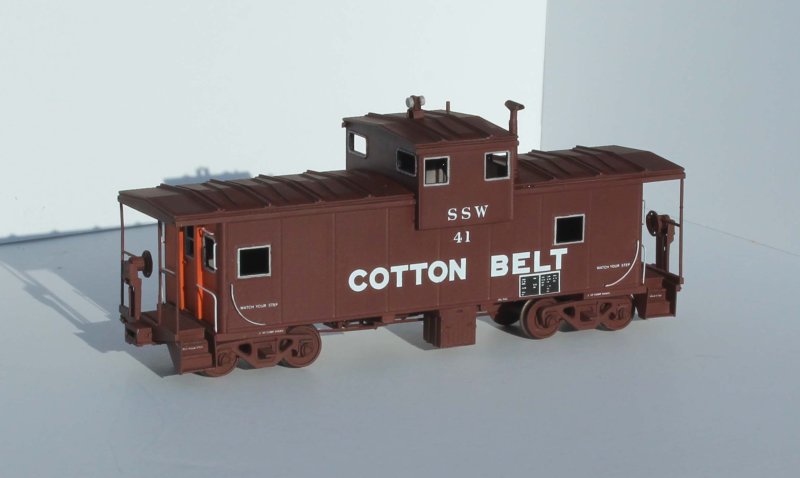
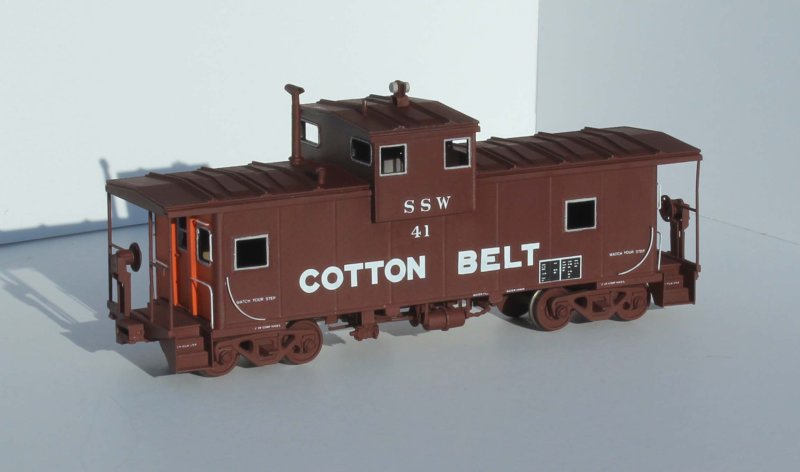
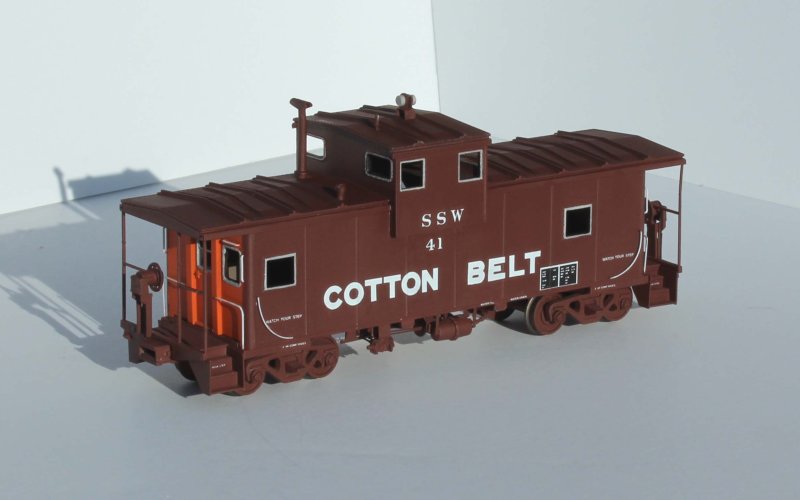
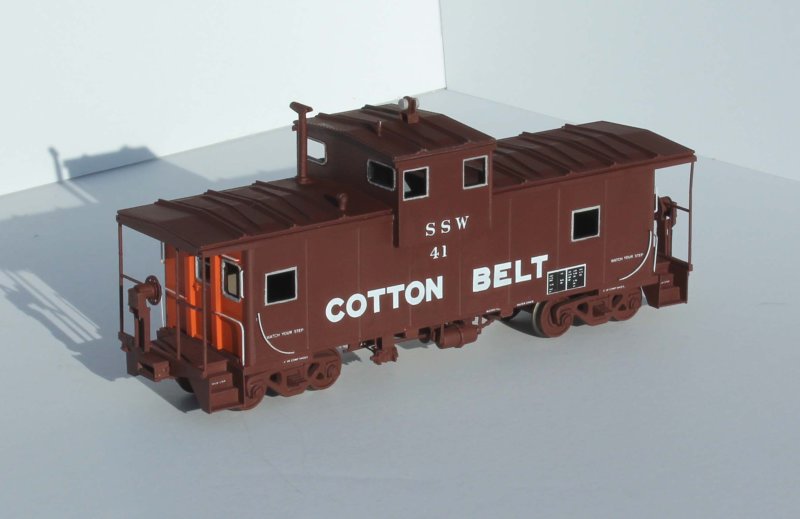
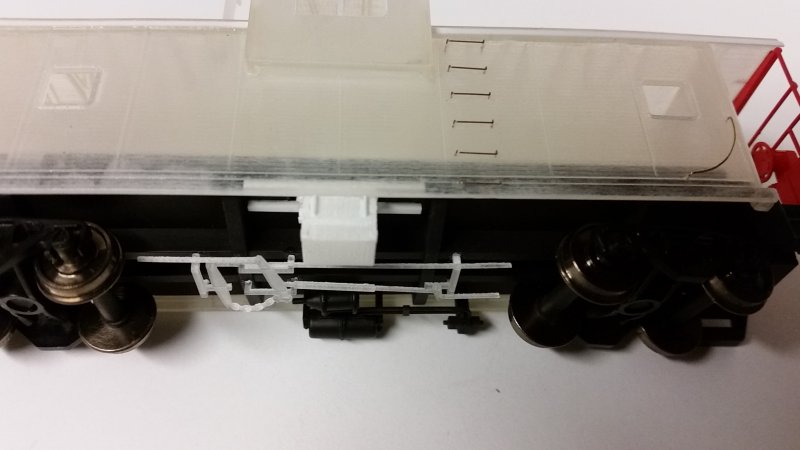
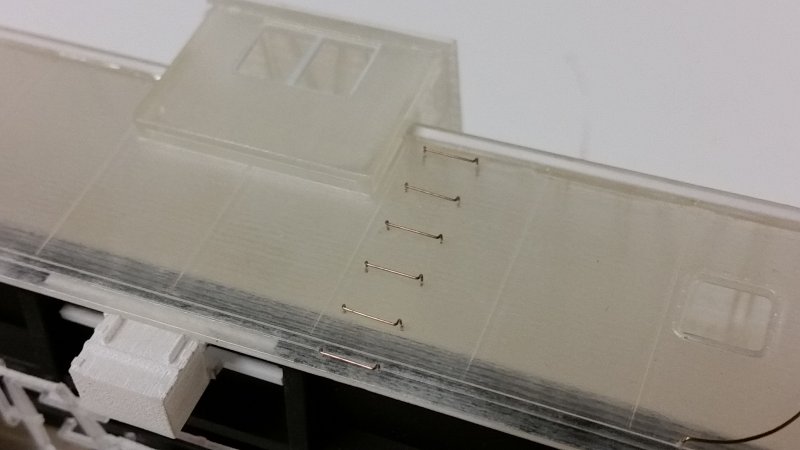
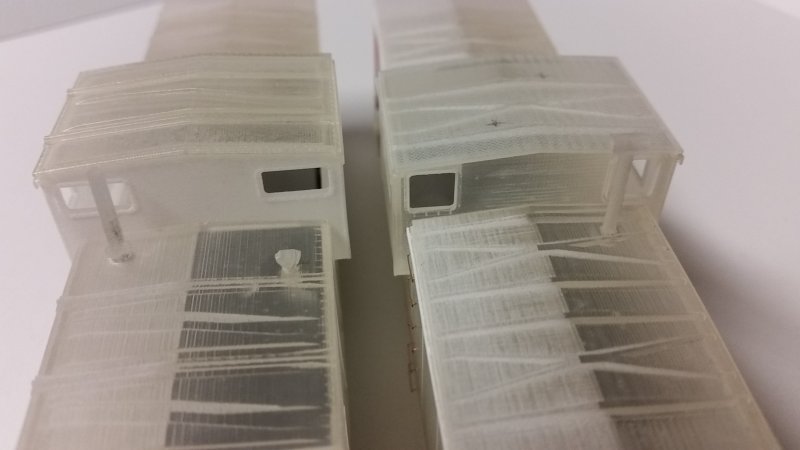
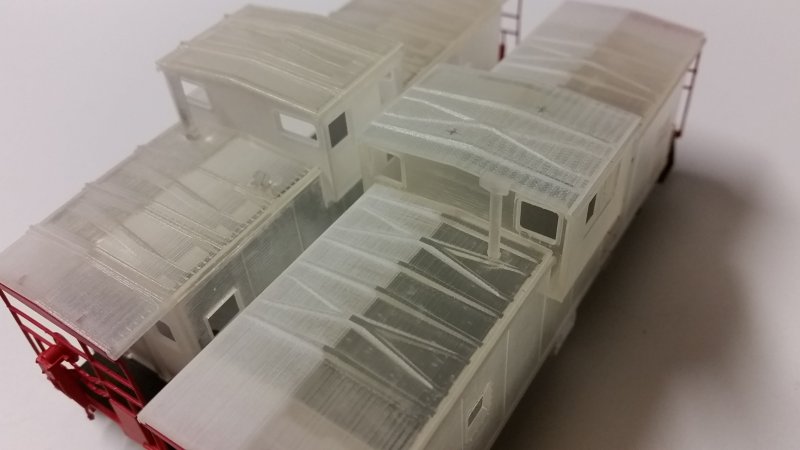
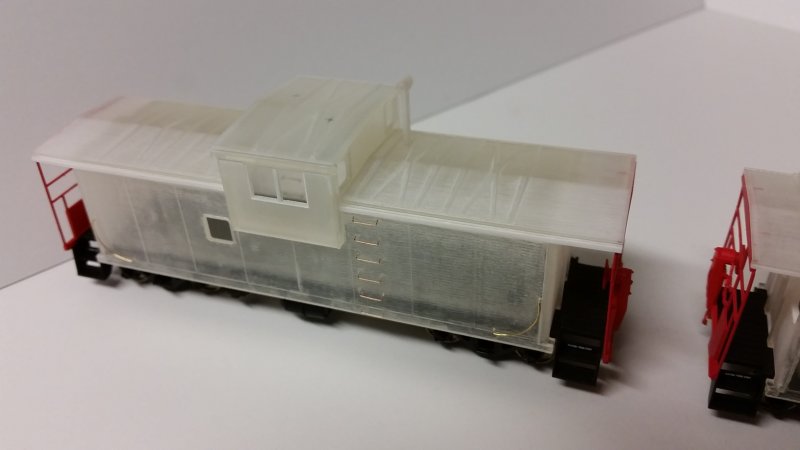
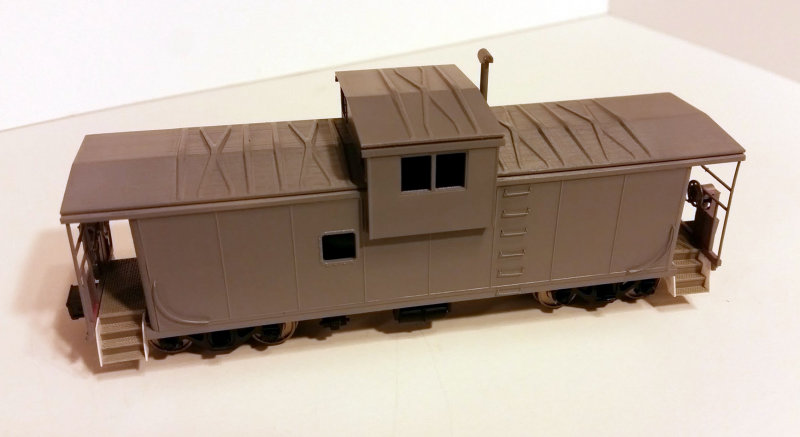
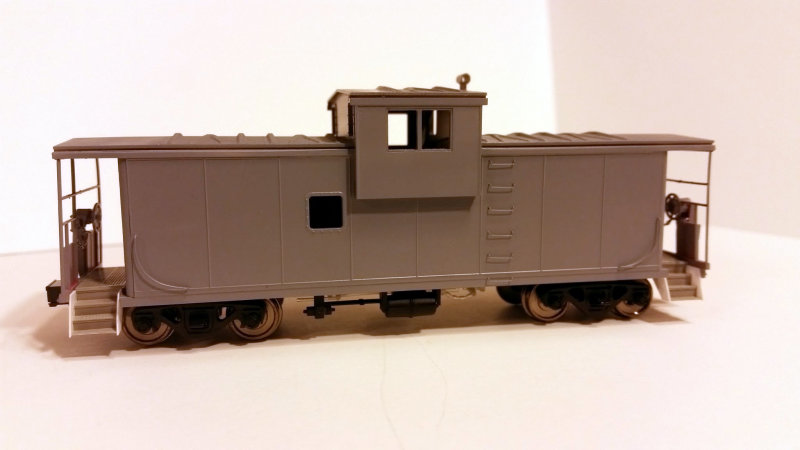
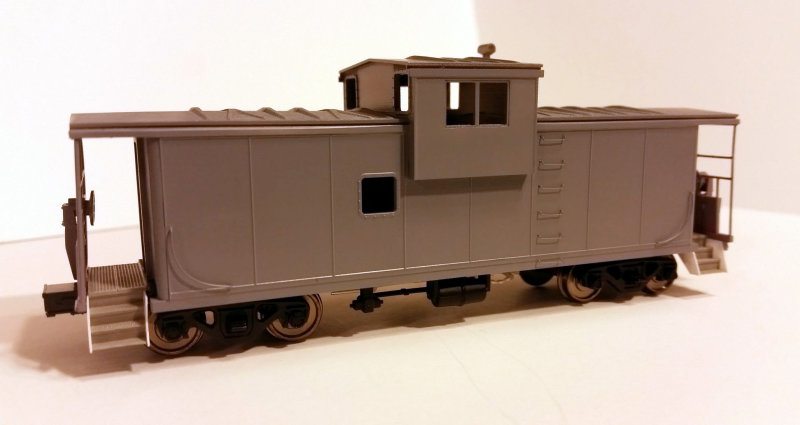
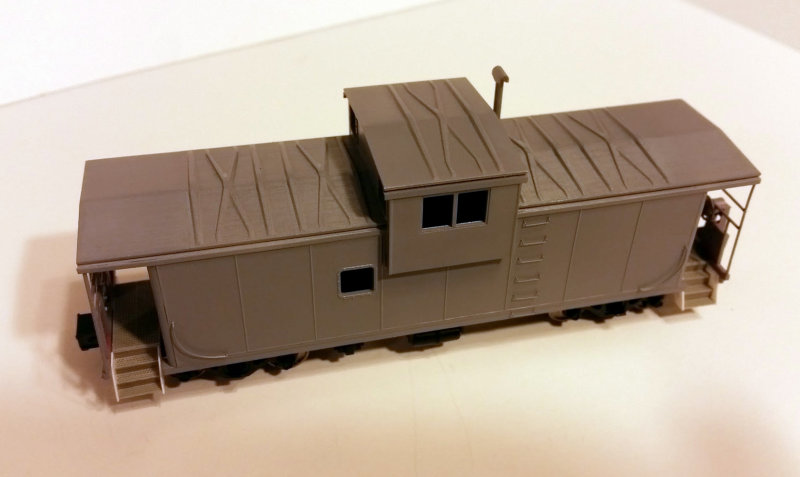
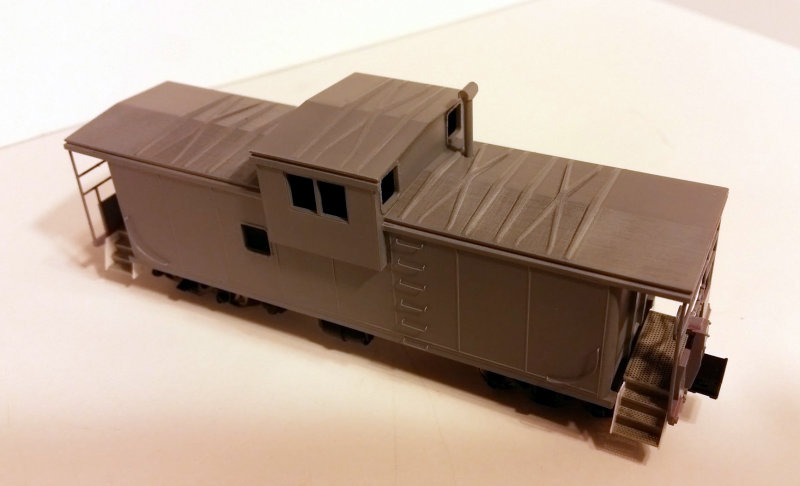
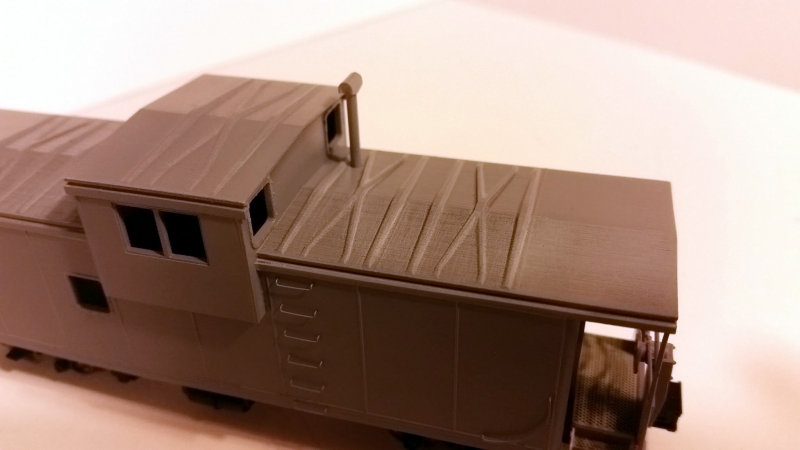
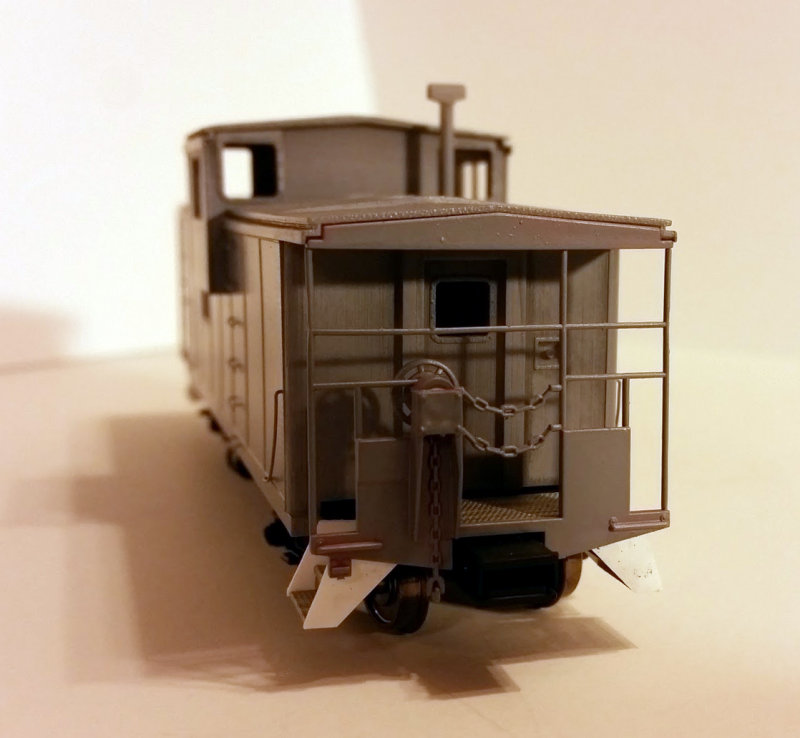
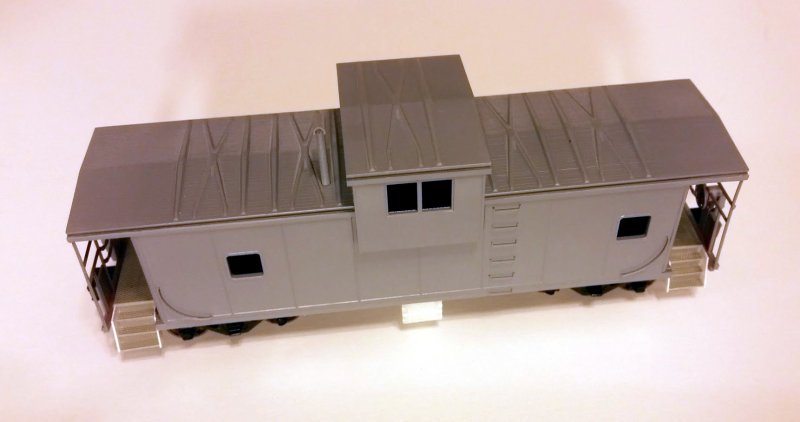
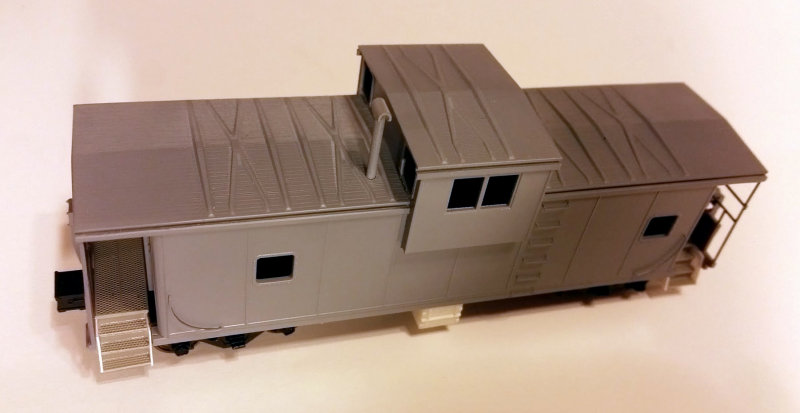
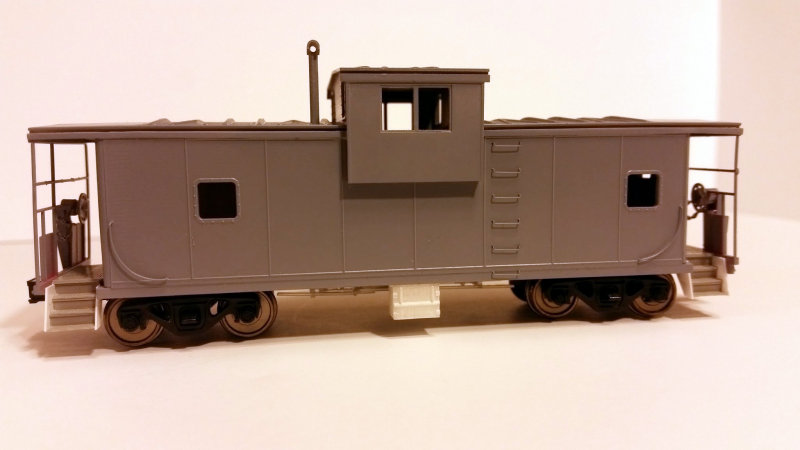
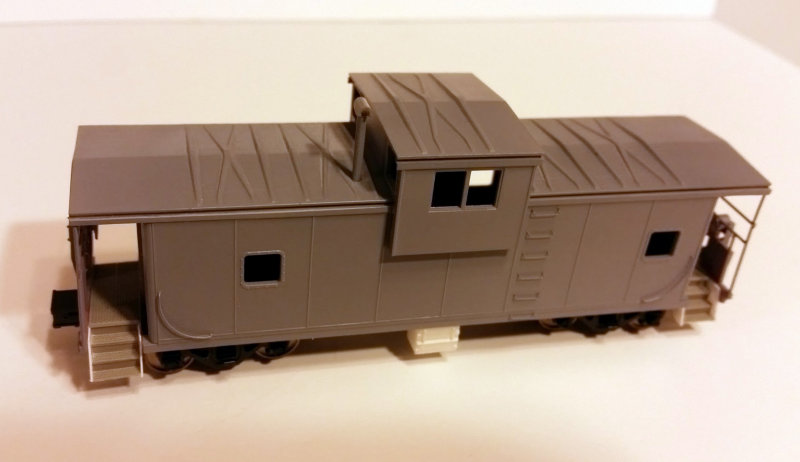
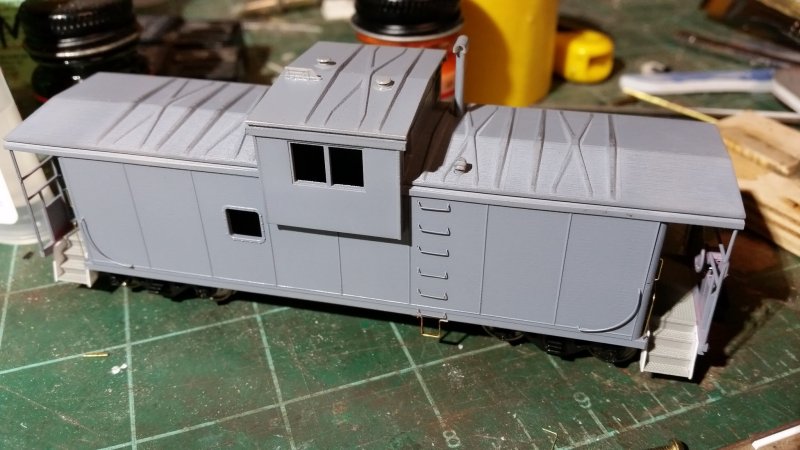
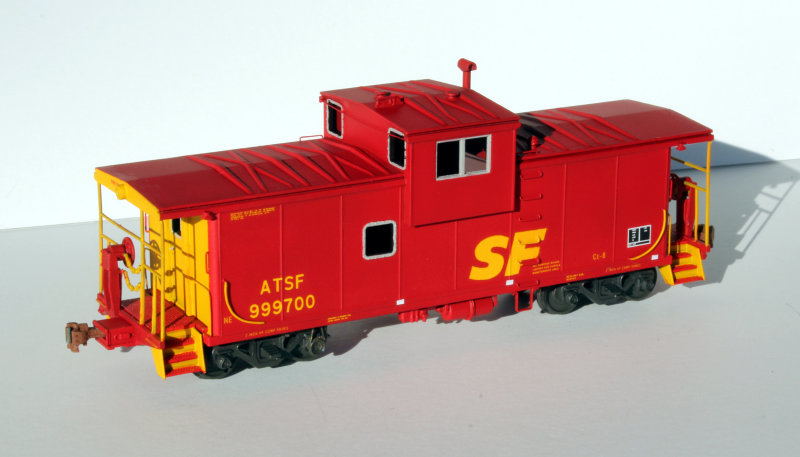
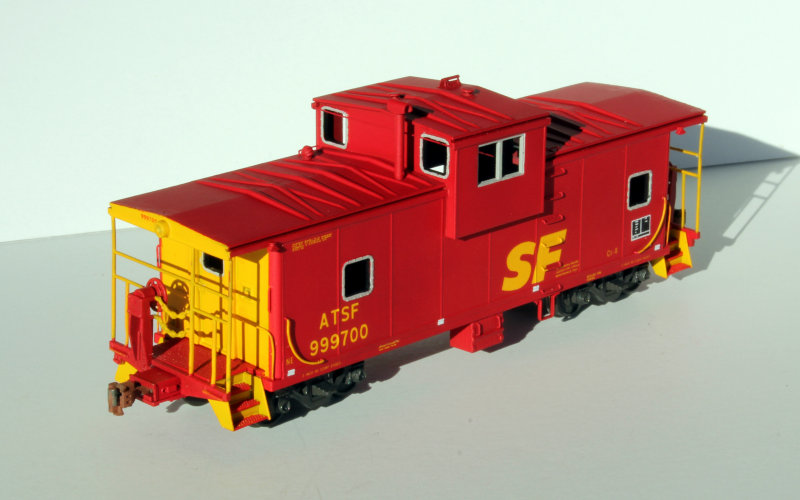
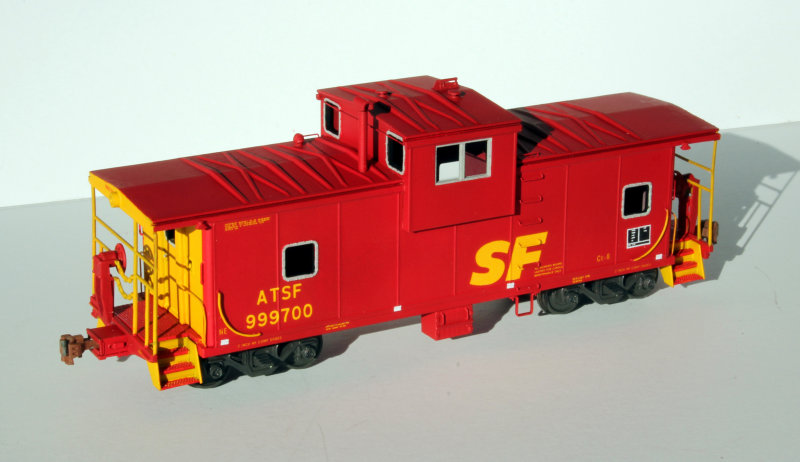
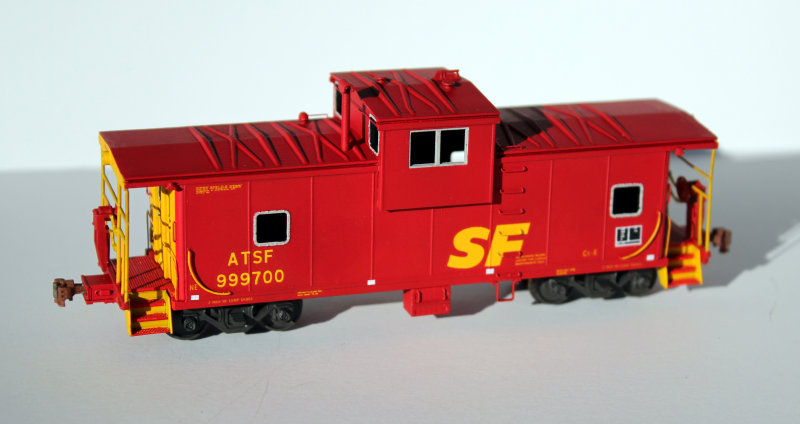
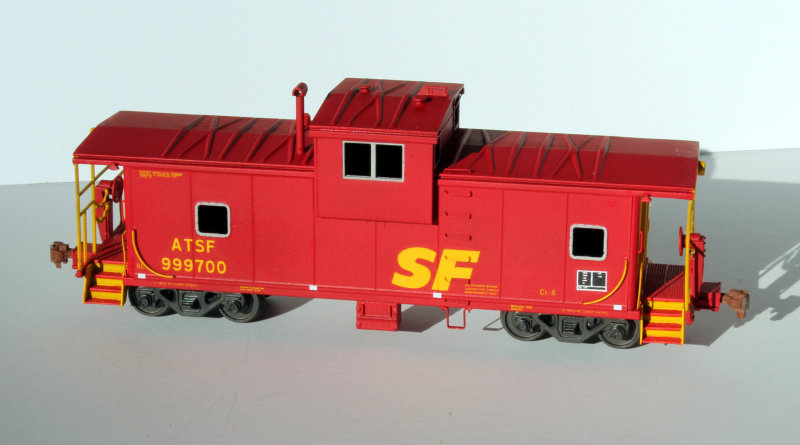
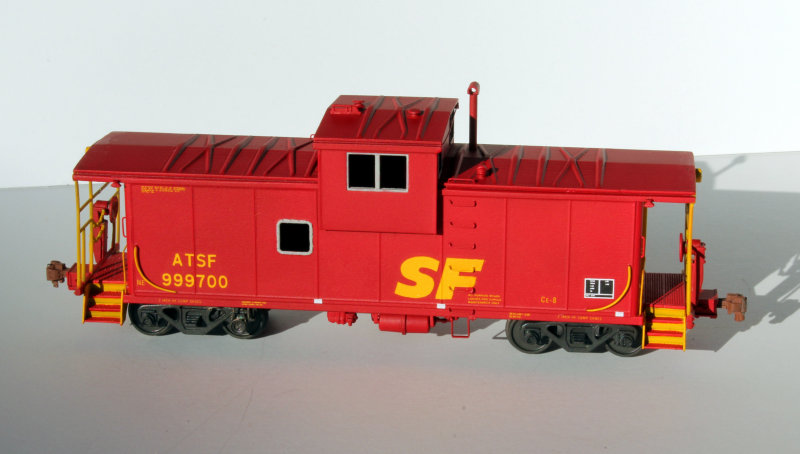
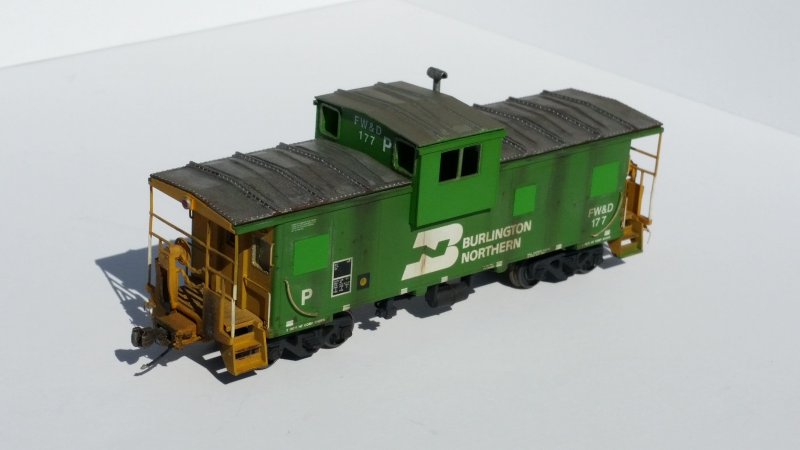
I took a crack at the caboose using a factory painted Athearn model. I eventually realized the Athearn model is too short, that it's a flawed model of a Rock Island caboose and not much of a match for the BN caboose I saw. Eventually I bought an Atlas caboose. Much better!
Same thing with the locomotives. I bought two Athearn GP38-2s, one in BN green and one in Conrail blue. I fired up my airbrush and coated everything with a cloud of mud colored dust. It was brutal. Those locomotives eventually got stripped and repainted, then again stripped and cut up to become a pair of Mopac GP38-2s I still need to finish... I found a shell at a train show that looked pretty much how I remembered the ex-Conrail geep, so I bought it and found a drive for it. I picked up an Atlas GP38 decorated for BN later on.


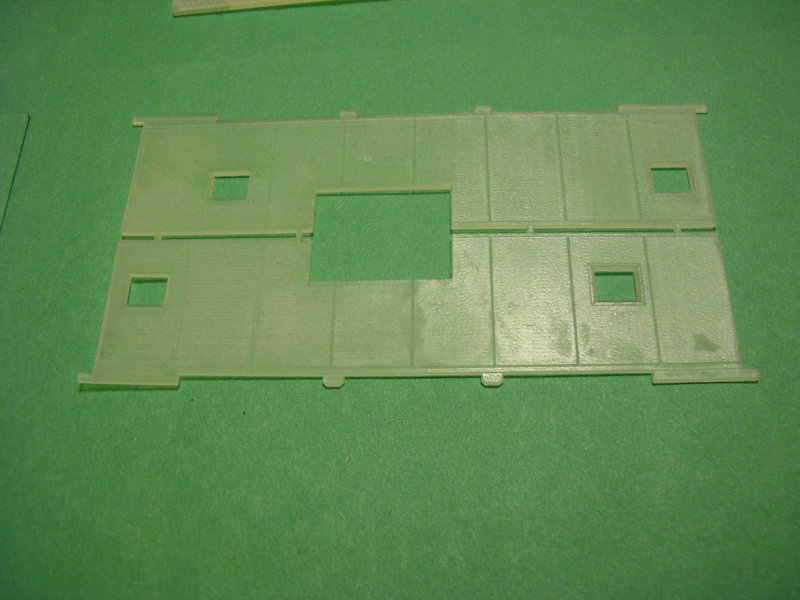
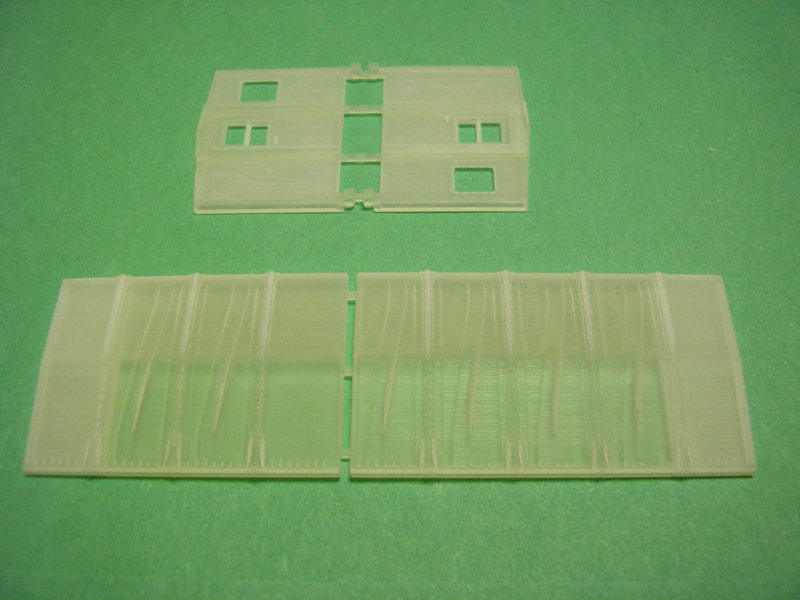
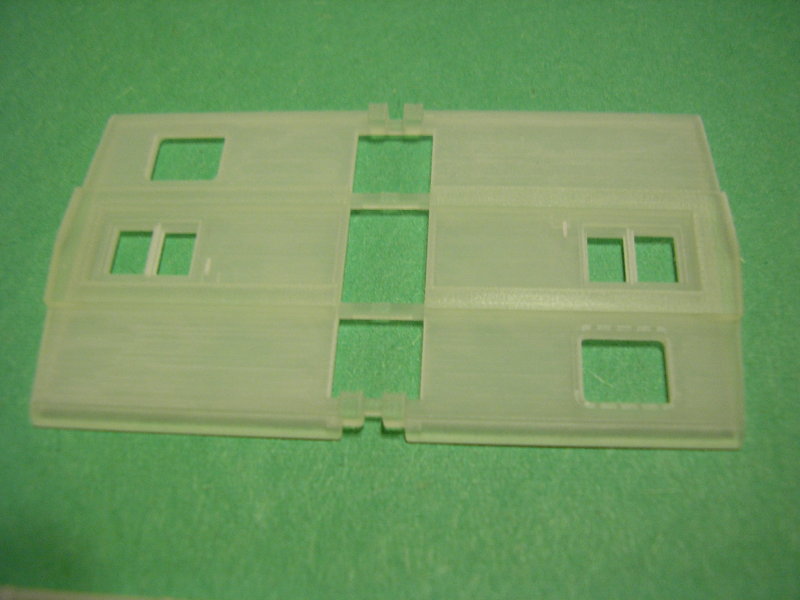
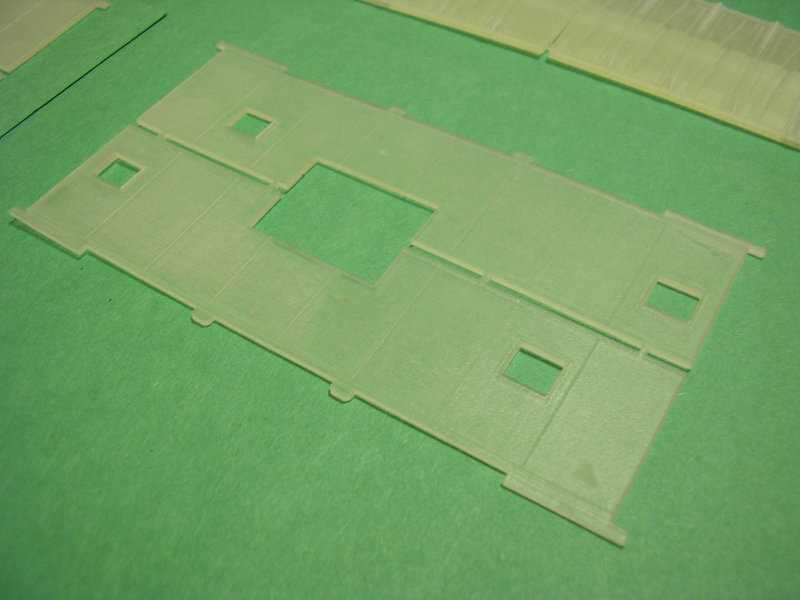
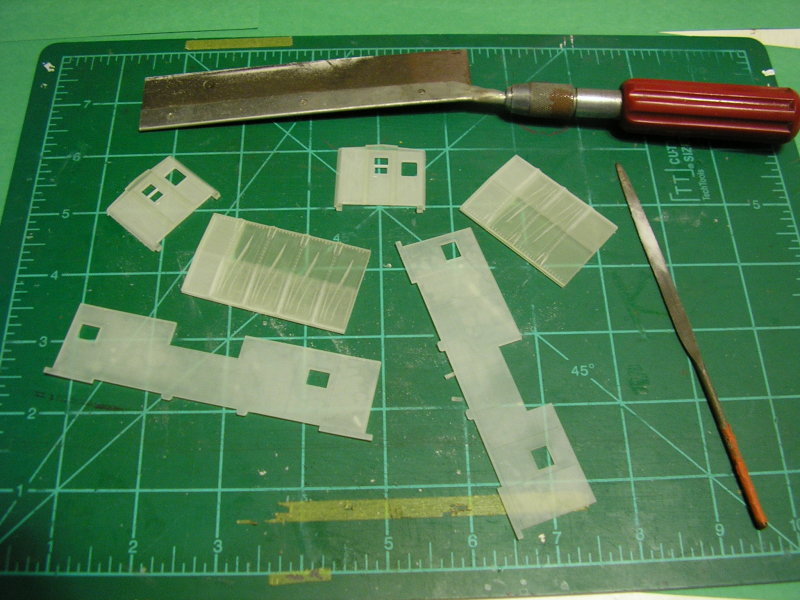
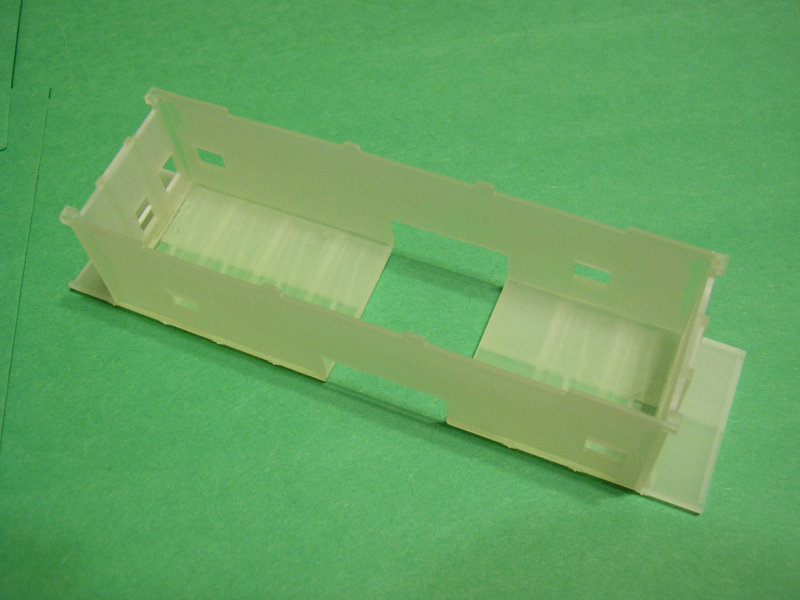
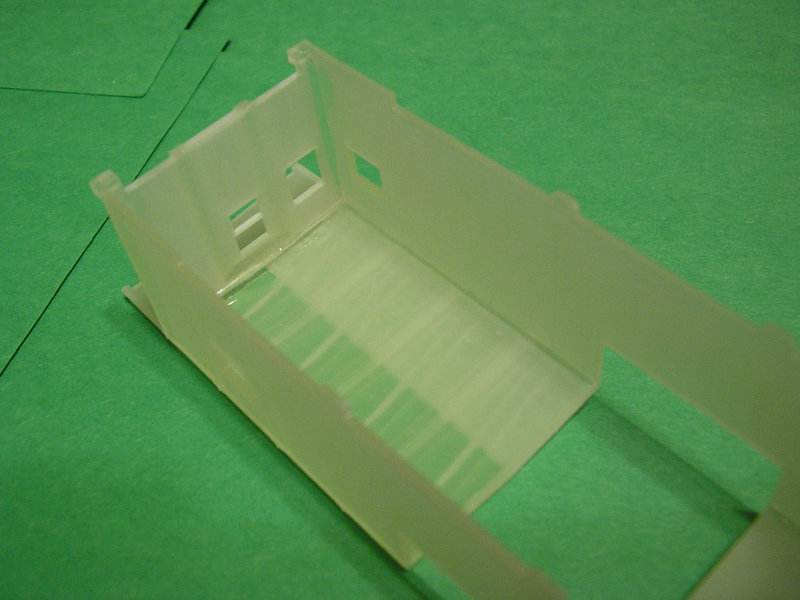
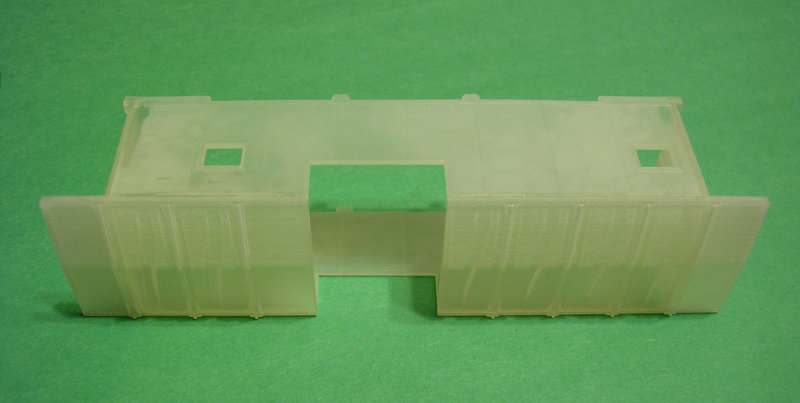
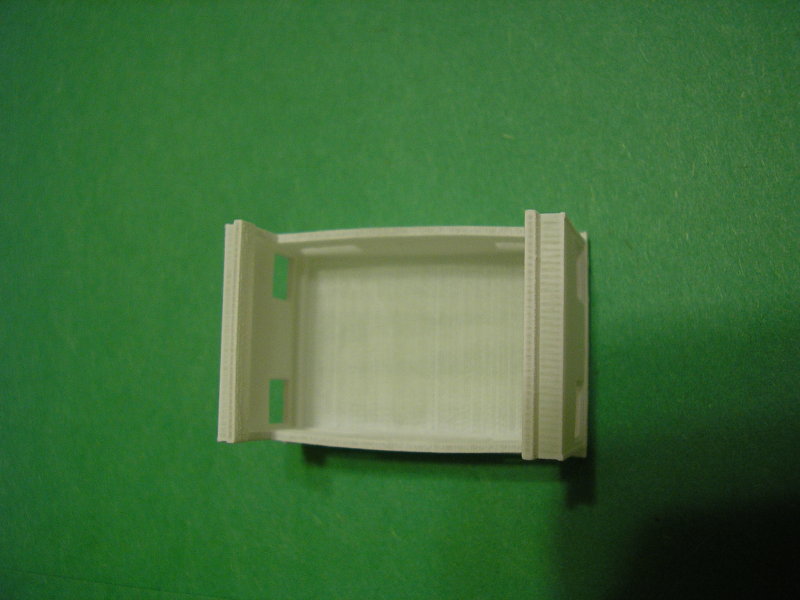
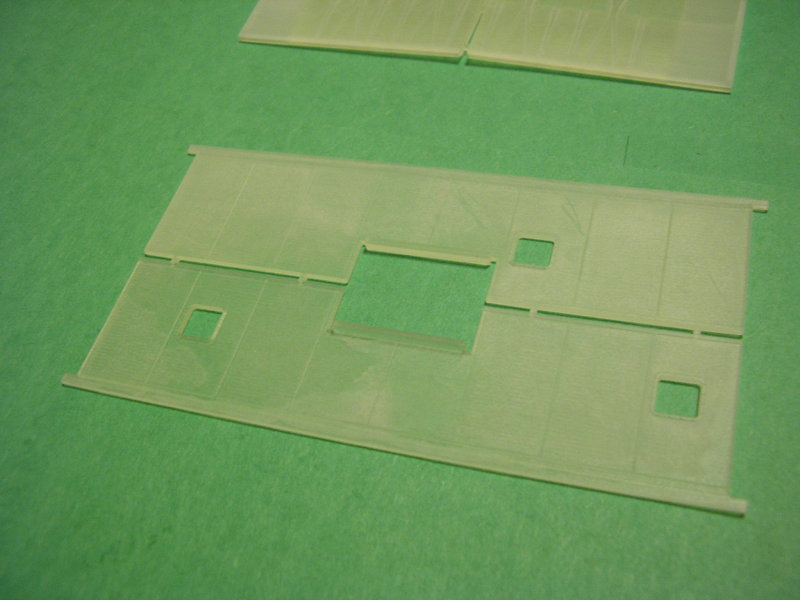
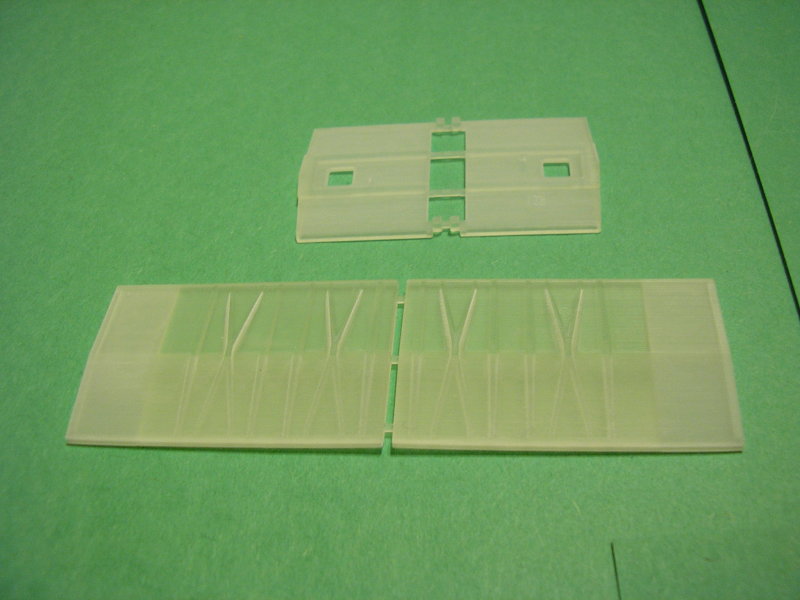
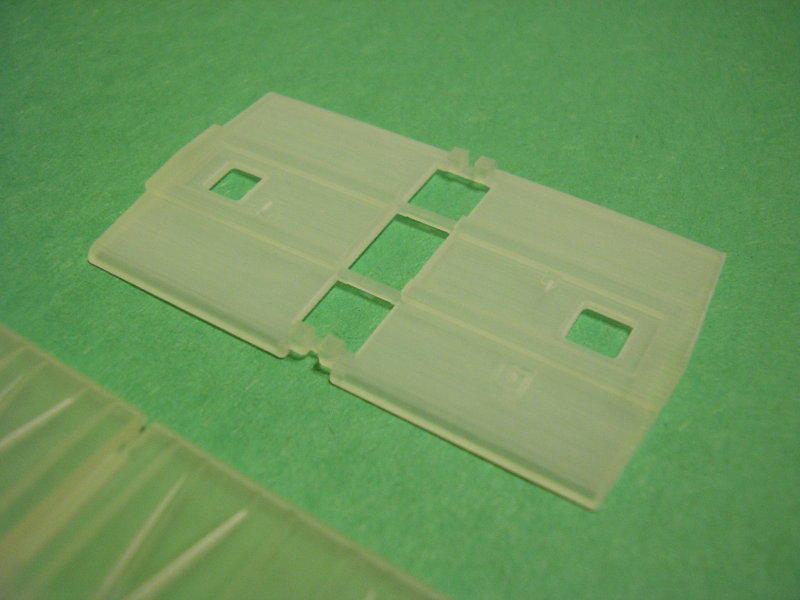
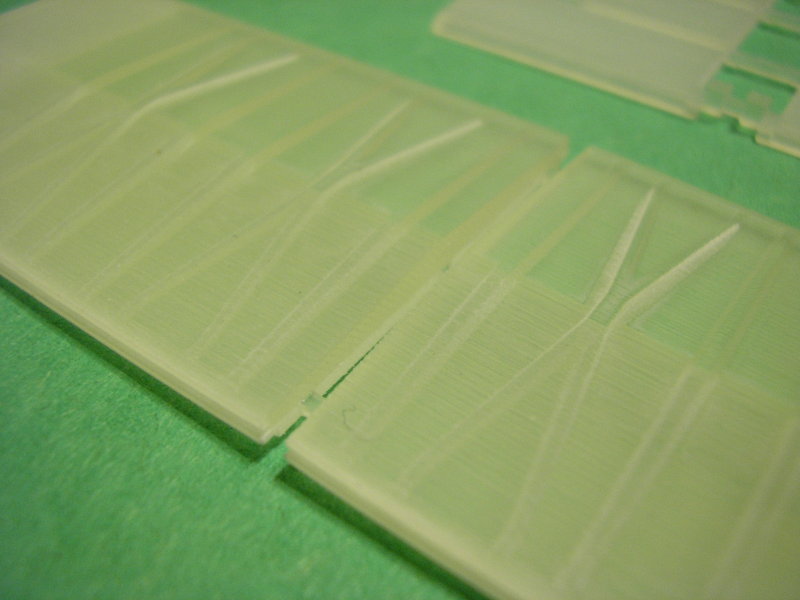
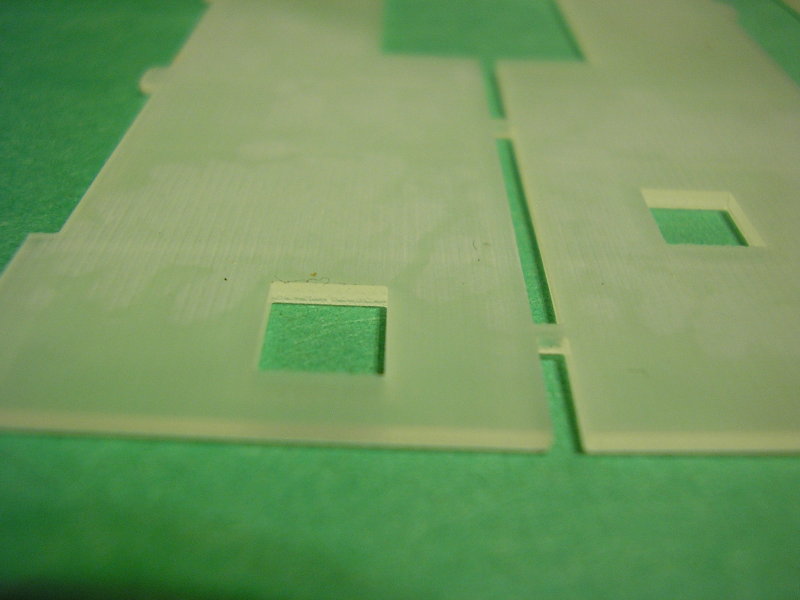
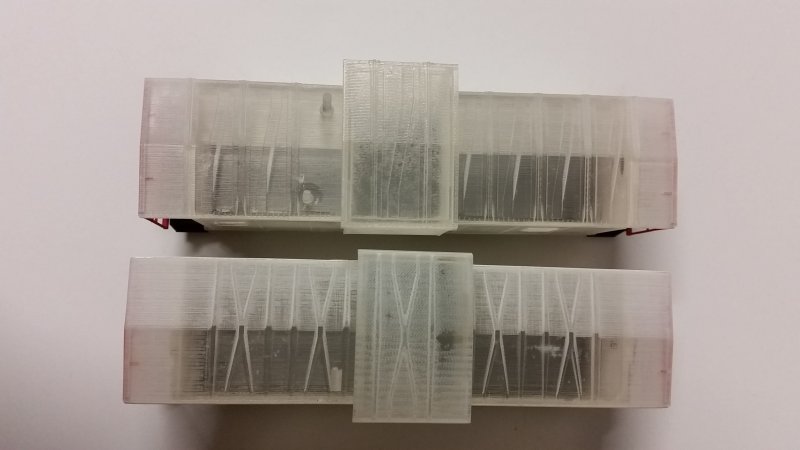
Over the years I've replaced nearly every car I originally bought to make a model of this train. Some of them have been repurposed into models for this train and some for other subjects. More manufacturers have produced even more models, so I'm able to dial in the models closer and closer to the real thing. I even became a manufacturer myself of sorts when I worked up parts to model the caboose more accurately. I've covered some of the cars modeled in my blog previously, here, here and here.
To this day, nearly twenty-seven years later, this train remains a work in progress. I'll probably never finish modeling it. But by pursuing it, I keep it alive. I keep that summer alive. Making big bets at the card table in my grandma's house doesn't seem that far away.

Now that I've been an engineer for some time, I can relate so much to that crew that tore into town, cut that train up and flew back to Minot in the cab. How many times have I done the same thing itching to get out of the seat and make it home for some time with the wife and girls before they go to sleep? Yes, you still have to dot all the I's and cross all the T's and do it safely, but an experienced and motivated railroader can do it quickly.
The older I get the less I rush like that. There's too much you can miss if you do. You end up doing it twice or more unless you take your time and move with purpose. You only learn that the closer you get to finishing something, when you can finally see your mistakes, missteps and oversights.
Who knows? Maybe one day I'll eventually get it right.