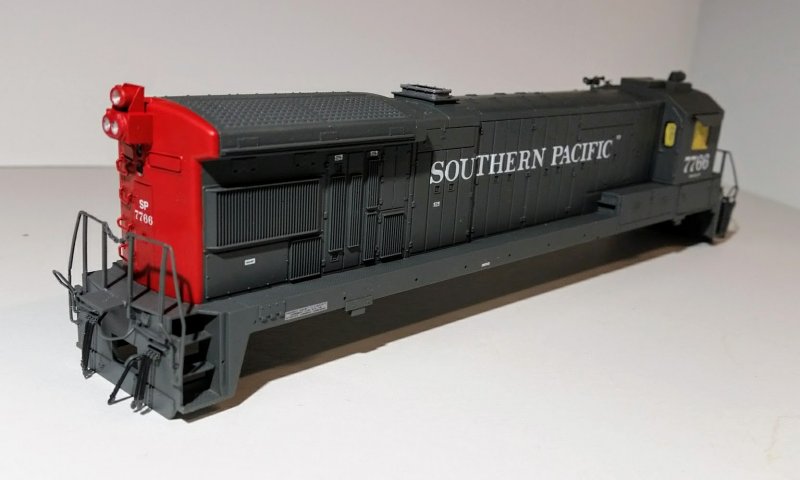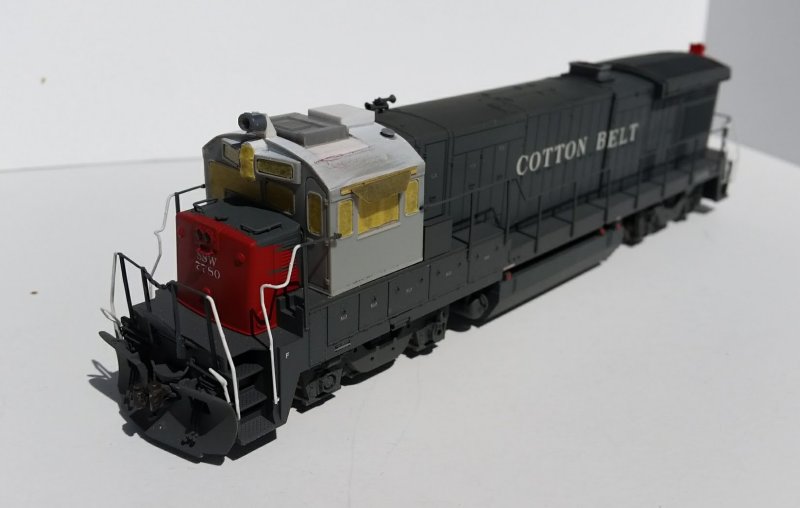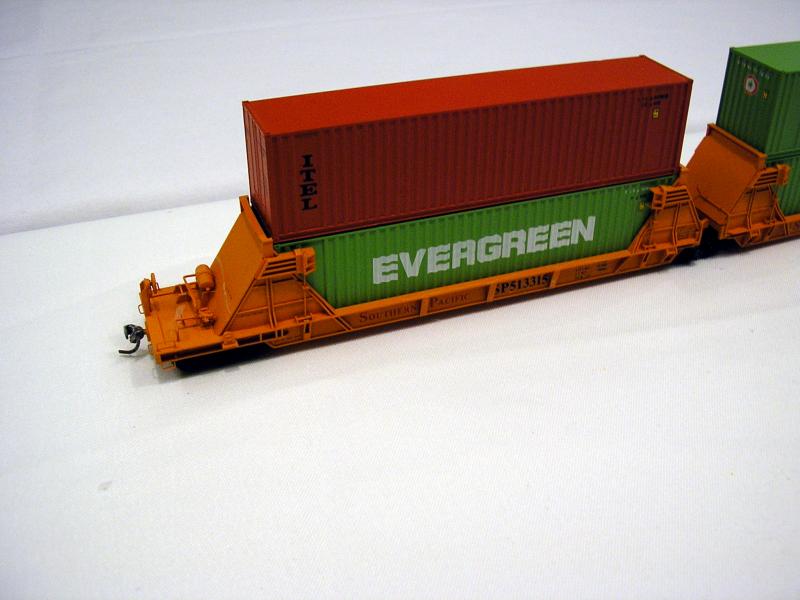
Some of the greatest opportunities for innovation were in the rapidly growing trailer-on-flatcar and container-on-flatcar services. Longer trailers allowed nationwide meant many existing railcars weren't capable of handling more than one trailer without modification. In the late 1970s, Southern Pacific and American Car & Foundry developed the first car designed to carry two stacked containers loaded in individual wells less that two feet off the top of rail. This development ushered in an entirely new kind of car that has been built by nearly every builder since.

Around the same time, Santa Fe developed the six and later ten-unit articulated "Fuel Foiler" flatcars for carrying trailers. These cars were not like traditional flatcars with a deck running the full length of the car. Instead, several reinforced central spines with a hitch at one end and wheel decks for the trailer tires at the other end were connected with articulation joints over single trucks. The weight savings -- not to mention the fuel savings -- was significant. Santa Fe licensed its design to Itel, who developed it further as the Impack car. Other builders were quick to offer their version of the articulated spine car. Southern Pacific and Cotton Belt were notable users of both four and eight unit versions of the Impack car.
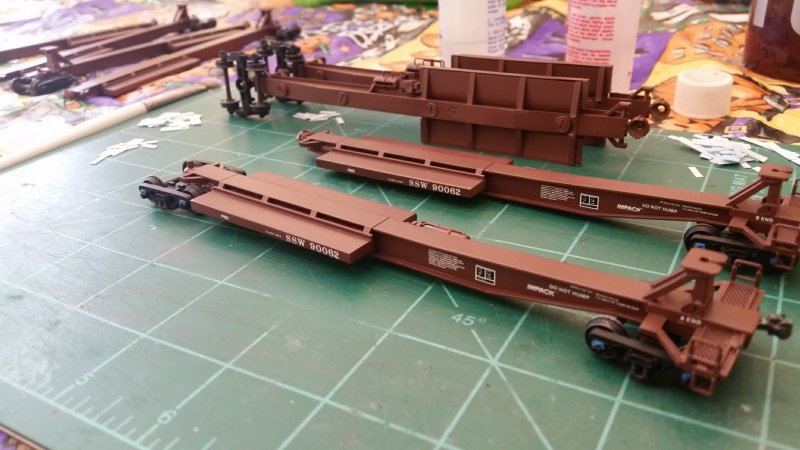
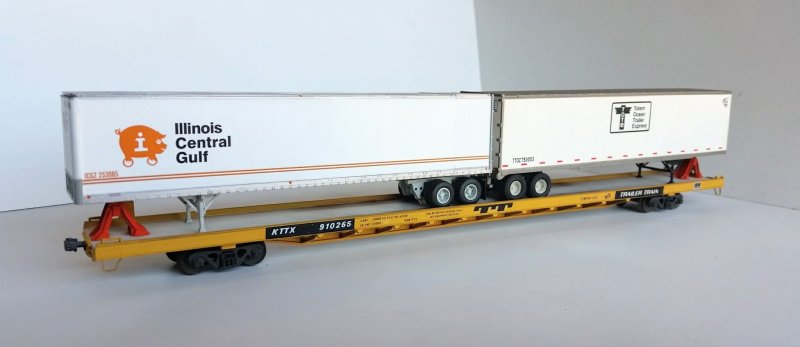
Trailer Train began a massive program to convert its fleet of 89'-4" flatcars to carry a pair of 45' trailers, with the resulting flatcars known as Twin45s. 45' trailers were being added to the nation's highway carriers faster than these flatcars could be converted, which caused the railroads to seek out their own solutions. At the same time, the decrease of boxcar traffic led to a surplus of boxcars. Southern and Chicago & Northwestern were among the railroads that established programs to convert boxcars to flatcars equipped to carry a single trailer. In addition to boxcar conversions, some of Santa Fe's bulkhead flatcar fleet was modified for TOFC service and some for COFC service.

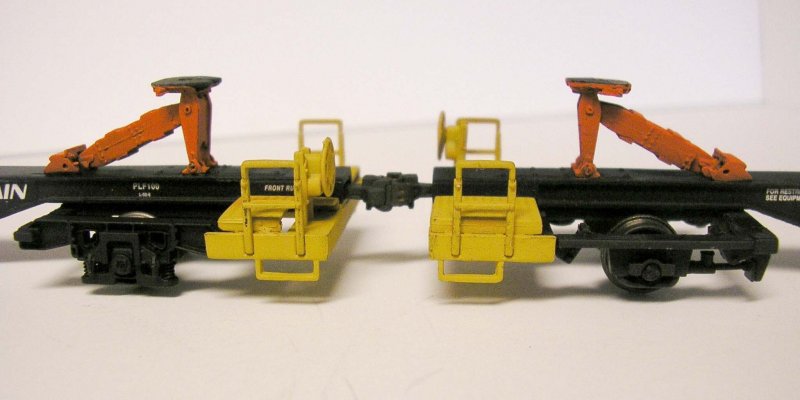
Aside from the Twin45 program, Trailer Train developed the Four Runner, a four unit drawbarred car consisting of two-axle spine cars. These were later developed as the Front Runner, single two-axle spine cars capable of carrying a single trailer. Trailer Train also began to build its own articulated spine car fleet.
Just as the real railroads were gearing up for intermodal service, some of the model manufacturers joined in. One of the more ambitious manufacturers to take on modern freight cars of the 80s (not just intermodal) was Front Range. Unfortunately many of their kits had serious design issues making them unpopular with modelers who didn't have the skills to correct the problems. Since their competition was comprised mainly of simple and reliably easy to assemble "shake the box" kits from Athearn and Model Die Casting they didn't last long. I don't know the whole story, but apparently Front Range became McKean Models at some point and some of the kits lived on while other new kits were introduced. Between Front Range and McKean two different styles of boxcar to flatcar conversions were offered, as well as models of the Four Runner/Front Runner and the Pacific Car & Foundry articulated spine car.
A-line was another manufacturer to get involved in intermodal models early on. A-line produces a line of trailers, containers and well car kits along with a line of decals. The container and well car kits were later offered assembled and decorated by Intermountain. The trailer kits are now offered assembled by Athearn.
During the late 80s innovation in intermodal equipment design continued. The focus shifted from the new concepts of the late 70s and early 80s to building efficiency and dialing in designs that had been proven in practice. Subtle changes were made to the increasingly common articulated spine and well cars, from accommodations for containers on spine cars to wells that could carry a pair of 48' containers. If a pair of 45' trailers on an 89'-4" flatcar was a stretch, a pair of 48' trailers on the same car was impossible. However, three trailers could fit on a pair of permanently connected flatcars, and so Trailer Train's Long Runner was born.

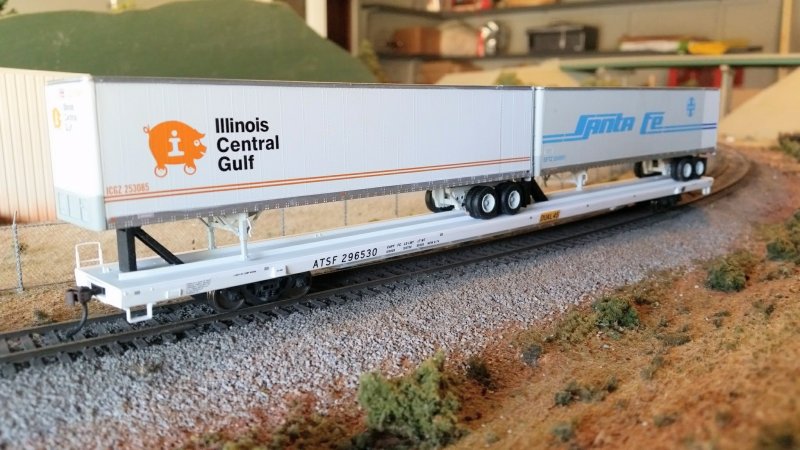
Walthers and Athearn both introduced a line of intermodal models in the 90s that corresponded with the explosive growth of container traffic. Walthers produced F89F flatcars, Thrall 48' well cars, a Front Runner (a much improved take on the model compared to the poor Front Range model) and a five-unit spine car. Athearn released the Impack spine car in end and intermediate kits, enabling the modeler to build any of the four, five, eight or ten unit prototype cars. Athearn also released the Gunderson Maxi-III articulated well car as well as the single unit version, the Husky Stack. Athearn had previously released a model of an All-Purpose flatcar, but it was shortened to fit the existing frame of their 85' piggyback car. A modeler could sacrifice one of the All-Purpose flatcars to cut into sections to splice into another flatcar to achieve the correct 89'-4" length (I did a few of these myself).
In the 2000s Atlas, Walthers and Athearn Genesis introduced another round of intermodal equipment, this time much improved in detail from the models of the 80s and 90s. For those desiring models of the various 89'-4" flatcars of Trailer Train, finally some nice models were available.

With all these models available, it's possible to build pretty accurate replicas of those innovative designs of the 80s without much effort. Just buy the models and plop 'em down on the layout. It wasn't always that easy, but for the skilled and motivated modeler, there was a source of drawings, photos and how-to articles readily available from several sources. With some basic tools and supplies, you could build some pretty impressive models just by following the directions. Having seen some of these models up close and personal -- Keith Hapes' Southern Pacific articulated stack car up above is a prime example -- they hold up, even today.
In the early 80s Model Railroader, Railroad Model Craftsman and other magazines ran several articles with prototype drawings of intermodal equipment, including Southern Pacific's first well cars, Santa Fe's Fuel Foilers and wallboard to TOFC conversions as well as supporting equipment like piggyback loaders and container chassis. These articles were an excellent resource for modeling some of the railcars, trailers and containers of the time.
In those days even mainstream magazines like Model Railroader considered scratchbuilding part of the hobby. I don't want to get on a high horse and lament that nobody scratchbuilds anything anymore, that we're just a bunch of collectors, how it was better in my day, blah blah blah. That's ridiculous and far from the truth.
I will allow that the greater variety has made it a lot easier to leave those skills behind for those who want to focus on other things, like building a layout perhaps or operating a layout more realistically. It's a double-edged sword, obviously. Let those skills dull long enough and they may vanish forever. If you're always trying to build specific models from scratch you won't have time for much else.
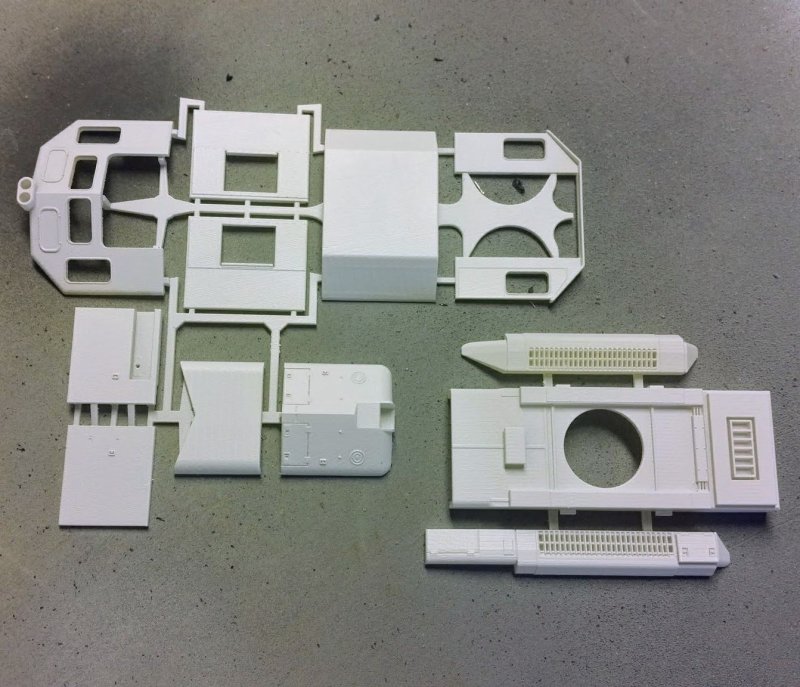
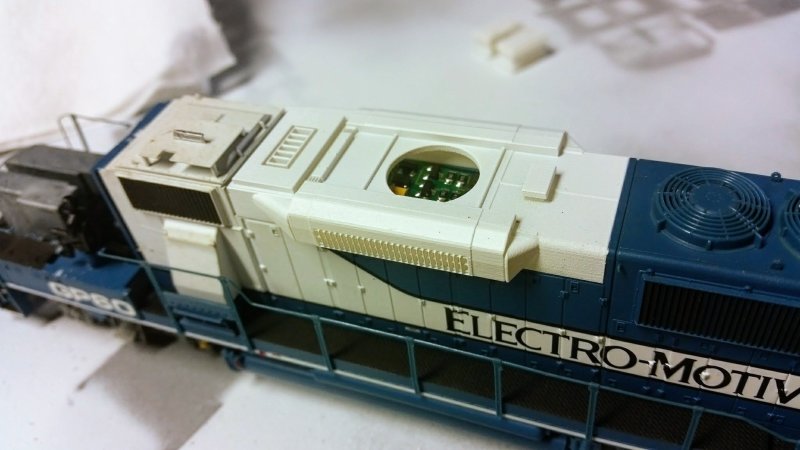
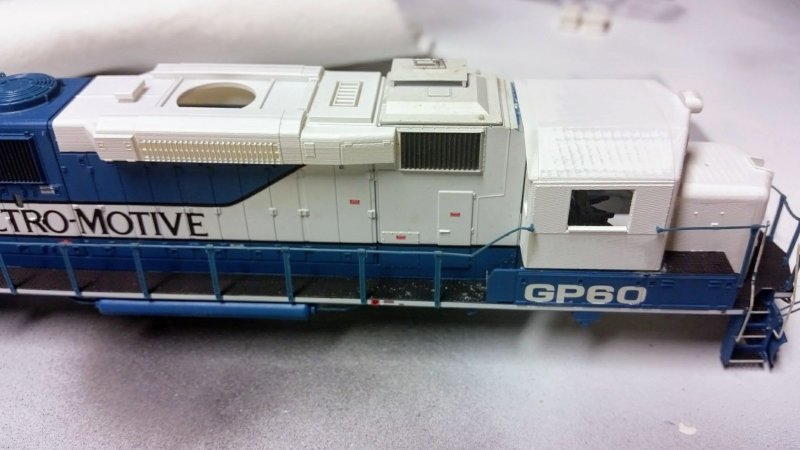
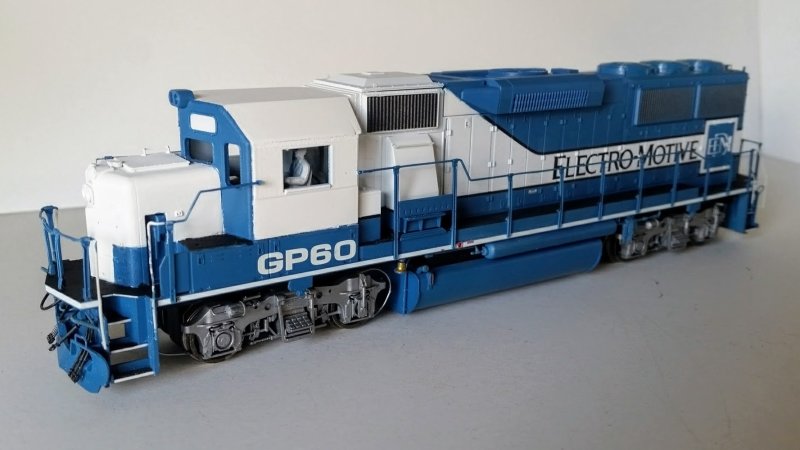
A few years ago I transitioned from scratchbuilding things the old-fashioned way to a new and improved way, well, to my way of thinking anyway. It started with a Missouri Pacific caboose. Several years ago I bought a resin model of a Mopac SL-1 slug hood from Sam Lloyd. Sam and I talked back and forth and he shared with me some other projects he was working on, including a Mopac extended vision caboose. Mop's version of the extended vision caboose had the cupola offset way toward one end, like an old wooden caboose. Sam came up with the elegant solution of cutting an Atlas caboose in a couple places then rotating the cut out section and reassembling the shell to get an offset cupola. He also drew up plans for the double-hung conductor's window in the rebuilt caboose side.
I built one of these following Sam's methods as close as I could. And I couldn't be happier with the results. But without modifying the cupola windows you really could only do the as-built version. And on top of that, you could only do the earlier cabooses, not the later ones with X-panel roofs. So, figuring I might want to have one of the later cabooses with the sharp-corner cupola windows, I made drawings of the Atlas caboose body modified to match the four versions Mopac had: early as-built, early rebuilt, late as-built, and late rebuilt. Faced with the prospect of scratchbuilding one X-panel roof, I decided to explore 3D printing. If I can do a Mopac caboose, why not a Cotton Belt caboose, or a Frisco caboose and so on. As they say, the rest is history.
So now we've come to an interesting question: is modeling in a virtual environment, i.e. on a computer, actually scratchbuilding? Like building a physical model, I start with simple shapes - in this case outlines of parts with depth and width - then I add the third dimension of height to them. This is similar to using thin layers of styrene to build up a block. One key difference is that I can make the process of giving height to the outline - that is, the act of extruding the shape - a straight or curved or complex shaped path to follow. I can create some interesting shapes this way. I can also take two overlapping objects and fuse them together into one new object without having to carve and cut and fit the parts together. So there are certainly some serious shortcuts to virtual modeling compared to physical modeling. But the process of working out how primitive shapes and objects will go together is the same.
So is it scratchbuilding? I don't know. It feels very similar to me. I experience the same emotions as I work my way through the problem of building the model whether it's a physical model or a virtual model. I get the same satisfaction out of building a model from styrene as from polylines.
Now here's the game changer: with 3D printing I only have to scratchbuild a model once to have multiple copies of it. Just like the X-panel roof or the National Uni-Truck II, it's cool to build one of these things, but to really get anywhere you need to build more than one.
Besides going through my own personal list of things I want to build and doing the research and making the 2D drawings and then the 3D drawings, I have decided to go back to those articles and take another look at scratchbuilding them virtually.
One area I found lacking in models is appropriate hitches for certain car types. Details West makes some excellent pewter hitches but not every variation of the prototypes are covered. Those old articles really broke down the details like hitches into simple parts you could make using only styrene strip and wire. Using the drawings from Model Railroader's Fuel Foiler article, I've created replacement hitches for Athearn's Impack car to match the Santa Fe prototype. Emboldened by success and ease of this simple solution, I worked up my own drawings of fixed hitches for Santa Fe's Dual 45 flatcars and Southern Pacific/Cotton Belt Impack spine cars, then 3D printed those as well.


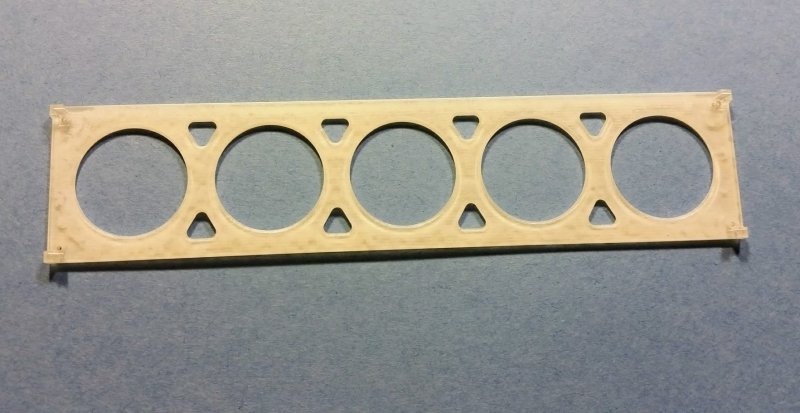
Another problem I decided to address is the fit of older Walthers, Athearn and A-line containers in each others' well cars. Basically, the problem is the pins representing IBCs on these containers aren't the same size, shape and location from brand to brand. I decided to standardize on the Athearn pin size and placement. In order to do this I needed a tool to locate the drill holes for the pins consistently from container to container. I could have cut some sheet styrene to make it and been pretty close. But another issue I'm always trying to resolve is thickness vs. strength as it pertains to Frosted Ultra Detail plastic, so I decided to print the tool. And it actually holds up pretty well. I've drilled new pin holes on a dozen or more containers and so far no wear in the holes that I can tell.
I've mainly focused on parts, but I have gone so far as to design entire cars, like the Santa Fe wallboard flats that were converted to TOFC and COFC service in the early 80s. I'm toying with the idea of drawing up some of the early experimental, short-lived or lesser-known designs that helped shape intermodal service as we know it today. I'm hopeful that I'll be able to get enough photos together to build the original Trailer Train UTTX spine cars, for example. Not there yet, though.