Showing posts with label SD40-2. Show all posts

Thursday, July 21, 2016

UP 3230 "Save Fuel All Ways -- Always"

Here's a project that started out from trying to figure out what to do with those odds and ends in the part box that weren't used on previous projects. I was in the middle of turning a Rail Power SD45-2 shell into something respectable by Cannonizing every part of it I could. The final product would be a former Clinchfield unit and in my mind it was going to be awesome. Then a friend showed up with his brand new Genesis SD45-2 in Clinchfield paint and I knew mine wouldn't be that nice, so that was the end of that. The shell wound up going to a friend to become a Santa Fe model, but I kept the cab/nose/subbase.

At the 2014 Plano train show I picked up a Centralia Car Shops UP cupola caboose wearing one of the safety slogan placards on the sides. When we got invaded by the UP in the early 80s, some of these cabooses came along with the big GEs and EMDs. One of them ended up on a team track near my grandpa's house and there it sat rusting away for years. That was my inspiration for getting the caboose, but just a few days later I was already thinking of building a UP SD40-2 to go with it. Once I started looking for prototype photos, I found this one that was taken about a mile from my childhood home at one of my favorite train watching spots:

www.rr-fallenflags.org/up/up3230awp.jpg

I was always fond of the SD40-2s with the slogans on the sides, so my choice of prototype was settled. Here are some photos of the model once I modified the nose and attached the cab/nose/subbase to the correct shell:


The drive is an Athearn RTR SD40-2, but it didn't have a fuel tank. My attempts to locate one ended in failure, so I just spliced two Atlas GP38 tanks together.


At the time I had taken the photos, I had sort of pieced together the path the horn conduit took on the prototype. Instead of originating between the radiator fans, the conduit originates from the dynamic brake hatch. Anyway, I got it wrong and for some reason I used 0.019" wire, which is a little oversize. Once I found the right photo, I pulled the wire and replaced it with 0.012" wire.


Fast forward several months and I painted the model and built up handrails using Smokey Valley stanchions and 0.012" wire:


In that last photo you can see the corrected horn conduit. In the next photo you can see the notches on the pilots are filled in and little 0.010" styrene circles have been glued to the pilot faces. I drilled the circles out to create what I suspect are lifting lugs:


Finally, here is the model today with paint and decals finished. You'll notice the sunshades, doors and windows are missing, but I'm waiting for a nice day to finish those. Also not added are lights, a decoder or couplers (no point attaching the shell without a decoder). Anyway, it's far from finished, but with the bright sunshine days we're having now, I figured it's as good a time as any for a photo session:


Saturday, June 18, 2016

N&W SD40-2

The Athearn SD40-2 has gone through many changes since the model was first introduced. The model was originally sold in the ubiquitous light blue rectangular box with some detail parts and handrails packed separately to be added by the modeler. 

The first revision eliminated the original body/chassis mounting system which consisted of tabs molded onto the body shell and lugs cast as part of the chassis that fit into the tabs. The pilot ends were also closed and the chassis modified to include a coupler box that secured to the frame with a screw, which also served the purpose of attaching the body to the chassis. These modifications were pretty standard for anyone wishing to take the model beyond the blue box and make it a miniature version of the real thing, so it was nice to have the model come this way and eliminate this work.

Some body options were also introduced around this time, including long "snoot" noses, Q-radiator fans, late extended range dynamic brake/exhaust hatches and wire or corrugated radiator grilles. The cast-on grab irons were replaced with starter holes located and spaced for the modeler to install grab irons from Detail Associates. And when the details duplicated the original body details - standard fans, corrugated grilles - they were a much finer, improved version. 

Eventually, molded plastic handrails were included along with the original stamped steel and bent wire handrails that had always been included with the model. Versions of this model were later sold as part of the Ready To Roll series before another round of revisions to the tooling led to the second generation chassis and current body shell with its many variations and options. 

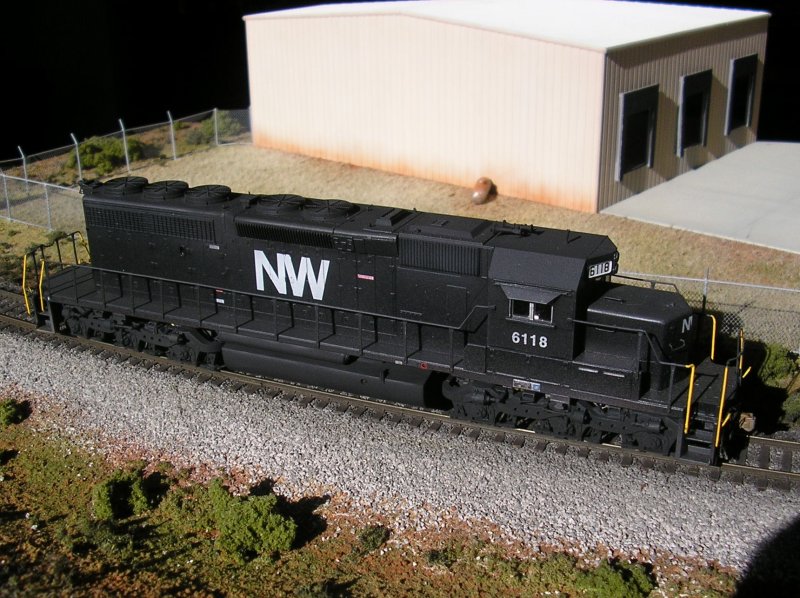
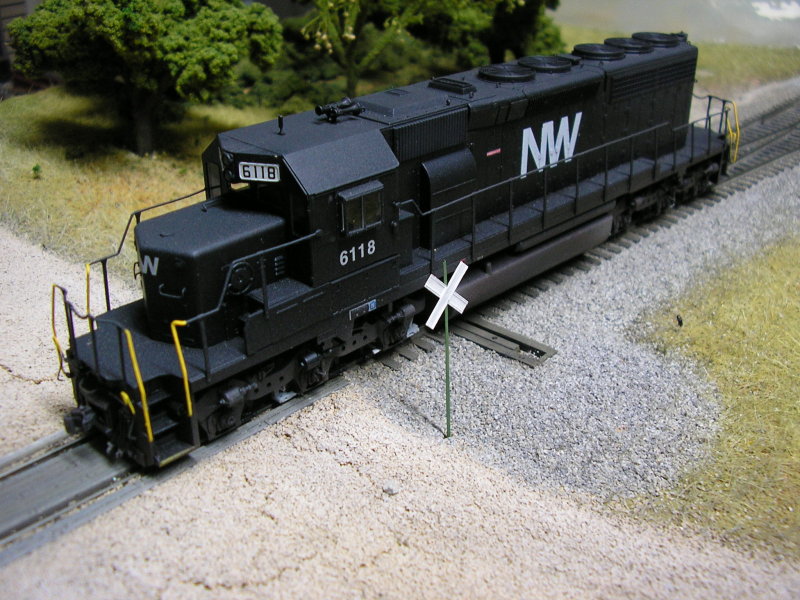
This model represents one from the first revision of the Athearn SD40-2, with wire grilles, improved fans, no grab irons, closed pilots and no external evidence of a body mounting system. Details were added to the factory painted model, including lifting rings, pin lifters, IAM brake lines, sunshade and all-weather window, acrylic "glass", grab irons, a hood end bell and a brass horn.

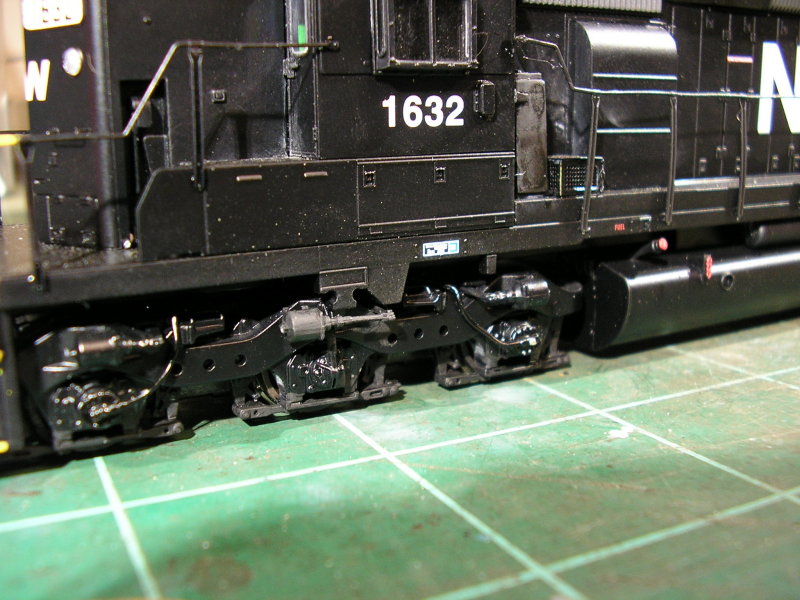
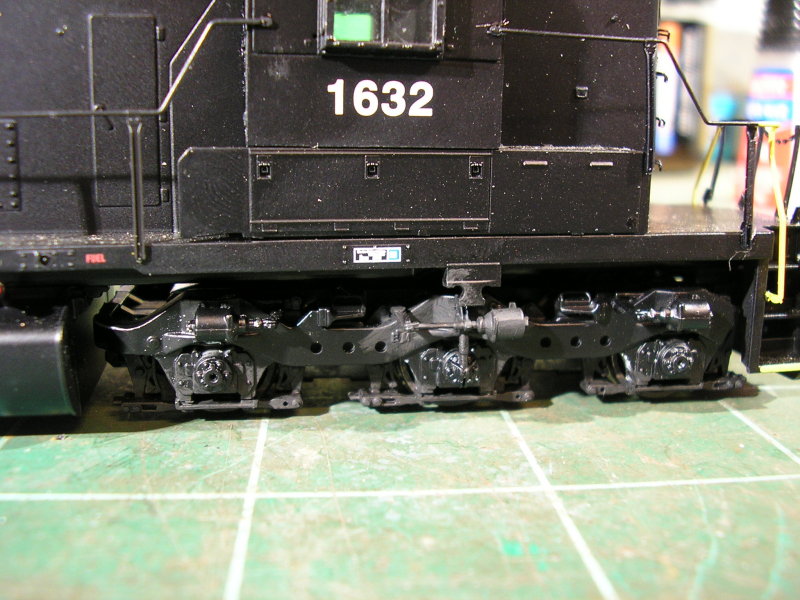
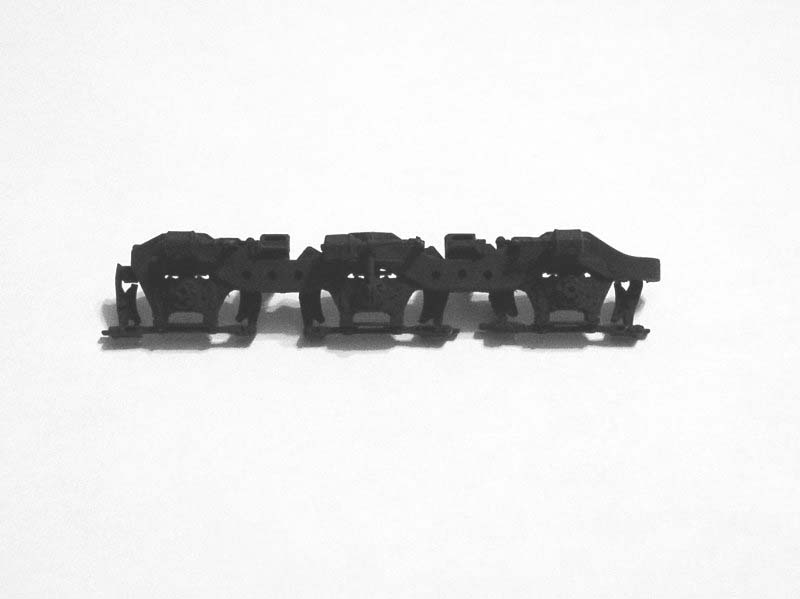
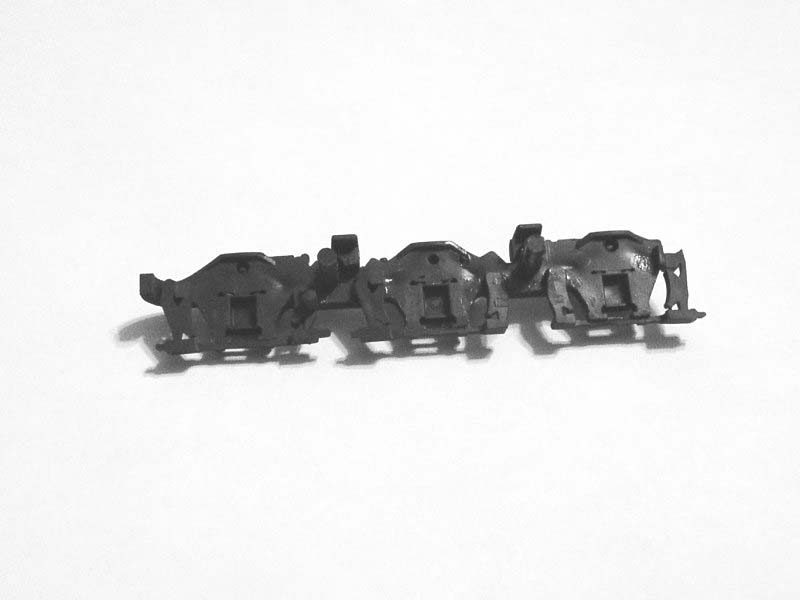
The prototype Norfolk & Western SD40-2s had clasp type brakes where two shoes press against either side of the wheel instead of the single shoe per wheel common with most other railroads. The separate sideframes of the Athearn model made this a simple detail to correct, and though I had read about different ways to skin this cat, I hadn't tried any of them yet. That changed when I found a spare set of Athearn SW1500 sideframes in my parts box. I noticed the similarities between the SD40-2 and SW1500 sideframes, where the journal is carried between two guides and rests upon a spring assembly. The journals are allowed to move vertically on the prototype and are secured underneath by a retaining device, which also holds the sand hoses. Since the two parts matched each other besides the actual brake rigging, I removed the parts from the SD40-2 sideframes that I intended to transplant from the SW1500 sideframes. I then attached the parts using liquid cement, which is my preferred method and possible because Athearn's sideframes are molded in styrene. The SW1500 sideframes are visible as the gray bits attached to the sideframes. To give an idea of the timeline, this first photo is from 2010 and the most recent from 2016 (I worked on lots of other things during that time!).


Here are some views of a sideframe I modified later:


Here are the same techniques applied to an Athearn SD40-2 from the latest RTR line. The modifications show up as a dull flat black color compared to the rich semigloss black of the factory painted parts:


Okay, so back to the factory painted 6118. I had detailed the model, fixed the trucks and weathered it some. The flat and lifeless fuel tank and air reservoirs needed some attention to match the rest of the model. I filled in some of the casting defects on the tank with epoxy, sanded it and detailed it with Cannon parts. I replaced the air reservoirs with Cannon parts as well:


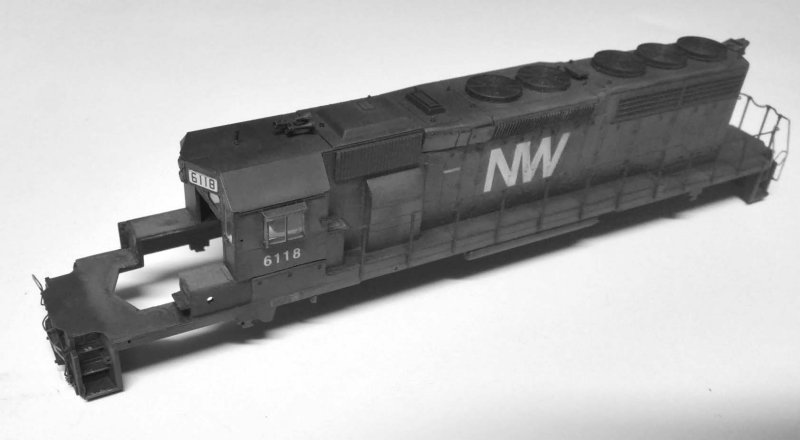
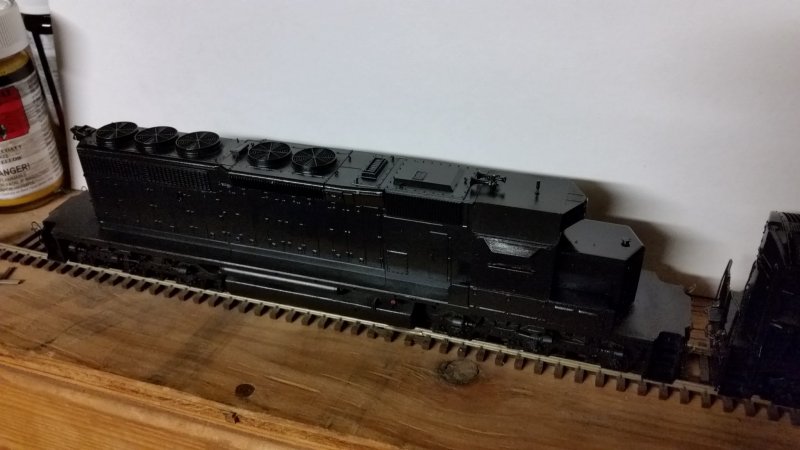
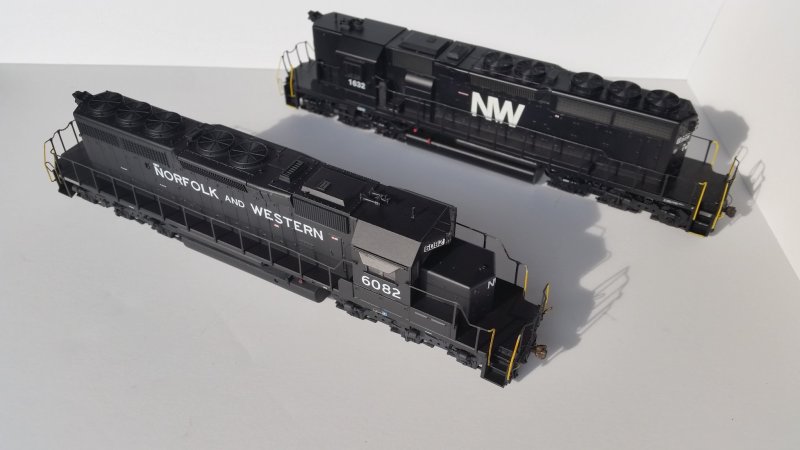
It looked okay at this point, and it got some weathering that dulled down the paint but something always stuck out when I'd compare it to prototype photos. Eventually I figured it out: this model didn't match the later SD40-2s with brakewheels and corrugated grilles and it also didn't match the earlier models with wire grilles and a ratchet handbrake. As I contemplated installing a ratchet brake from a Cannon nose kit it hit me that this model had the rare combination of an 88" nose and wire grilles. It should have an 81" nose with those grilles or I could keep the nose and replace the grilles. I could do either modification and keep the paint, but now that I had one of the Athearn RTR units in this same paint scheme I began to think I'd prefer one in the final N&W scheme with the name spelled out on the long hood. So with a full repaint on the table I made my decision:


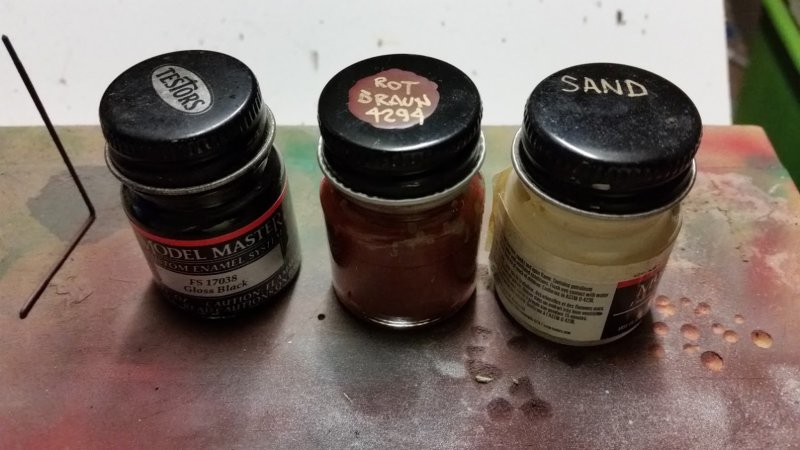
The next step was to mask the clear parts and repaint. Fortunately I had some Seaboard U-boats ready for paint at the same time so I mixed up some warm gloss black and fired up the airbrush. Here's what I use to make that "warm black" and it doesn't take much more than a few drops of brown or tan per teaspoon of black: 


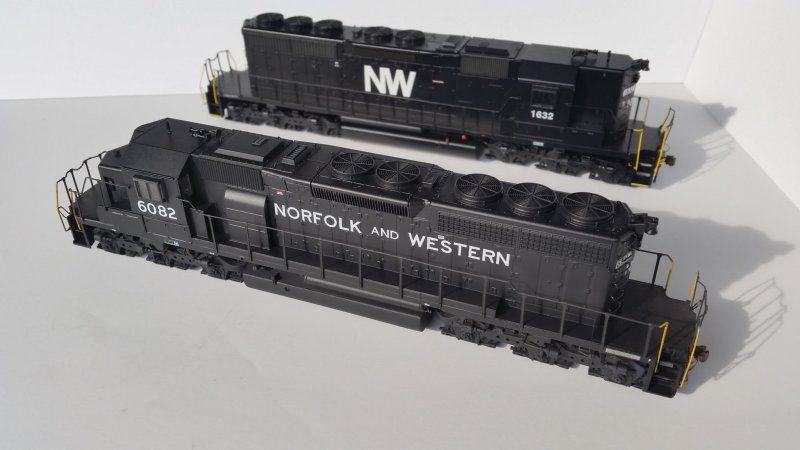
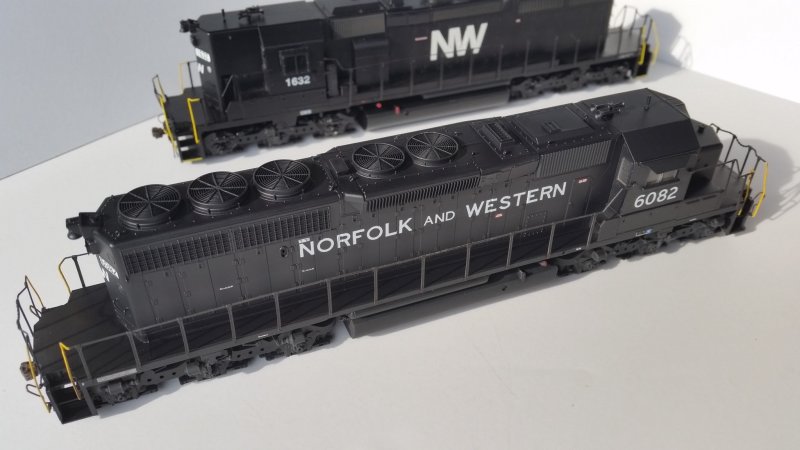
I used the Microscale set for 1982+ N&W diesels along with the diesel data set to go from 6118 to 6082:


Still plenty more details to add, paint to touch up, lighting to install, and weathering to apply. But the weather's hot and dry now so it's time to keep painting!